

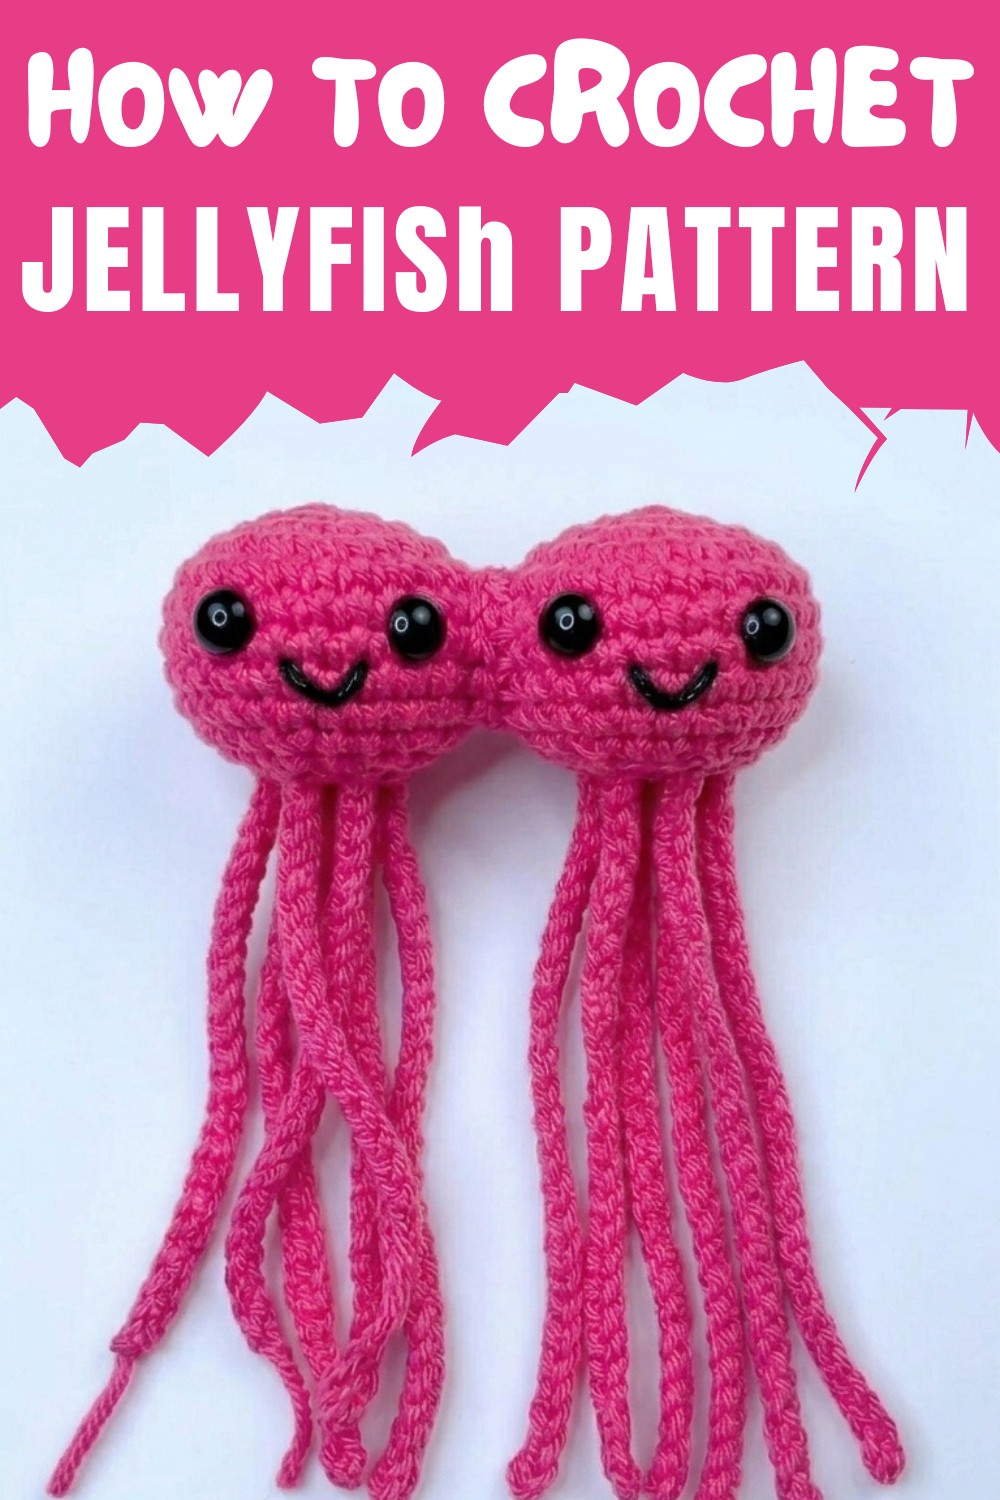
Add playful creativity to your handmade projects using this Free Crochet Jellyfish Pattern for cute accessories and beginner-friendly designs.
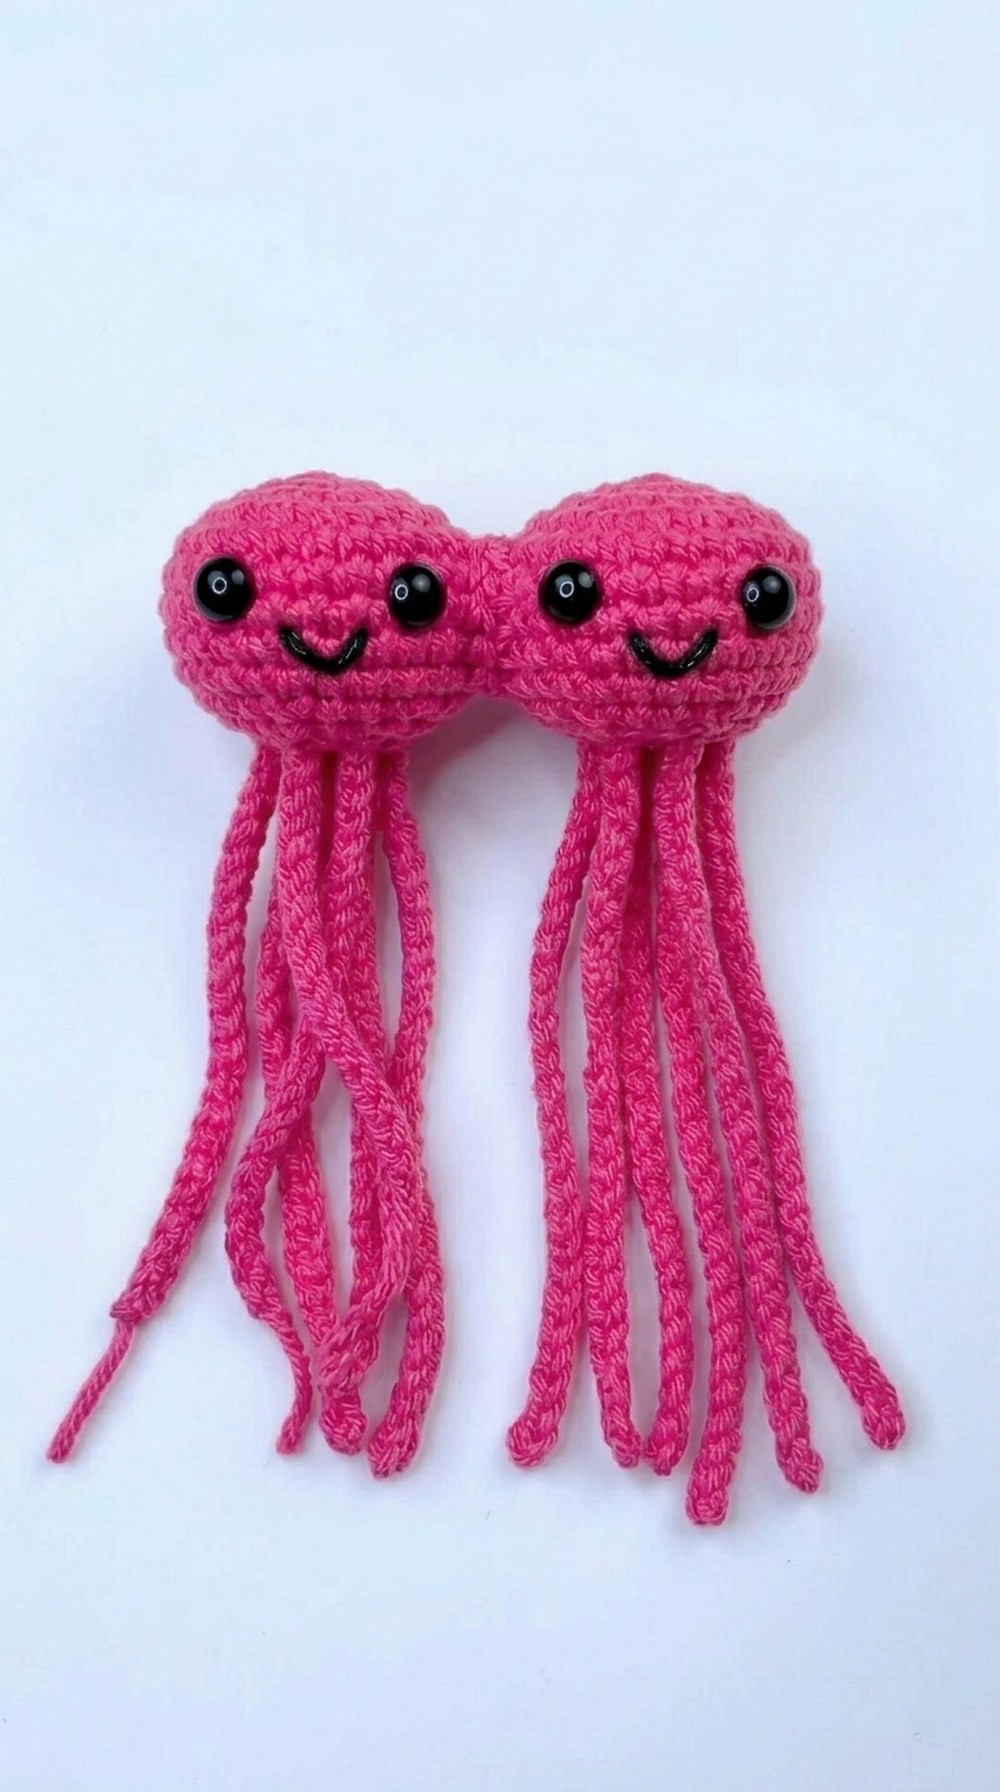
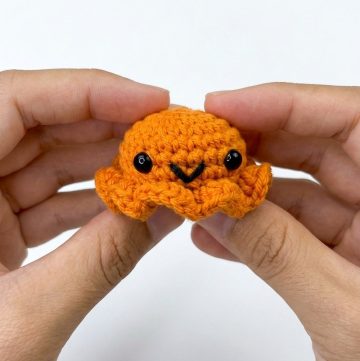
Bring a splash of ocean-inspired fun to your crochet projects with this whimsical jellyfish design. Perfect for beginners and seasoned crocheters alike, this crochet pattern offers the chance to try out simple techniques like single crochet, increases, and decreases while building an adorable sea creature. Its versatile pattern makes it a delightful decoration for nurseries, ocean-themed parties, or even as a unique keychain or bag charm.
Ocean-Inspired Crochet Jellyfish Pattern – Get This Free Guide Now
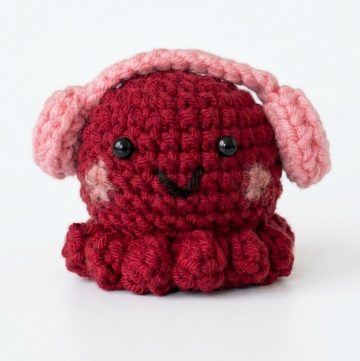
The project’s compact size means it’s quick to complete, yet its charm leaves a lasting impact. With endless possibilities for customization, you can experiment with various colors and yarn textures to make each jellyfish uniquely yours. Crochet enthusiasts can benefit from the calming rhythm of the patterns while creating a small yet impactful handmade piece.
This cheerful jellyfish pattern is not just fun to make, but it also makes an ideal gift for friends, family, or even kids who adore ocean-themed toys. Whether you’re using it to practice your crochet skills, share as a handmade gift, or brighten up your home décor, this playful jellyfish pattern delivers joy and functionality all in one. Its simplicity paired with its adorable pattern ensures it remains a favorite in your crochet collection for years to come.
Special Features
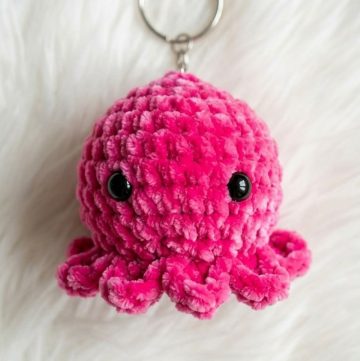
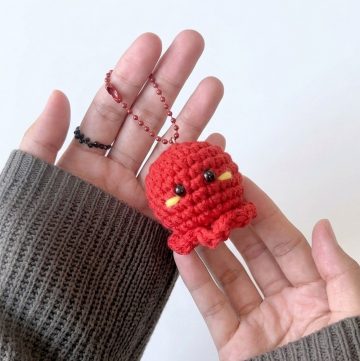
- Compact and Practical: Designed as a keychain, it’s ideal for on-the-go creativity.
- Beginner-Friendly: Simplified stitches, clear instructions, and minimal materials.
- Customizable: Experiment with colors, yarns, or even add beads and other embellishments.
Difficulty Level
Beginner
Perfect for new crocheters looking to practice basic techniques like making a slip knot, using a magic ring, and working single crochet increases and decreases.
Materials You'll Need
- Milk Cotton Yarn (5 ply) – bright pink (125g in your preferred color).
- Cotton stuffing – For shaping the jellyfish.
- 3mm crochet hook – Perfect for creating tight, neat stitches.
- Doll eyes – Add personality to your jellyfish's face.
- Keychain ring – Make it functional as an accessory.
- Stitch marker – To mark rounds and ensure accuracy.
- Scissors – For trimming yarn.
- Black yarn/thread – To sew a small mouth.
Step-by-Step Crochet Instructions
Head/Body
Round 1:
- Make a magic ring.
- Chain 1 (CH1), work 8 Single Crochet (SC) into the ring.
- Close the round with a Slip Stitch (SS) into the first stitch.
Total stitches: 8
Round 2:
- CH1, then work Increase (2 SC in each stitch) into all stitches.
- Finish with a SS into the first stitch.
Total stitches: 16
Tip: Use a stitch marker to mark the end of each round.
Round 3:
- CH1, work:
- 1 SC in the first stitch, then
- Increase (2 SC in the next stitch).
- Repeat this pattern around (8 times).
- Finish with a SS into the first stitch.
Total stitches: 24
Round 4:
- CH1, work 1 SC in every stitch around.
- Close with a SS.
Total stitches: 24

Rounds 5–8:
- Repeat Round 4: CH1, 1 SC in every stitch, and close with a SS.
Total stitches: 24 for each round.
Now that the body shape is formed, it's time to add the eyes.
Adding Eyes
- Attach the doll eyes securely between the rounds around Round 8 (leave enough space between the eyes to keep the jellyfish balanced).
- Once the eyes are attached, proceed to the body closure.
Round 9:
- CH1, work:
- 1 SC into each of the next 2 stitches, then
- Decrease (work 2 stitches together).
- Repeat this pattern around (6 times).
- Finish with a SS.
Total stitches: 18

Round 10:
- CH1, work:
- 1 SC into the first stitch, then
- Decrease in the next stitches.
- Repeat for 6 times.
- Finish with a SS.
Total stitches: 12
Before the final decrease round, stuff the jellyfish head with cotton stuffing to give it a nice, firm shape.
Round 11 (Final Head Round):
- CH1, work Decrease (work 2 stitches together) in every stitch around.
- Repeat for 6 times.
- Finish with a SS.
Total stitches: 6
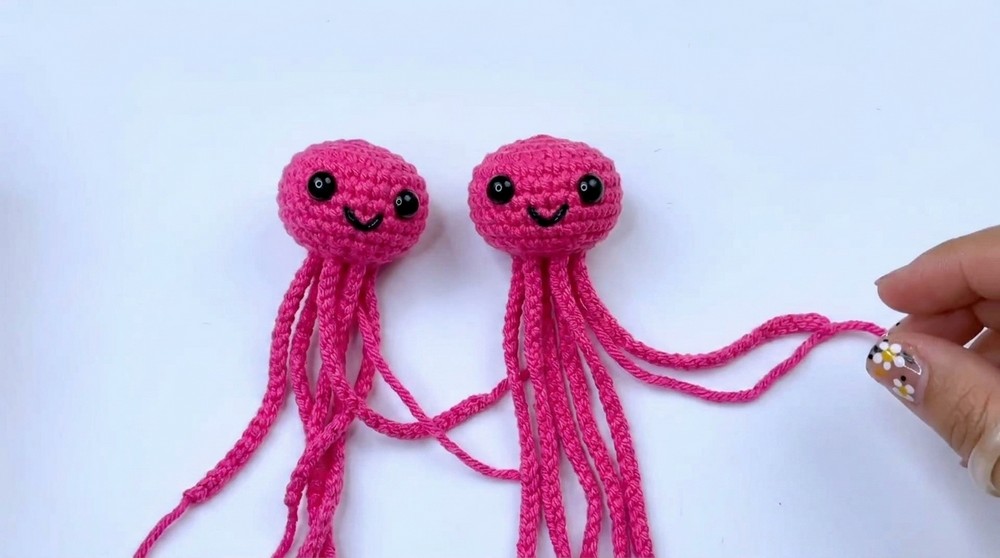
Tentacles (Tail)
Step 1:
- Make a slip knot and chain 25 (CH25). Trim the yarn and fasten off.
Step 2:
- Repeat Step 1 to make 6 tentacles in total (or more, depending on how full you want the jellyfish's tentacles to look).
Step 3:
- Attach each tentacle to the bottom of the jellyfish's head by sewing or knotting securely.
Adding the Mouth
- Use black yarn/thread to sew a tiny smile on the jellyfish head, placed just below the eyes.

Assembling the Keychain
- Attach the keychain ring securely to the top of the jellyfish's head using a small loop of yarn.
And It’s Done!
Your cute and handy Jellyfish Keychain is now finished!
Tutor's Suggestions
- Use contrasting colors for the tentacles and body for a fun, vibrant design.
- If giving this as a gift, consider packing it in a small, clear bag with a handwritten note.
Uses and Benefits
- Practical: Carry your keys stylishly or decorate your backpack.
- Gifting: A thoughtful handmade present for friends, family, or kids.
- Stress Relief: Crocheting promotes relaxation and mindfulness, making this project rewarding in more ways than one.
Tip for Beginners
Always use a stitch marker to keep track of your rounds, and don’t forget to pull your magic ring tight to avoid a hole forming at the top.
Conclusion
This Cute Jellyfish Keychain is an easy-to-make project that’s sure to delight crocheters of any level. From its cheerful shape to its practical use, this tiny jellyfish is versatile, adorable, and so much fun to create. Whether you're crocheting it for yourself or as a gift, the burst of color and charm it adds is simply unbeatable.
Final Remarks
Small enough to make in a single afternoon, yet big enough to leave a lasting impression, this crochet jellyfish is the perfect pocket-sized project.
Leave a Reply