

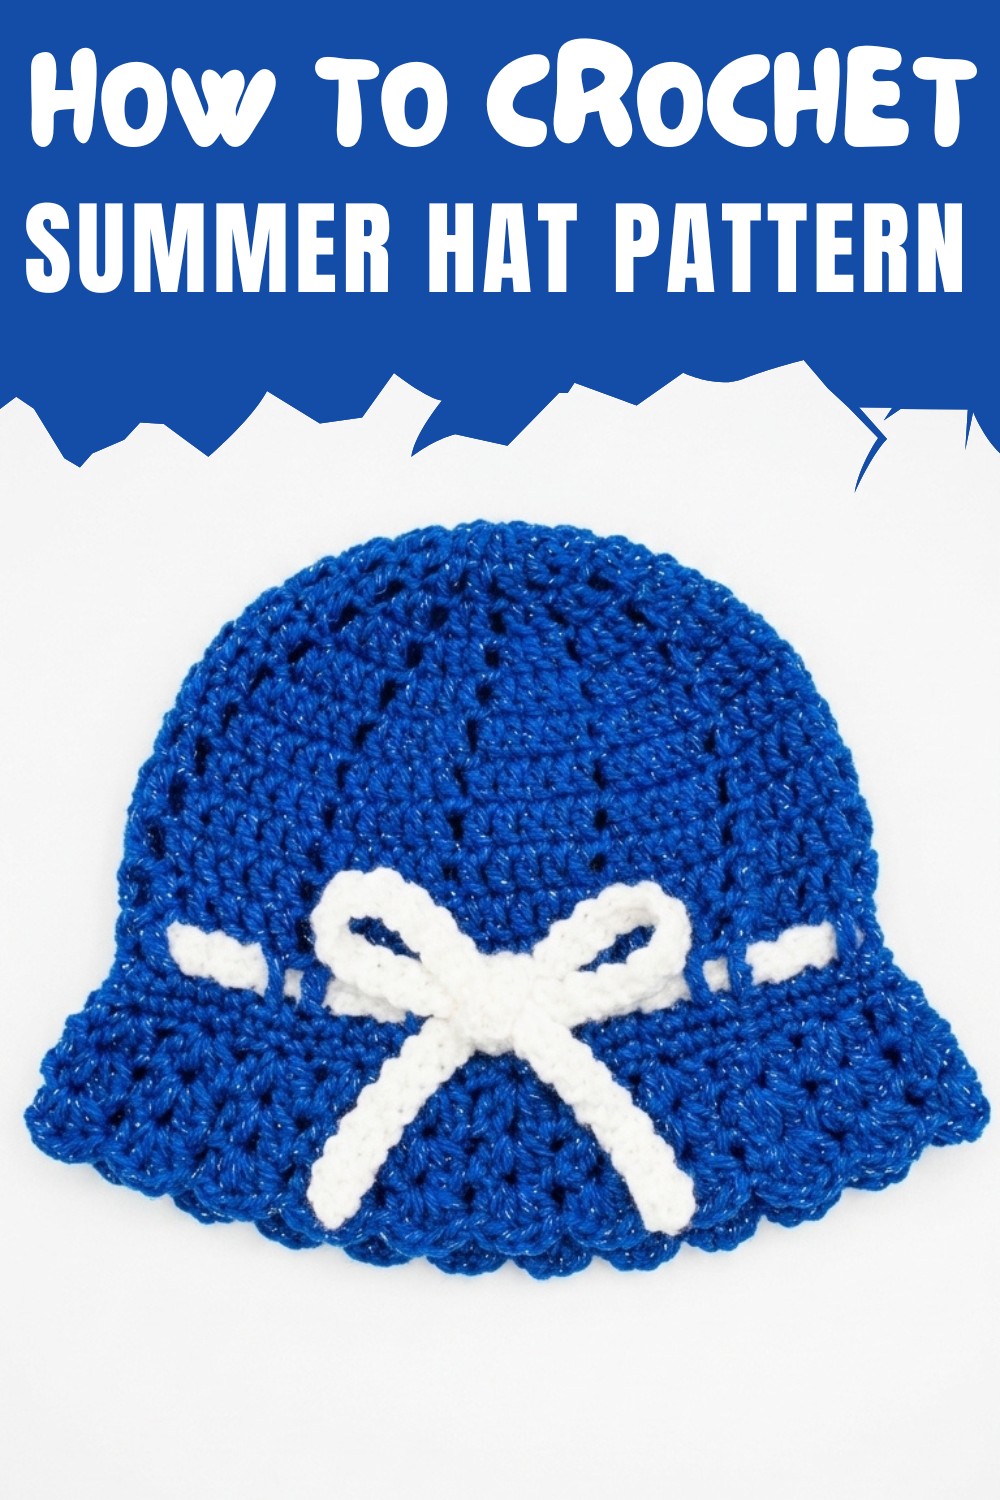
Protect yourself in style with this Free Crochet Summer Hat Pattern, combining elegance and comfort for the perfect handmade accessory.
Celebrate the joy of handmade fashion with a summer accessory that's equal parts style and functionality. This lightweight and breathable hat is designed to keep you cool under the sun while adding a touch of elegance to your warm-weather wardrobe. Perfect for beach days, picnics, or casual outings, it offers both comfort and flair, making it a versatile addition to any outfit. With its open weave for ventilation and an adjustable lace cord for a customized fit, this pattern combines practicality with charm.
Free Guidnace to Crochet Summer Hat Pattern for Fashionable Fun
Whether you’re a seasoned crocheter or just advancing your skills, this pattern is easy to follow and allows room for creativity with colors and yarn choices. The chic scalloped brim not only enhances its visual appeal but also provides added sun protection, making it a functional accessory for any sunny occasion. Handmade hats make for thoughtful gifts, too; a wonderful way to share the love of crochet with friends and family.
With simple techniques and clear instructions, you can crochet something truly unique that fits your style and needs. Slip this hat on, and elevate your summer look while protecting yourself against the heat in a classy, handmade way. It’s beautiful, functional, and made just for you.
Materials Needed
- Yarn: Sparkle Blue color Yarn or your preferred lightweight yarn.
- Hook: 4.5mm crochet hook for the hat and 3.75mm hook for the lace cord.
- Stitch markers (optional): To keep track of rounds.
- Scissors
- Yarn needle: For weaving in the ends.
Special Features
- Worked in rounds with increases for a clean, seamless look.
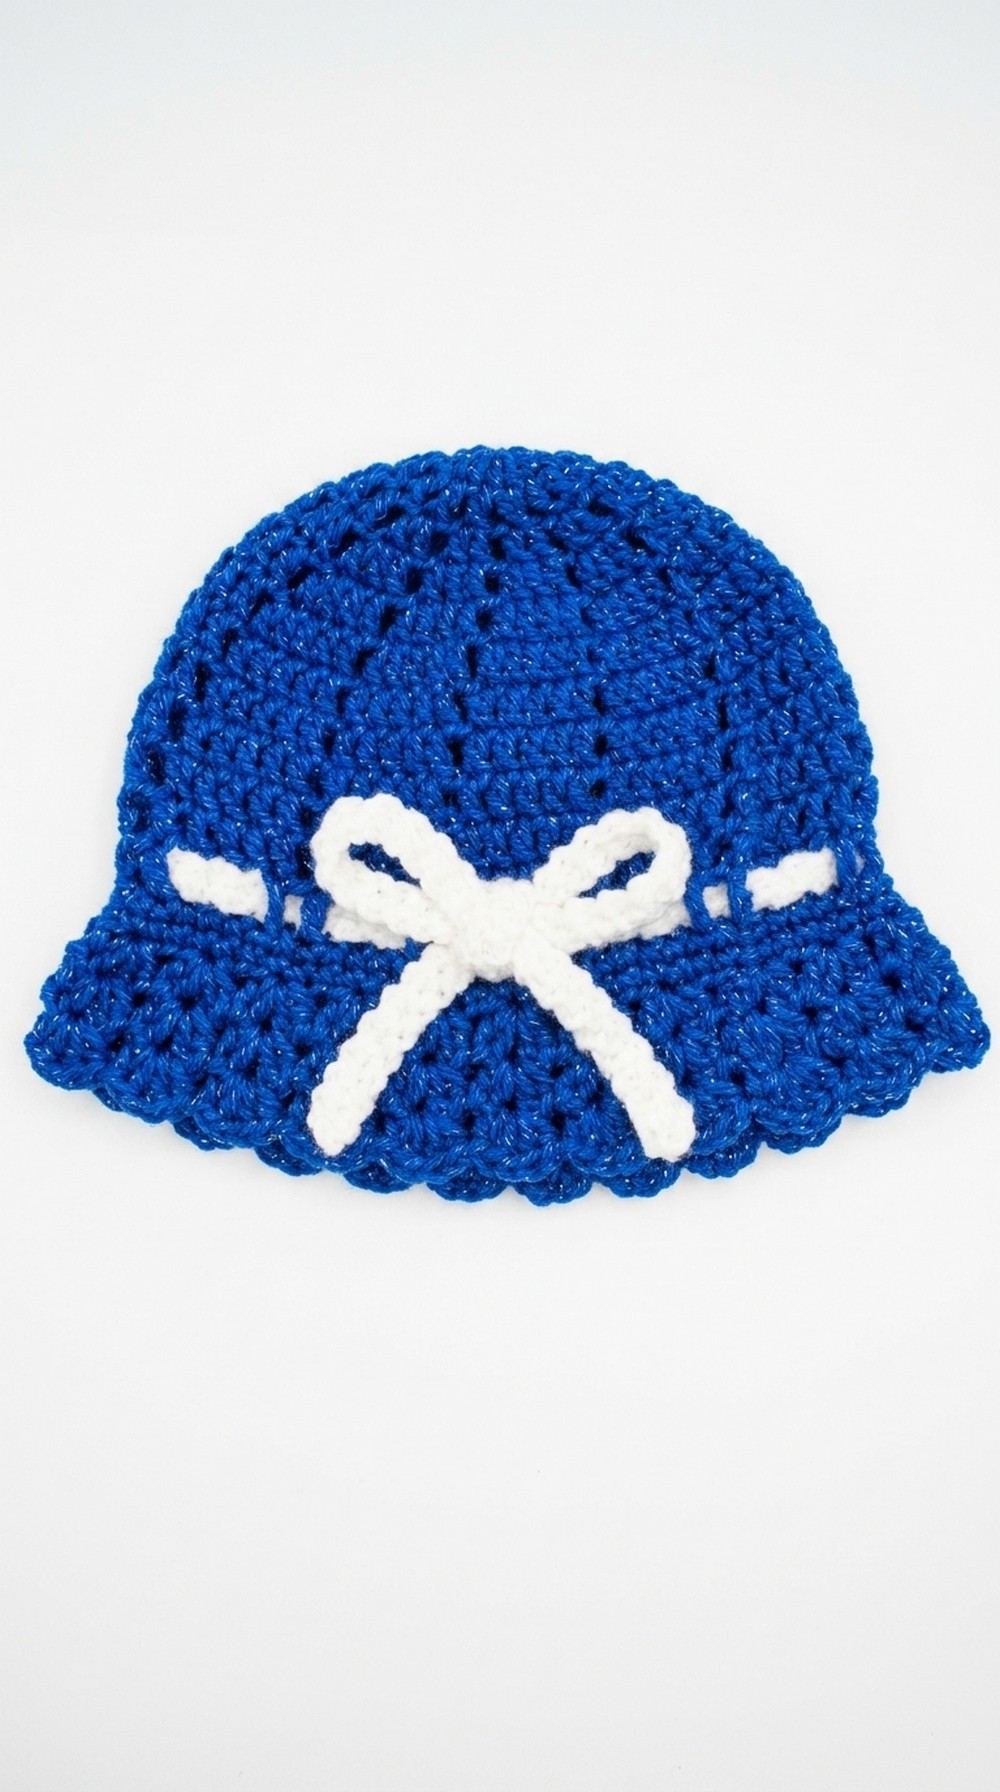
- Includes a decorative scalloped brim for style.
- Has a Romanian Lace Cord that cinches the brim for an adjustable fit.
- Measurements can easily be adjusted based on head size.
Pattern Difficulty
Skill Level: Beginner to Intermediate
- Beginners will enjoy learning foundational stitches like double crochet and single crochet.
- Intermediate crocheters will have fun tackling the lace cord and seeing the project come to life stitch by stitch.
Step-by-Step Crochet Pattern
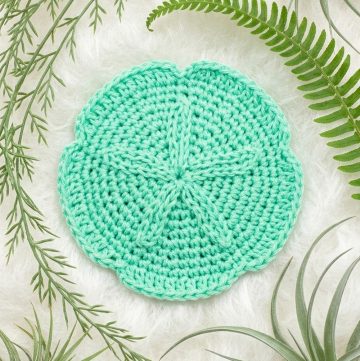
Step 1: Magic Circle and Foundation Round
- Start by creating a Magic Circle (choose the method most comfortable for you).
- Chain 1 and follow it with 2 more chains (total of 3 chains), which will count as your first double crochet (DC).
- Work 11 more double crochets into the Magic Circle for a total of 12 stitches.
- Pull the tail of the Magic Circle to close it tightly.
- Slip stitch into the top of the chain 3 to close the round.Round 1 Total: 12 stitches

Step 2: Round 2 (Increase the Hat's Base)
- Chain 3 (this counts as a double crochet for the entire pattern).
- Chain 1 (to create a space).
- Work 1 double crochet (DC) into each stitch from below, followed by chaining 1. Repeat this for every stitch.
- Slip stitch to join at the top of the chain 3.Round 2 Total: 12 stitches with chain spaces
3: Round 3 (Increasing by Doubling Stitches)
- Chain 3 and double crochet in the same stitch as the starting chain.
- Chain 1.
- Into each double crochet from the previous round, work 2 double crochets followed by a chain 1, effectively doubling the stitch count for this round.
- Slip stitch to join.Round 3 Total: 24 stitches with chain spaces
4: Round 4 (Continuing Increases)
- Chain 3 and work 1 double crochet in the same stitch as the starting chain.
- Into the next double crochet, work 1 double crochet, followed by chaining 1.
- The pattern will now alternate:
- 2 double crochets in one stitch,
- 1 double crochet in the next stitch,
- and chaining 1.
- Repeat until the round is complete and slip stitch to join.Round 4 Total: 36 stitches with chain spaces
Step 5: Rounds 5–6 (Further Increases)
- Follow the same increase logic: Introduce one more single double crochet between every increase (e.g., 2 DC, 1 DC, 1 DC...).
- Round 5 Total: 48 stitches.
- Round 6 Total: 60 stitches.
Special Note: Customizing Hat Size
- Measure the circumference of the wearer’s head and divide it by 3.14 (π) to calculate the diameter of your hat’s flat piece. For instance:
- A head circumference of 18 inches will need a flat piece around 5.7 inches in diameter.
- Stop increasing rounds once the desired diameter is reached.
6: Building the Hat's Shape (Rounds 7–12)
- Begin with Chain 3 and work 1 double crochet in every stitch, followed by chaining 1.
- This step will create the body of the hat without increasing.
Tip: Repeat this pattern for six rounds or until the desired length is achieved.

7: Shaping the Brim (Rows 13–14)
- To transition to the brim, switch to single crochets:
- Chain 1 and work 1 single crochet (SC) into every stitch and also into the chain spaces.
- Repeat for two additional rows to form the base of the brim.
Row 13–14 Total: 72 stitches.

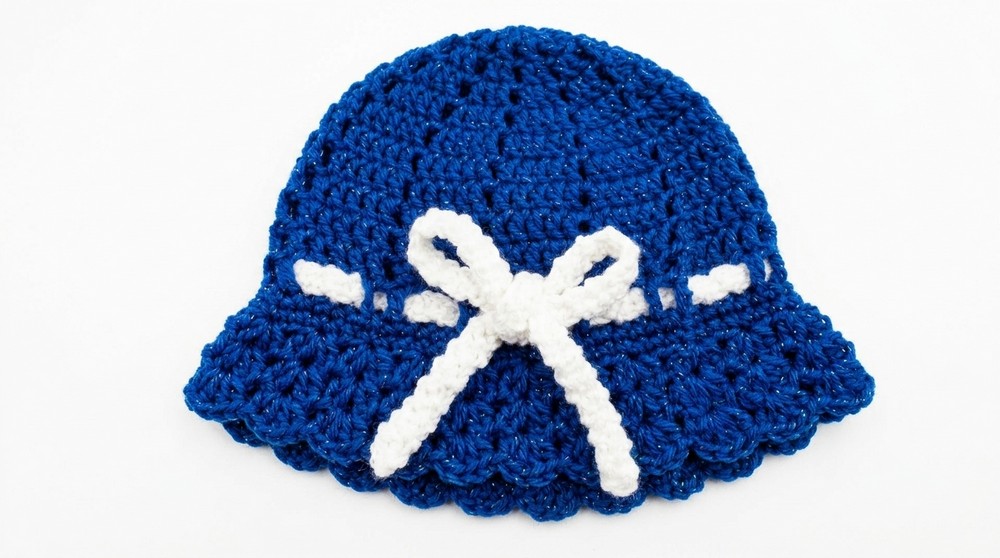
8: Creating the Scalloped Brim (Rows 15–End)
- To form the decorative brim, start by chaining 2 and working into the same stitch:
- 1 half double crochet (HDC)
- 1 double crochet (DC),
- Chain 1,
- 1 more double crochet,
- 1 half double crochet (all in the same stitch).
- Skip 2 stitches from the row below and repeat this pattern around the brim.
- For subsequent rows, continue working into the chain 1 spaces of the scallops until the brim reaches your desired width (typically 2–3 rounds).
9: Adding the Romanian Lace Cord
- Switch to a 3.75mm hook.
- Chain 3 and begin the following repeating steps:
- Single crochet into the second chain.
- Slip stitch into the first chain.
- Turn the work halfway and repeat.
- Continue until the cord reaches approximately 30 inches or 77cm.
- Weave the cord through the single crochet stitches around the brim for an adjustable fit.
Final Steps
- Weave in any loose ends with a yarn needle.
- Adjust the lace cord for the desired fit and tie into a bow.
- Congratulations! Your stylish crochet summer hat is complete.
Conclusion and Suggestions
This project is a perfect mix of practical design and aesthetic appeal. It's lightweight, breathable, and adjustable, making it versatile for sunny adventures or even as a thoughtful handmade gift!
Tip for the Best Results:
For a stiffer brim, consider adding a strand of nylon or lightweight wire along the outer edge to hold the shape. Use starch spray for a clean, professional finish.

Leave a Reply