

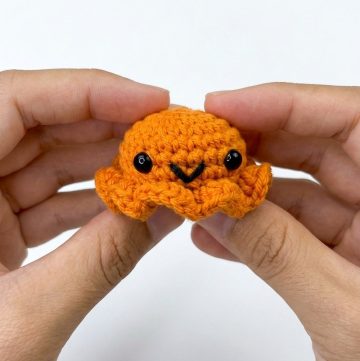
Master this Free Crochet Octopus Keychain Pattern to design unique and charming accessories that add flair to your keys or bags.
Bring something irresistibly cute and handmade into your life with this adorable octopus-inspired crochet design. Perfect for beginners, this project offers a fun way to refine your crochet skills while creating a useful and eye-catching keychain accessory. Whether you want a thoughtful handmade gift, a charming bag charm, or a unique item to sell at crochet fairs, this mini crochet octopus pattern is the perfect choice. Made using soft yarn, simple stitches, and a keyring, this pattern is easy to follow and takes minimal time to complete.
Creative Crochet Octopus Keychain Pattern for Everyday Use

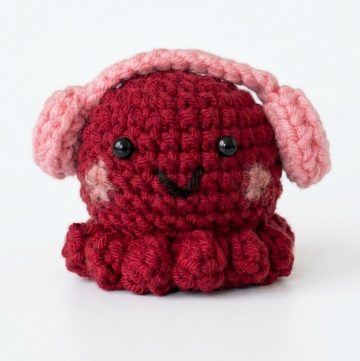
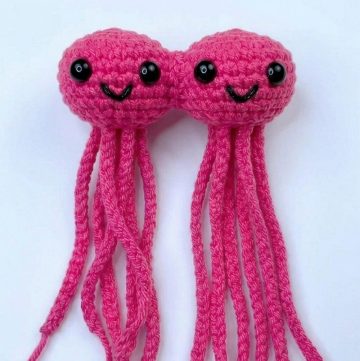
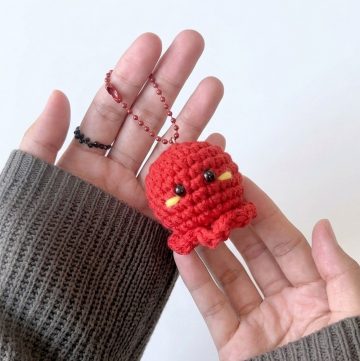
Its compact size and playful pattern are ideal for adding personality to your keys, backpacks, or purses without being bulky. Lightweight and customizable with colors, the octopus can reflect your own style or make a delightful gift for friends and family. Each stitch contributes to its textured body and wavy tentacles, giving it a whimsical yet polished look.
It only requires basic materials and is budget-friendly, making it accessible to everyone, regardless of crochet experience. Not only does it serve a practical purpose, but it also brings a handmade charm that feels personal and special. Bring joy and creativity into someone's daily routine with this delightful crochet design.

Special Features
- Easy-to-follow pattern, ideal for beginners.
- Uses simple stitches like slip stitches, chains, single crochets, and basic decreases.
- Features 8 tiny tentacles and a round body using polyester or any soft yarn.
- Dual-purpose: Can be used as a keychain charm or bag accessory.
- Compact and cute design that makes it great for practicing crochet and creating last-minute gifts.
Materials Needed
- Crochet Hook: 3.5 mm, or any smaller hook of your choice to keep the stitches tighter and reduce holes.
- Yarn: Yarn in a bright pink color or any of your choice.
- Scissors
- Keychain Ring
- Stitch Marker: Optional but recommended for keeping track.
- Stuffing Material: Polyester fiberfill or anything soft to shape the octopus.
Pattern Level
Beginner-Friendly. This pattern uses basic crochet stitches and includes repetitive rounds that are easy to follow.
Pattern Abbreviations
- ch: Chain
- sl st: Slip Stitch
- sc: Single Crochet
- inc: Increase (two single crochets in one stitch)
- dec: Decrease (crocheting two stitches together)
Step-by-Step Detailed Crochet Octopus Keychain Pattern
Step 1: Starting with a Circle
- Make a slip knot. (If you’re unfamiliar with how to make a slip knot, check out the linked tutorial).
- Chain 4 (ch 4).
- Insert your hook into the first chain to connect into a circle.
- Chain 1 (ch 1) to start Round 1.
Step 2: Round 1 – The Foundation of the Body
- Insert your hook into the center hole of the circle.
- Make 8 single crochets (sc) into the circle.
- Count: Each stitch while crocheting until you reach 8 stitches total.
- Use a stitch marker to mark the last stitch (optional but helpful).
- Slip stitch (sl st) to connect the round.
- Chain 1 (ch 1) to prepare for the next round.
Tip: Pull your starting yarn end slightly to tighten the center of the circle and close any gaps.
3: Round 2 – Increasing the Size
- Place 2 single crochets (sc) in each stitch from the previous round.
- Continue this pattern all around to get a total of 16 stitches by the end of the round.
- Once finished, connect with a slip stitch (sl st) to close the round.
- Pull the thread slightly to tighten your work.

4: Rounds 3 to 6 – Building the Body
- For rounds 3, 4, 5, and 6, simply:
- Place 1 single crochet (sc) in each stitch all around (no increases).
- Use a stitch marker to keep track of the round’s ending.

Pro Tip: Take breaks if needed as these rounds can be repetitive. Keep your stitches even in tension for a neat appearance.
5: Round 7 – Decrease Row
- To close the body, start decreasing:
- Insert your hook into the first stitch, pull up a loop (2 loops on hook).
- Skip to the next stitch, insert your hook, and pull up another loop (3 loops on hook).
- Yarn over and pull through all 3 loops on your hook – this completes one decrease (dec).
- Repeat this decrease (dec) all the way around until you’re left with 8 stitches.
6: Closing the Body
- After the last row, attach an optional stuffing material to give the octopus shape.
- Slip stitch to connect the round and secure the decreasing row. This pulls the top securely together.
7: Making The Tentacles
- Chain 6 (ch 6) to start your first tentacle.
- Attach the chain by making a slip stitch (sl st) into the next stitch.
- Repeat this process for all 8 tentacles. (You can increase or decrease the number of stitches depending on your preference for fuller or smaller tentacles).

8: Creating the Mini Circle for Closing
- Using a separate starting slip knot, create a mini closing circle:
- Round 1: Make a small round foundation (same as the main body) with 8 single crochets.
- Round 2: Begin an increase round with 2 single crochets in each stitch to reach 16 stitches total.
- Slip stitch to finish off.
- Stuff the mini circle inside the octopus opening and use your scissors or hook to tuck all loose ends securely.
9: Attach the Keychain
- Use a keyring or keychain attachment and loop it through the top of the octopus.
- Pull securely but not too tight to distort the shape.

Conclusion
Congratulations! You’ve just completed your very own crochet octopus keychain. It’s a fun and simple pattern that you can customize using colors of your choice, making each creation unique. Perfect for keychains, bag charms, or small gifts, this project will leave a lasting impression.
Tutor’s Suggestions
- Use bright or contrasting yarn colors to make the tentacles more eye-catching.
- For durability, attach the keyring securely and reinforce the loop if necessary.
- To make it unique, add tiny embellishments like beads, safety eyes, or embroidery for the face.
Tip for Success
When working with polyester yarn, be cautious of its slippery nature. Always keep your tension even, and use a smaller hook size to minimize large gaps.
Leave a Reply