

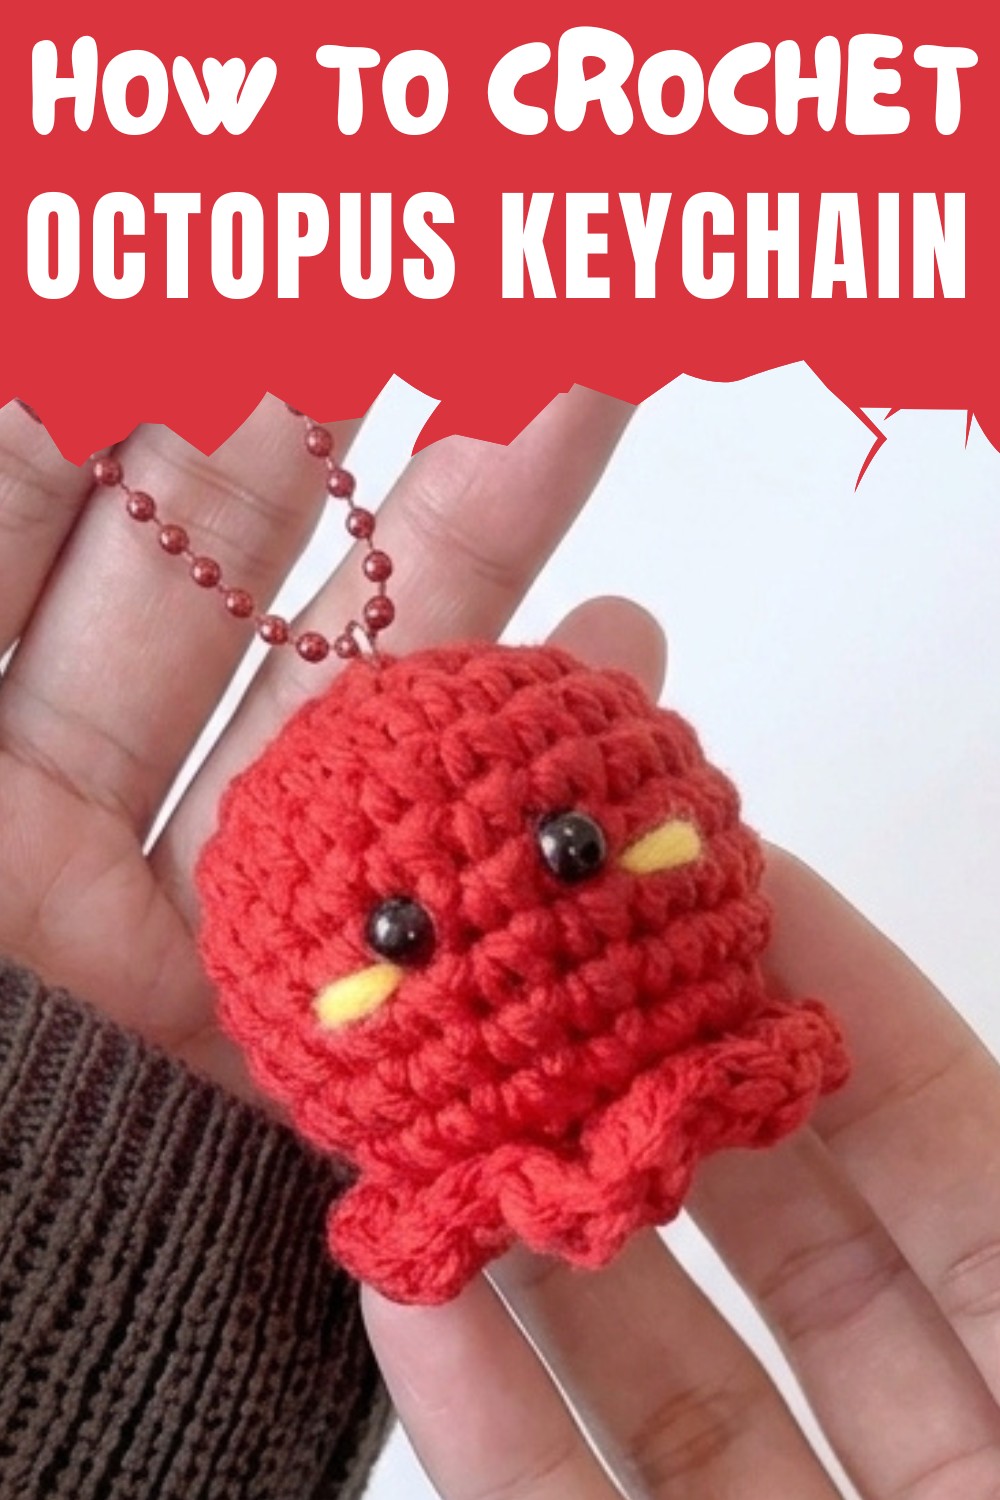
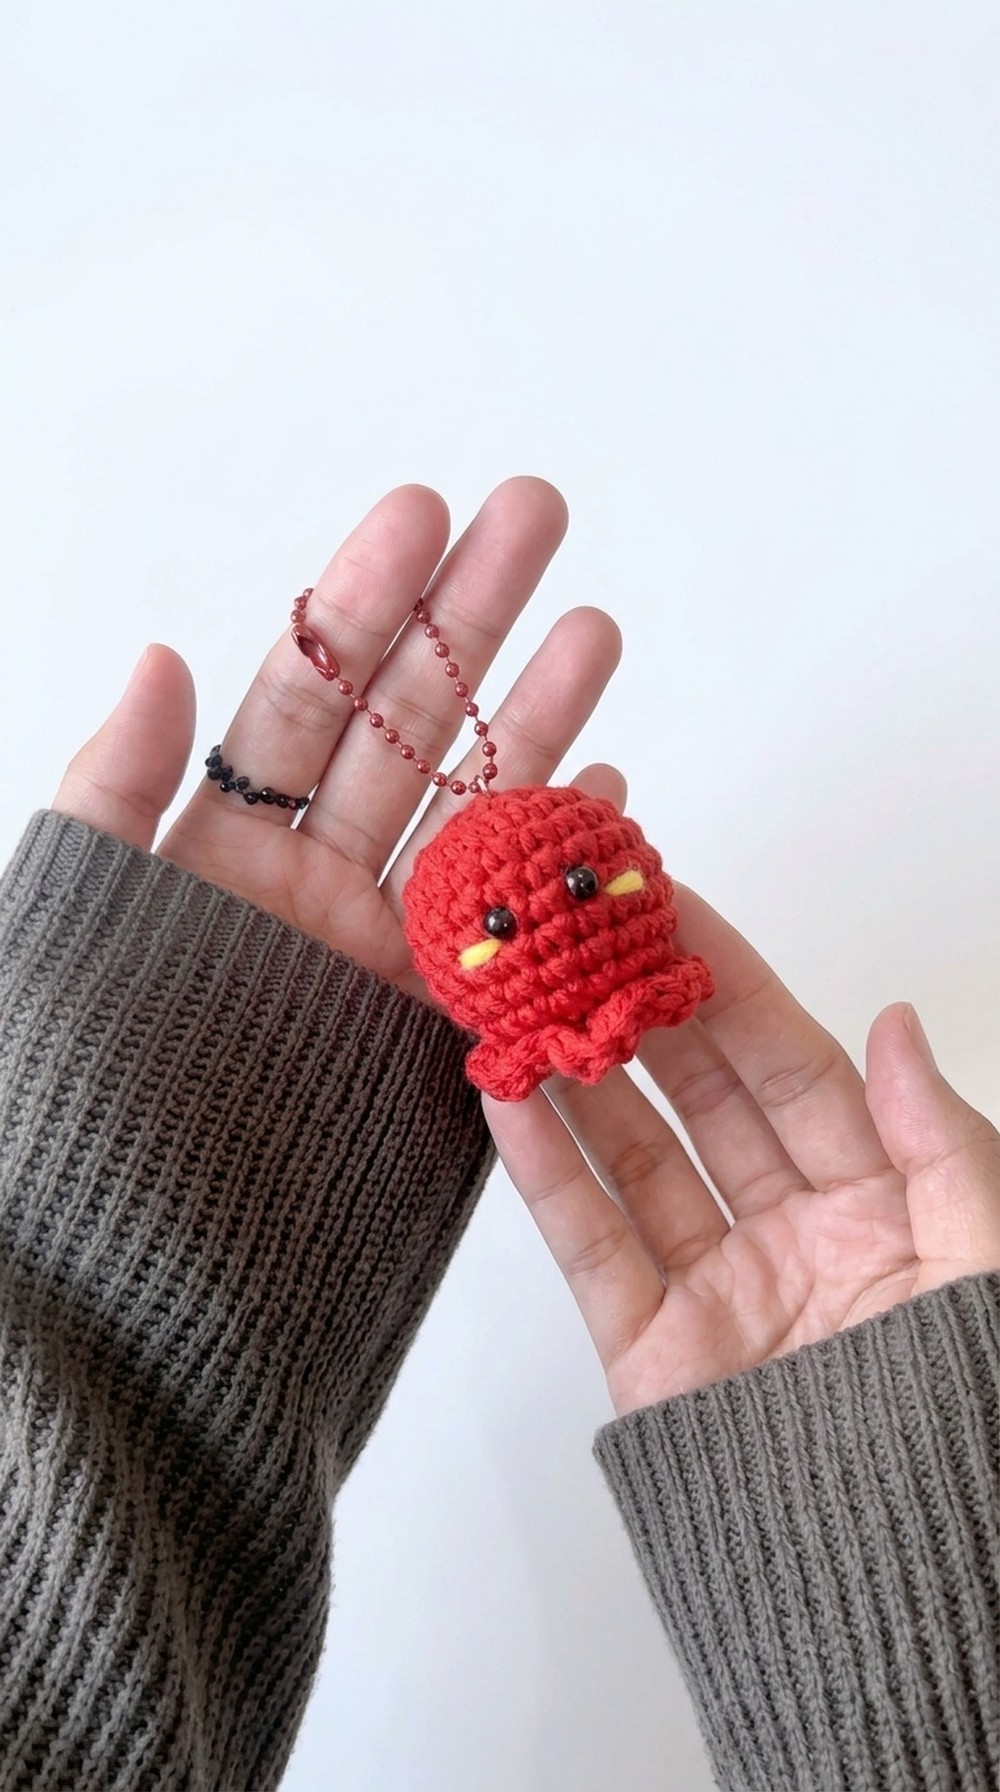
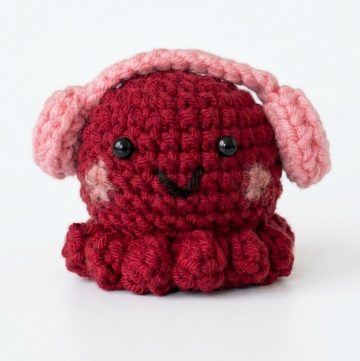
Refresh boring keys with this Free Crochet Octopus Keychain Pattern, a trendy, stash-busting design that adds personality to bags, backpacks, and more.
Charming little projects like this Free Crochet Octopus Keychain Pattern make handmade style feel fun, modern, and super practical. This tiny amigurumi octopus works up quickly, uses only a small amount of yarn, and is perfect for turning leftover scraps into something genuinely useful. Attach it to your keys, backpack, pencil case, or handbag for a cute accessory that also makes it easier to spot and hold onto your belongings.
Bring Joy with a Free Crochet Octopus Keychain Pattern: Fun for All Ages
The pattern focuses on simple stitches and clear shaping, helping you practice amigurumi basics while still finishing a project in a short time. It’s a great stress-relief make, an ideal last-minute gift, and a thoughtful way to personalize everyday items with your own flair.
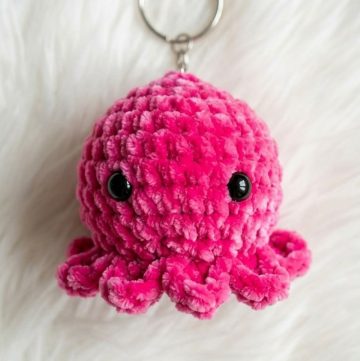
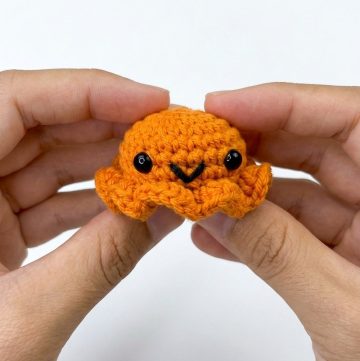
Because the pattern is small and lightweight, it’s easy to sell at markets, give as party favors, or share as friendship tokens. You can customize colors to match school themes, favorite characters, or seasonal palettes, making each Free Crochet Octopus Keychain Pattern unique to its owner and perfectly suited to modern, cute accessory trends.
Special Features
- Small and quick amigurumi project
- Uses Magic Ring, single crochet (sc), increase (inc), and decrease (dec)
- Uses back loop only (BLO) to leave the front loops for tentacles
- Clean shaping thanks to an invisible decrease method
- Ideal for keychains, bag charms, or tiny toys
Level of Difficulty
- Beginner to Advanced Beginner
- Suitable for crocheters who:
- Know how to make a Magic Ring
- Can crochet single crochet, increase, and decrease
- Can work in the round (spiral)
Abbreviations (US Terms)
- MR – Magic Ring
- sc – single crochet
- inc – increase (2 sc in the same stitch)
- dec – decrease (2 stitches crocheted together)
- BLO – back loop only
- st – stitch
Materials (Based on Tutorial Style)
- Yarn: Small amount of amigurumi-friendly baby red yarn (e.g., cotton or acrylic)
- Hook: Size to match yarn (commonly 2.0–3.0 mm for amigurumi)
- Stuffing: Dacron / fiberfill
- Tapestry needle
- Stitch marker
- Keychain ring (optional, for finishing)
Pattern – Octopus Head (Worked in the Round)
Round 1 – Magic Ring
- Make a Magic Ring (MR)
- The tutor shows wrapping the yarn around fingers and forming a ring.
- Work 6 single crochet into the Magic Ring
- Round 1: 6 sc in MR
- Count your stitches: you should have 6 sc.
- Pull the tail to close the ring tightly.
- This completes Round 1.

Round 2 – Increase All Around
- The tutor says: “increase all around” and explains loops (front loop, back loop) and that when nothing is specified you use both loops.
Round 2:
- Inc in each stitch around → 2 sc in each st
- Start with:
- Insert hook under both loops of the first st.
- Work 1 sc, then mark this stitch with a stitch marker as the first stitch of Round 2.
- Work 1 more sc in the same stitch → this is your first inc.
- Repeat inc (2 sc in same st) in each stitch around.
- At the end of Round 2, you have: 12 sc
(Tutor confirms: “baris kedua udah selesai, jumlahnya ada 12 lubang.”)
Round 3 – 1 sc, inc (Repeat Around)
Round 3:
- Work pattern: (1 sc, inc) repeat all around
Step sequence:
- Remove stitch marker temporarily.
- In first stitch: work 1 sc, then place stitch marker in this stitch.
- In next stitch: work inc (2 sc in same st).
- Continue: 1 sc in next st, inc in next st around.
- At the end of Round 3, you have: 18 sc
(Tutor: “Jumlahnya ada 18 lubang atau 18 stitch.”)
Rounds 4–9 – Single Crochet All Around
Rounds 4–9:
- sc in each st around
- No increases or decreases.
- Work 1 sc in every stitch for each round, continuing in spiral.
- The tutor notes: “lakukan cara yang sama sampai baris ke-9.”

After Round 9, your stitch count remains: 18 sc.
You should now have a neat, round dome (the octopus head).
Round 10 – 1 sc, dec (Repeat Around)
The tutor explains decrease as the opposite of increase, and uses an invisible decrease technique working with front loops only of two stitches.
Round 10:
- Work pattern: (1 sc, dec) repeat around
Steps:
- In first stitch: 1 sc, then place stitch marker in this stitch.
- Next, work dec using invisible method:
- Insert hook into front loop of the next stitch.
- Insert hook again into front loop of the following stitch (so two front loops on hook).
- Yarn over, pull through both front loops → 2 loops on hook.
- Yarn over, pull through both loops → 1 dec completed.
- Repeat: 1 sc in next st, then dec around.
At the end of Round 10, your stitch count decreases (from 18 to 12).
Stuffing the Head
- Before the next round, the tutor stuffs the head with dacron (fiberfill).
- Fill it firmly but not too hard to keep a smooth round shape.
Round 11 – Decrease All Around (BLO)
For this round, the tutor works decrease all around and BLO only, leaving front loops free for tentacles later.
Round 11:
- dec all around in BLO (back loops only)
Steps:
- Work dec over every two stitches, but insert hook into back loops only.
- Insert hook into the back loop of the first stitch.
- Insert hook into the back loop of the second stitch.
- Yarn over, pull through both loops → 2 loops on hook.
- Yarn over, pull through both loops to complete the decrease.
- Repeat this BLO dec around until the opening closes (the tutor says to repeat 6 times).
Now the head is fully closed, and you still have visible front loops around the last open round – these will be used later for the tentacles.
Finishing the Head
- Cut the yarn (if needed), leaving a short tail.
- Use a tapestry needle to weave in and tidy the remaining yarn on top.
- The tutor demonstrates this cleaning process.
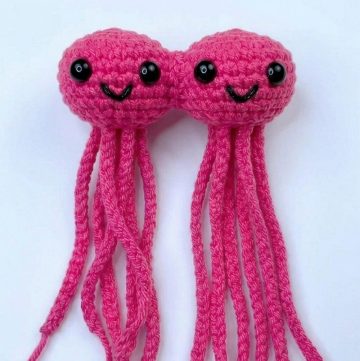
Tentacles (Start of Instructions)
The tutor then starts showing how to crochet the tentacles using the front loops that were left.
Step 1 – Slipknot and Join
- Make a slipknot (simpul awal).
- Insert your hook into the first front loop from Round 11 (the front loops left unworked).
- Work a slip stitch into that front loop:
- Insert hook through front loop.
- Yarn over, pull through front loop and the loop on hook.

- Each tentacle is made by chaining a certain number of chains (for example, ch 15–20), then working multiple stitches (like 2 sc in each chain or sc, hdc combinations) to form a curl, and then slip stitching back to the next front loop around the base.
- This is done repeatedly around the body to form all the octopus tentacles.

Tutor’s Suggestions (From Narrative)
- Use a stitch marker to mark the first stitch of each round so you don’t lose count.
- Front loop vs back loop:
- FLO only or BLO only will be written explicitly in patterns.
- If nothing is specified, insert hook under both loops.
- For decrease, the tutor recommends the invisible decrease method using front loops only because it is:
- Cleaner
- Neater
- More professional-looking
- Back Loop Only decrease is used on the last round to keep front loops free for tentacles.
Uses
- Keychain charm
- Bag / backpack accessory
- Souvenir or small handmade gift
- Desk decoration
- Cute toy for kids (always secure small parts and avoid for very young children if any safety eyes are used)
Tip
To keep your octopus looking neat and evenly shaped, count your stitches at the end of each round (especially Rounds 2 and 3) and make sure your tension is consistent. Using a smaller hook than usual for your yarn helps the stuffing stay inside and gives a smooth, firm finish.
Conclusion & Remarks
This Free Crochet Octopus Keychain Pattern is a fun, compact project that teaches you useful amigurumi skills like the Magic Ring, increasing and decreasing in the round, working BLO to prepare for extra details, and using invisible decreases for a refined finish. With just a small amount of yarn and some stuffing, you can produce an adorable accessory perfect for everyday use or gifting.
Leave a Reply