

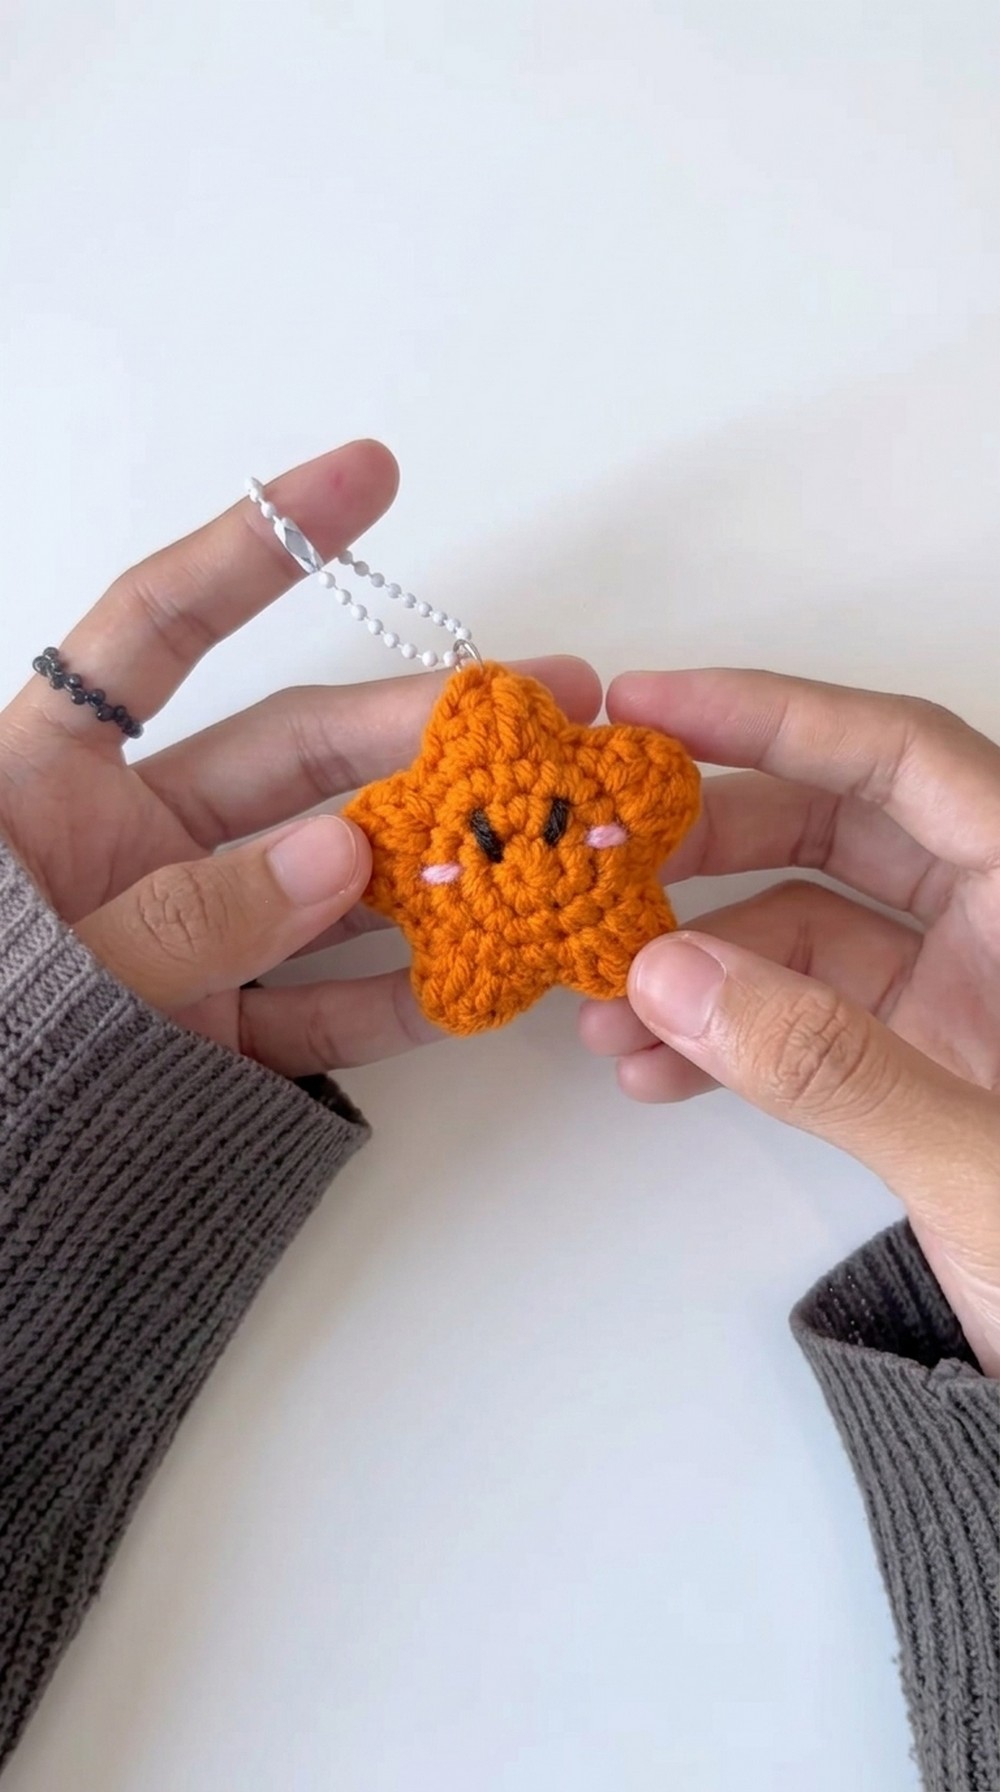
Spark your creativity using the Free Crochet Star Keychain Pattern, ideal for trendy, minimalist designs that captivate attention.
Tiny projects with big personality are always in style, and a free crochet star keychain pattern is the perfect example. This small yet stylish make turns a few yards of yarn into a modern accessory that brightens up keys, backpacks, or tote bags in minutes. Ideal for beginners and confidence-boosting for intermediates, it uses basic stitches and simple shaping to form a cute, puffy star that looks polished without being complicated.
Trendy and Personalized Crochet Star Keychain Pattern Must Try
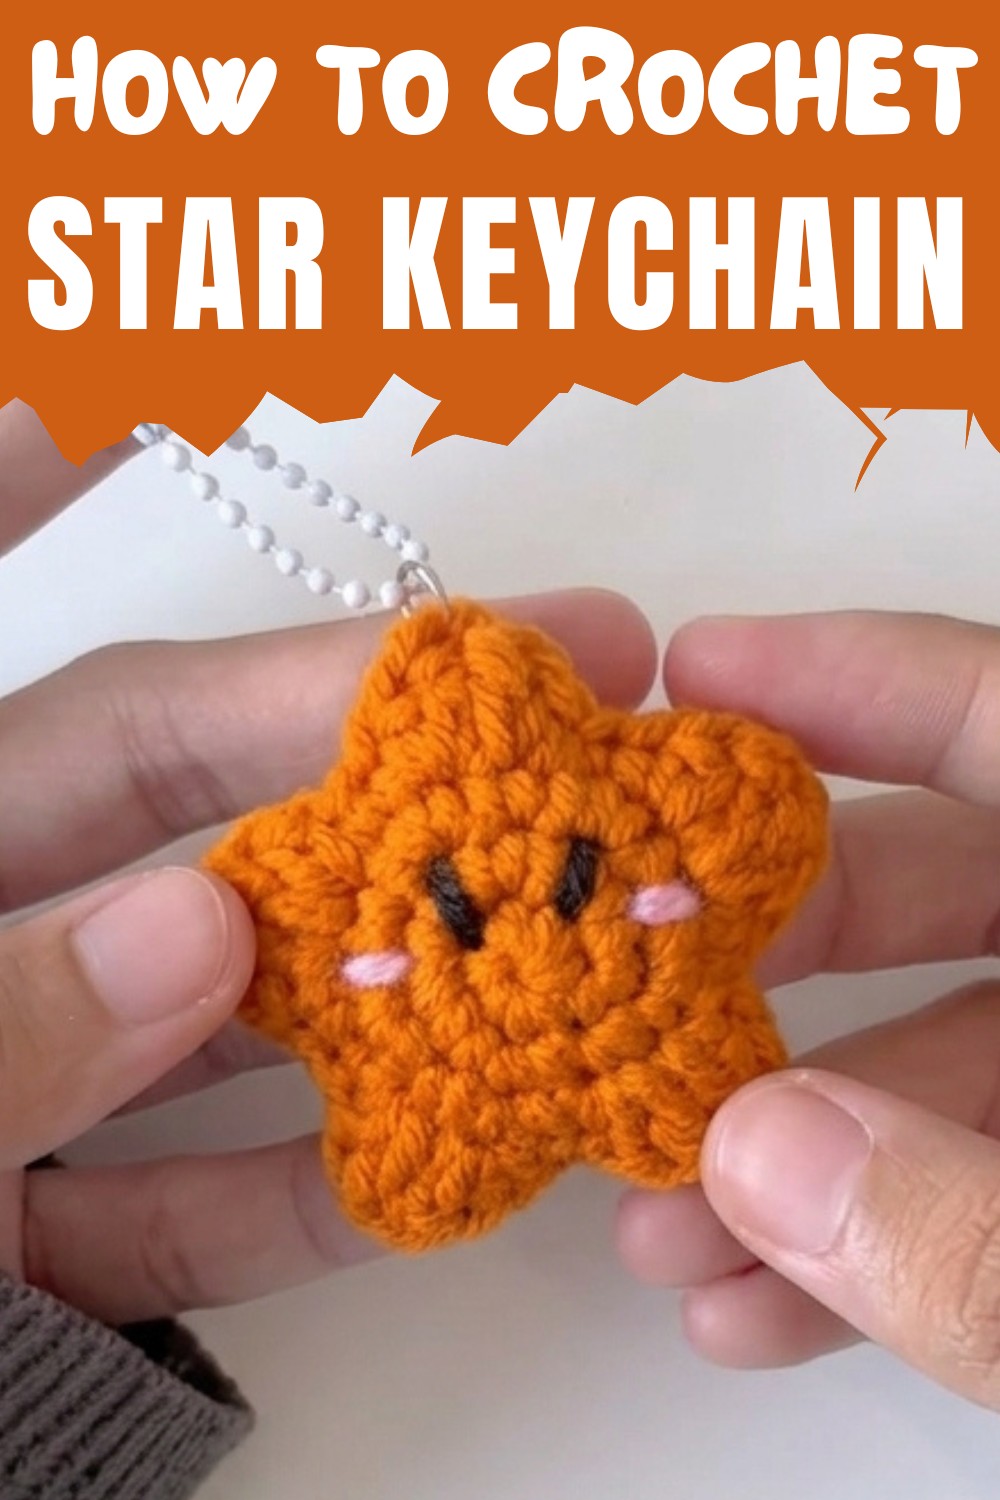
Beyond being a trendy add-on, this pattern is surprisingly practical: it helps use up leftover yarn, makes last-minute gifts stress-free, and provides a relaxing, bite-sized project between larger works. Worked in bold shades, it becomes a fun statement piece; in soft neutrals or pastels, it feels minimalist and chic. Add safety eyes, embroidery, or a tiny smile to turn each piece into a one-of-a-kind charm with personality.
This free crochet star keychain pattern is also great for markets, swaps, or thank-you tokens—small enough to produce in batches, but thoughtful enough to feel special. In one compact design, you gain a stylish accessory, a stash-buster, a skill-builder, and a go-to idea for meaningful handmade gifts.
Special Features
- Skill Level: Beginner-friendly
- Stitches Used: Single crochet, half double crochet, and double crochet.
- Special Techniques: Magic ring construction, increasing, and shaping for a perfect star finish.
- Usage: Keychains, bag charms, or cute handmade gifts.
Required Materials
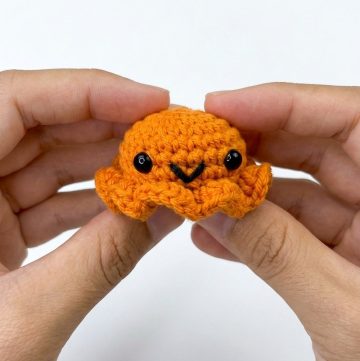
- Yarn of choice in orange color (Cotton yarn is recommended for sturdiness).
- Crochet hook suitable for your yarn size (commonly 3.0–4.0 mm for this type of project).
- Stitch marker (optional but helpful).
- Tapestry needle.
- Polyester stuffing (Dakron or similar).
- Keyring or lobster clasp.
- Safety eyes (optional).
Step-by-Step Instructions
Step 1: Start with a Magic Ring
- Begin with the Magic Ring technique:
- Wrap the yarn to form a ring and pull a loop through the center.
- Chain 1 to secure the ring.
Tip for Beginners: Be patient with creating the magic ring; it takes practice!
2: Create the First Round
- Work 5 Single Crochet stitches inside the magic ring. (Count as you go: 1, 2, 3, 4, 5).
- Pull the tail of the magic ring to close the circle tightly.
- At the end of round 1, there should be a total of 5 stitches.
Step 3: Second Round (Increase All Around)
- Work 2 Single Crochet stitches in each stitch of the previous round (increase all around):
- Insert into a single stitch, work 2 single crochet in the same stitch.
- Repeat this for all 5 stitches.
- At the end of round 2, you should have 10 stitches.
- Optional: Use a stitch marker to mark the first stitch of the round.
4: Third Round (Single Crochet and Increase)
- Alternate 1 Single Crochet in the first stitch and 1 Increase (2 Single Crochet in the same stitch) in the next.
- Repeat this pattern all around: Single Crochet, Increase, Single Crochet, Increase.
- At the end of round 3, you will have 15 stitches.
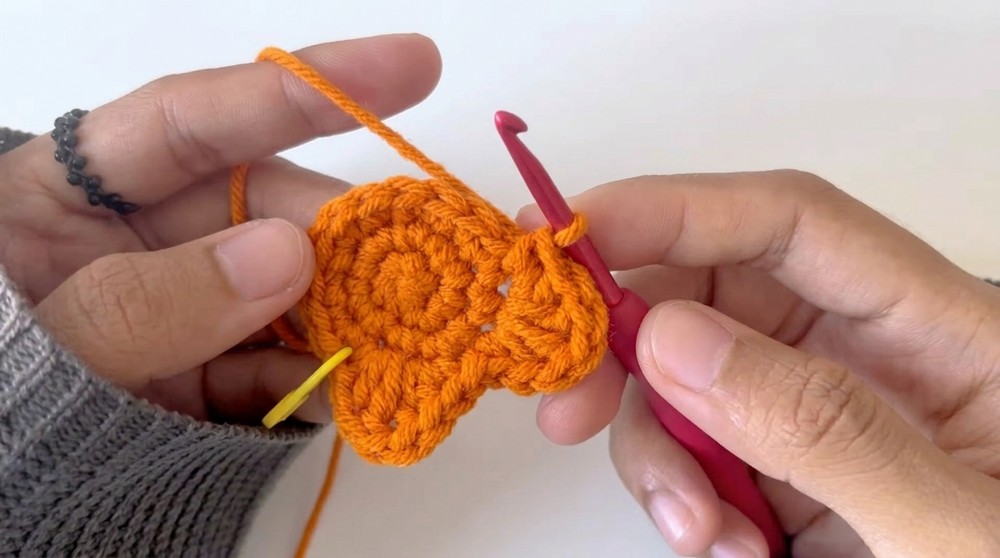
5: Fourth and Formative Round (Star Points)
- Start by working the following combination in the same stitch to create a "star point":
- 1 Single Crochet.
- 1 Half Double Crochet.
- 1 Double Crochet.
- Chain 1.
- In the next stitch, work this combination in reverse to complete the star point:
- 1 Double Crochet.
- 1 Half Double Crochet.
- 1 Single Crochet.
- Slip Stitch into the next stitch to complete one star point.
- Repeat this pattern until you form 5 star points.
6: Make Two Identical Stars
- Repeat the steps above to create a second identical star shape.
- Ensure both stars are uniform in size, counting stitches as needed.
7: Assemble the Star
- Align both stars with the wrong sides facing each other.
- Use a tapestry needle and yarn tail to sew both stars together:
- Only pick from the inner loops of each stitch to create a clean seam.
8: Add Stuffing
- Before closing the seam completely, insert polyester stuffing (Dakron) into the star.
- Adjust the stuffing amount to maintain a smooth and evenly shaped design.
- Continue sewing to close the remaining gap.

9: Add Final Touches
- Attach a keyring or lobster clasp to transform the star into a practical keychain.
- Optionally, add safety eyes for a cute face or embroider a small smile.

Uses and Variations
- Practical Uses: Attach it to keys, purses, or backpacks for a delightful pop of color.
- Gift Ideas: Customize it with colors or add embellishments to make thoughtful, homemade gifts.
- Kids’ Room Décor: They can also be hung as ornaments or adorable décor.
Tutor’s Suggestions
- If you’re a beginner, practice the individual stitches (Single Crochet, Half Double Crochet, and Double Crochet) before attempting the full project.
- Use vibrant colors for a playful look or pastel shades for a more delicate, chic design.
Conclusion
Congratulations! You’ve crocheted an adorable star keychain and learned valuable techniques like magic rings, increasing, and star shaping. This project is quick, fun, and full of creative possibilities. Whether for personal use or gifting, your handmade masterpiece is sure to stand out!
Extra Tip
For a sturdier finish, block your star shapes before assembling to give them a cleaner and sharper look. Steam blocking works best for a polished result.
Complete Remarks
This Free Crochet Star Keychain Pattern is perfect for crocheters of all skill levels. The simple yet beautifully structured design makes it a joy to crochet, while its versatility ensures it’ll become a favorite go-to pattern for gifts or personal use. Don’t forget to experiment with colors and add-ons to make each star uniquely yours.


Leave a Reply