

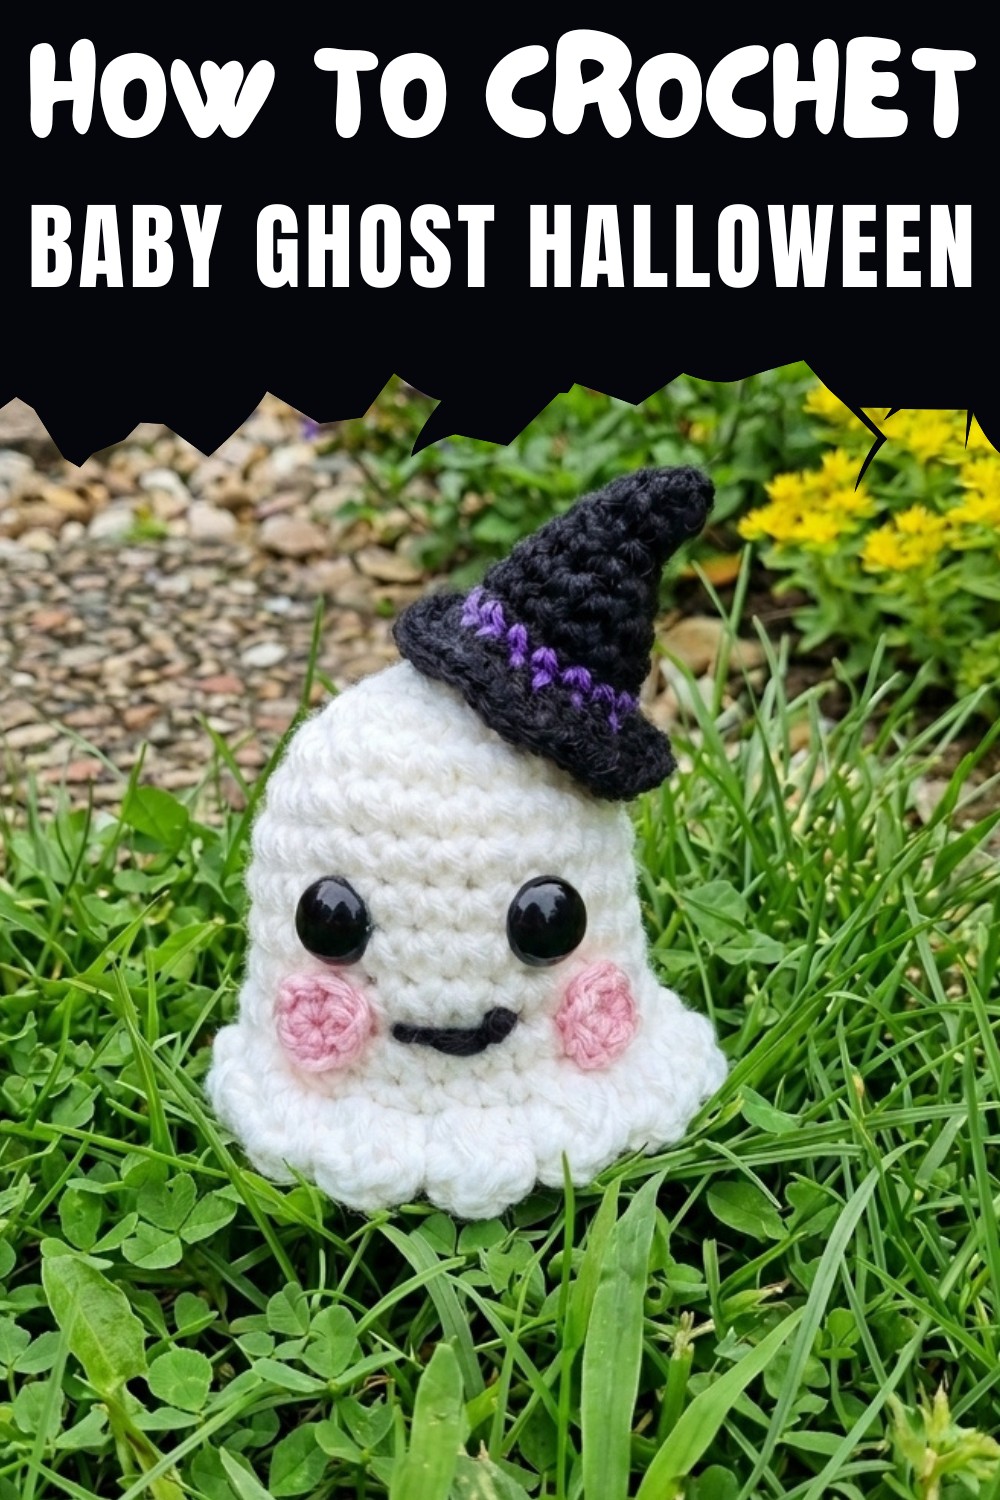
Simplify your spooky décor with this Free Crochet Ghost Pattern and create adorable handmade ghosts perfect for keychains or giveaways.
Begin with a fun and rewarding crochet project this Halloween by making your own adorable crochet ghost. Perfect for beginners and seasoned crocheters alike, this charming pattern helps you bring a spooky yet sweet vibe to your seasonal décor. Whether you're looking to decorate your home, make thoughtful handmade gifts, or accessorize with quirky Halloween keychains, this crochet ghost pattern fits the bill. The pattern combines simplicity with creativity, offering the perfect way to use your favorite yarn scraps or experiment with new colors and styles.
Adorable Crochet Ghost Pattern Perfect for Fall Vibes
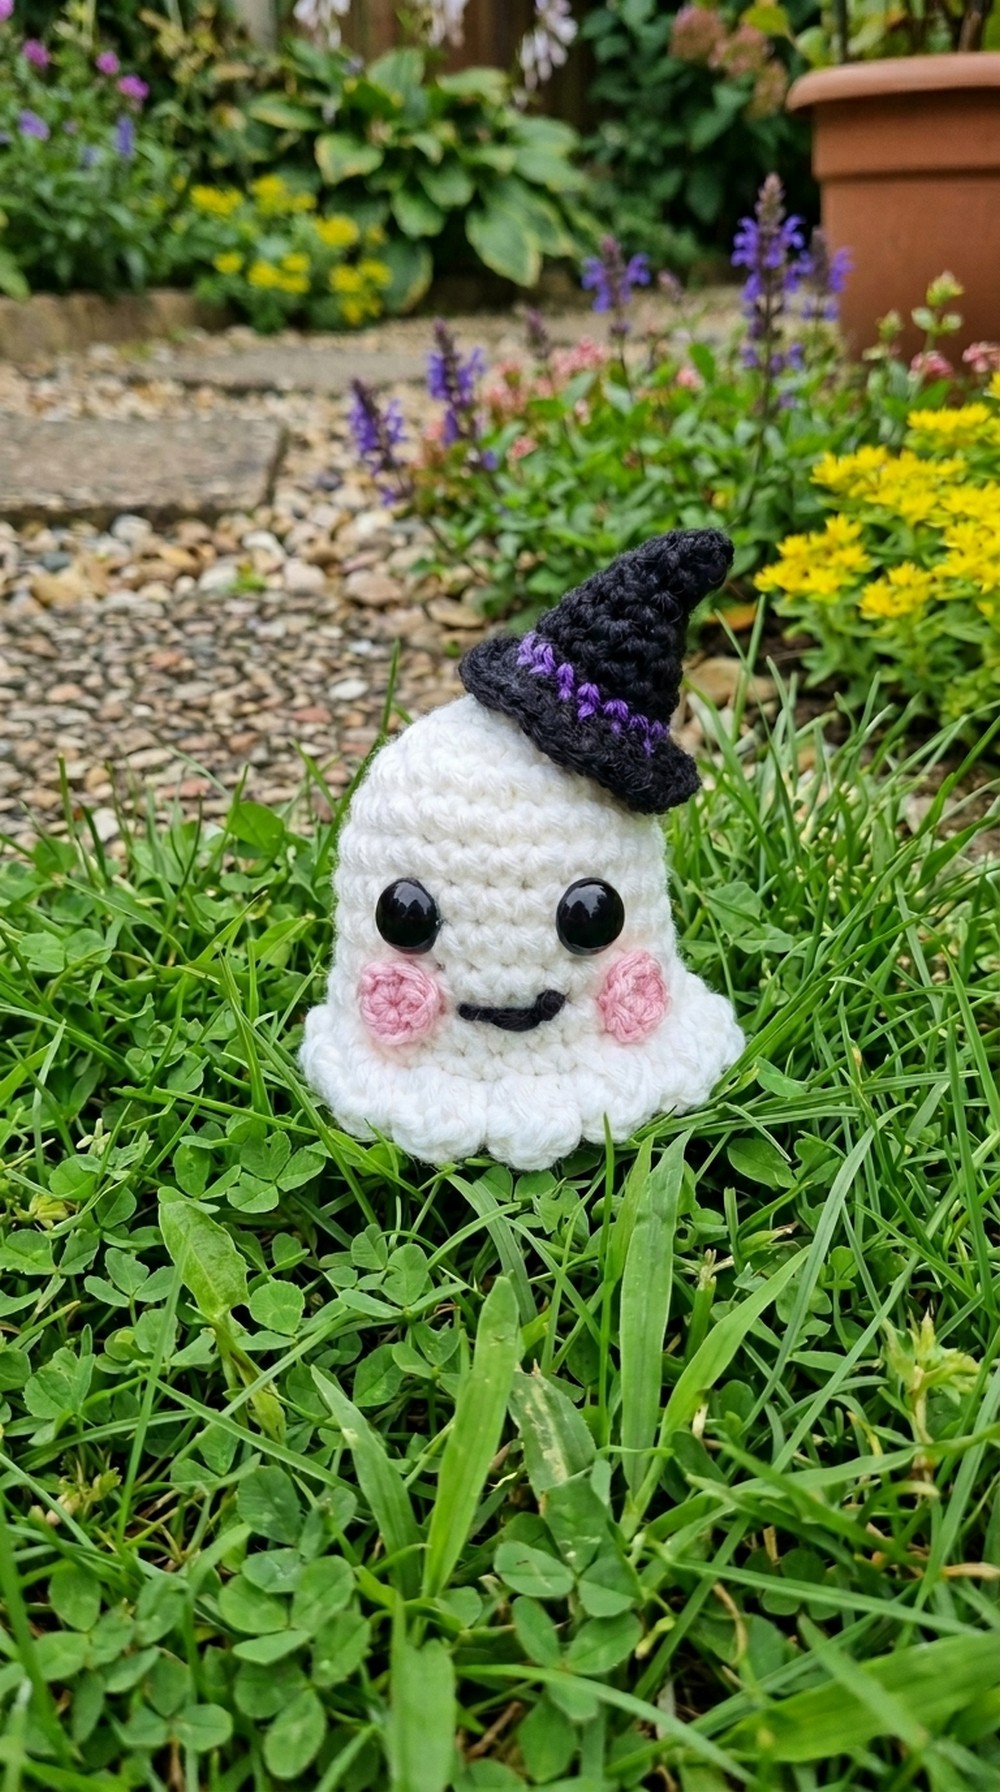
Easy to follow and quick to complete, the pattern involves basic stitches like single crochet, increases, and decreases, making it ideal for anyone looking to improve their skills. You can even level up its personality by adding fun accessories like witch hats, tiny blush cheeks, or a quirky smile.
Lightweight and cute, it’s also a delightful choice for children’s toys or classroom giveaways. With just a small amount of time and effort, you’ll have a finished project that’s both charming and practical.
Level of Difficulty
Beginner to Intermediate: Basic familiarity with crochet stitches (single crochet, increases, decreases, magic ring) and working in back loops is required.
Materials Needed
- White yarn: Medium #4 worsted weight for the ghost’s body.
- Black yarn: Medium #4 for the witch hat.
- Purple yarn: Accent color, medium #4 for the witch hat brim.
- Crochet Hook: 3.25mm hook.
- Yarn needle: For sewing and weaving in ends.
- Safety eyes: A pair, size suitable for a small amigurumi project.
- Scissors
- Stuffing: Polyester fiberfill.
- Stitch marker: Optional, for keeping track of rows.
Pattern Instructions
Ghost Body
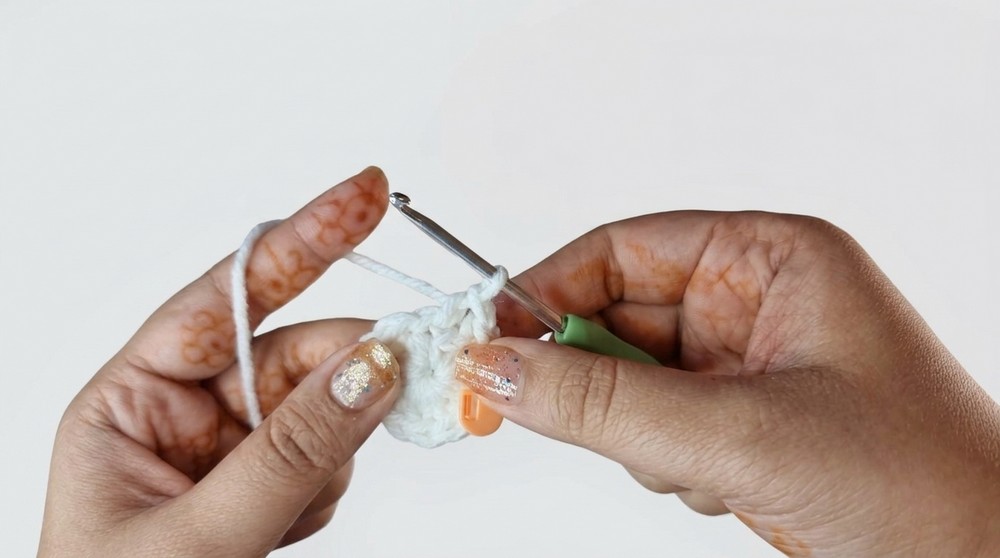
Step 1: Magic Ring Foundation
- Create a magic ring.
- Place 6 single crochets (sc) into the ring. Pull the tail tight to close. (Total: 6 sts)
Step 2: Round 2 (Increases)
- Place 2 sc into each stitch around. (Total: 12 sts)
Step 3: Round 3
- Work 1 sc in the first stitch, then an increase (2 sc) in the next stitch. Repeat this pattern (1sc, increase) around. (Total: 18 sts)
Step 4: Round 4
- Work 1 sc in each of the next two stitches, then an increase in the third stitch. Repeat this pattern (2 sc, increase) around. (Total: 24 sts)
Step 5: Round 5
- Work 1 sc in each of the next three stitches, then an increase in the fourth stitch. Repeat this pattern (3 sc, increase) around. (Total: 30 sts)
Step 6: Round 6-12
- Work 1 sc in each stitch around for seven rounds (no increase). (Total: 30 sts per round)
Step 7: Round 13 (Shaping with Back Loops)
- Work into the back loops only (BLO):
- 3 sc, then decrease (sc2tog) in the next two stitches.
- Repeat this pattern (3 sc, decrease) around for the row. (Total: 24 sts)
Step 8: Add Safety Eyes
- Insert the safety eyes between Rows 6 and 7. Leave approximately four stitches between them. Once positioned, secure them with the safety backings.
Step 9: Stuffing the Body
- Add stuffing to the ghost as you continue shaping the head and closing the body.
Step 10: Round 14
- Work 2 sc, then decrease in the next two stitches. Repeat this around. (Total: 18 sts)
Step 11: Round 15
- Work 1 sc, then decrease. Repeat this pattern around. (Total: 12 sts)
Step 12: Round 16 (Final Decreases)
- Work 6 decreases (sc2tog) around to close up the ghost body. (Total: 6 sts)
Step 13: Closing the Bottom
- Leave a long tail, thread it through the remaining stitches with a yarn needle, and pull it tight to close. Weave in the tail and cut off any excess yarn.

Adding the Ruffle
- Attach white yarn to the back loop stitches of Round 12.
- Chain 2, then place 2 half double crochets (hdc) in the same stitch.
- Slip stitch into the next stitch.
- Repeat the pattern: 3 hdc in the next stitch, slip stitch in the next one until you’ve gone around the body.
- Slip stitch to the starting stitch. Cut yarn, secure with a knot, and weave in ends.

Witch Hat
- Create a magic ring using black yarn. Place 4 sc into the ring and close. (Total: 4 sts)
- Round 2: Increase in every stitch. (Total: 8 sts)
- Round 3: Work 1 sc, then an increase in the next stitch. (Total: 12 sts)
- Round 4: Work 2 sc, then an increase. (Total: 16 sts)
- Round 5: Work 3 sc, then an increase. (Total: 20 sts)
- Round 6: Change to purple yarn. Work 1 sc in each stitch around. (Total: 20 sts)
- Round 7: Using black yarn, work 2 hdc in each stitch around to form the brim. (Total: 40 sts)
- Slip stitch to the first hdc and fasten off, leaving a long tail for sewing.
Optional Details
- Add a small amount of stuffing to the witch hat to help it retain its shape.
- Sew the hat to the top of the ghost’s head securely with the yarn tail.
- Embroider a simple smile using black yarn, and attach optional blush cheeks using two small crocheted magic rings or fabric blush.
Special Features and Suggestions
- Customizable: Change yarn colors or embellishments to match your personal style.
- Multi-purpose: Use these ghosts as decorations, keychains, or Halloween-themed gifts.
- Fast and Fun: The ghost is quick to make and perfect for last-minute Halloween prep.
Pro Tip
When working with small amigurumi projects like this, keep your tension tight to avoid gaps in the stitches. This ensures a well-stuffed, polished result.
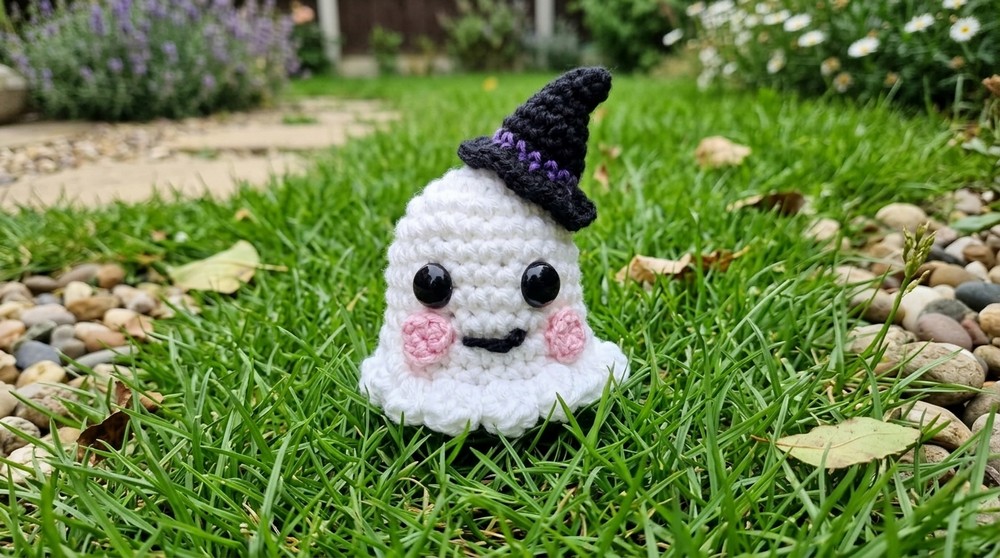
Conclusion
This crochet baby ghost with a witch hat combines simplicity with charm, making it a delightful addition to your Halloween creations. Its beginner-friendly approach ensures anyone can enjoy the fun, whether you're a seasoned crocheter or just starting out. Personalize your ghost with colors, accessories, or expressions to make it uniquely yours!
Complete Remarks
This crochet ghost project is a testament to how simple designs can create something magical. Quick to work up and endlessly customizable, this pattern will surely add charm to your holiday crochets.

Leave a Reply