

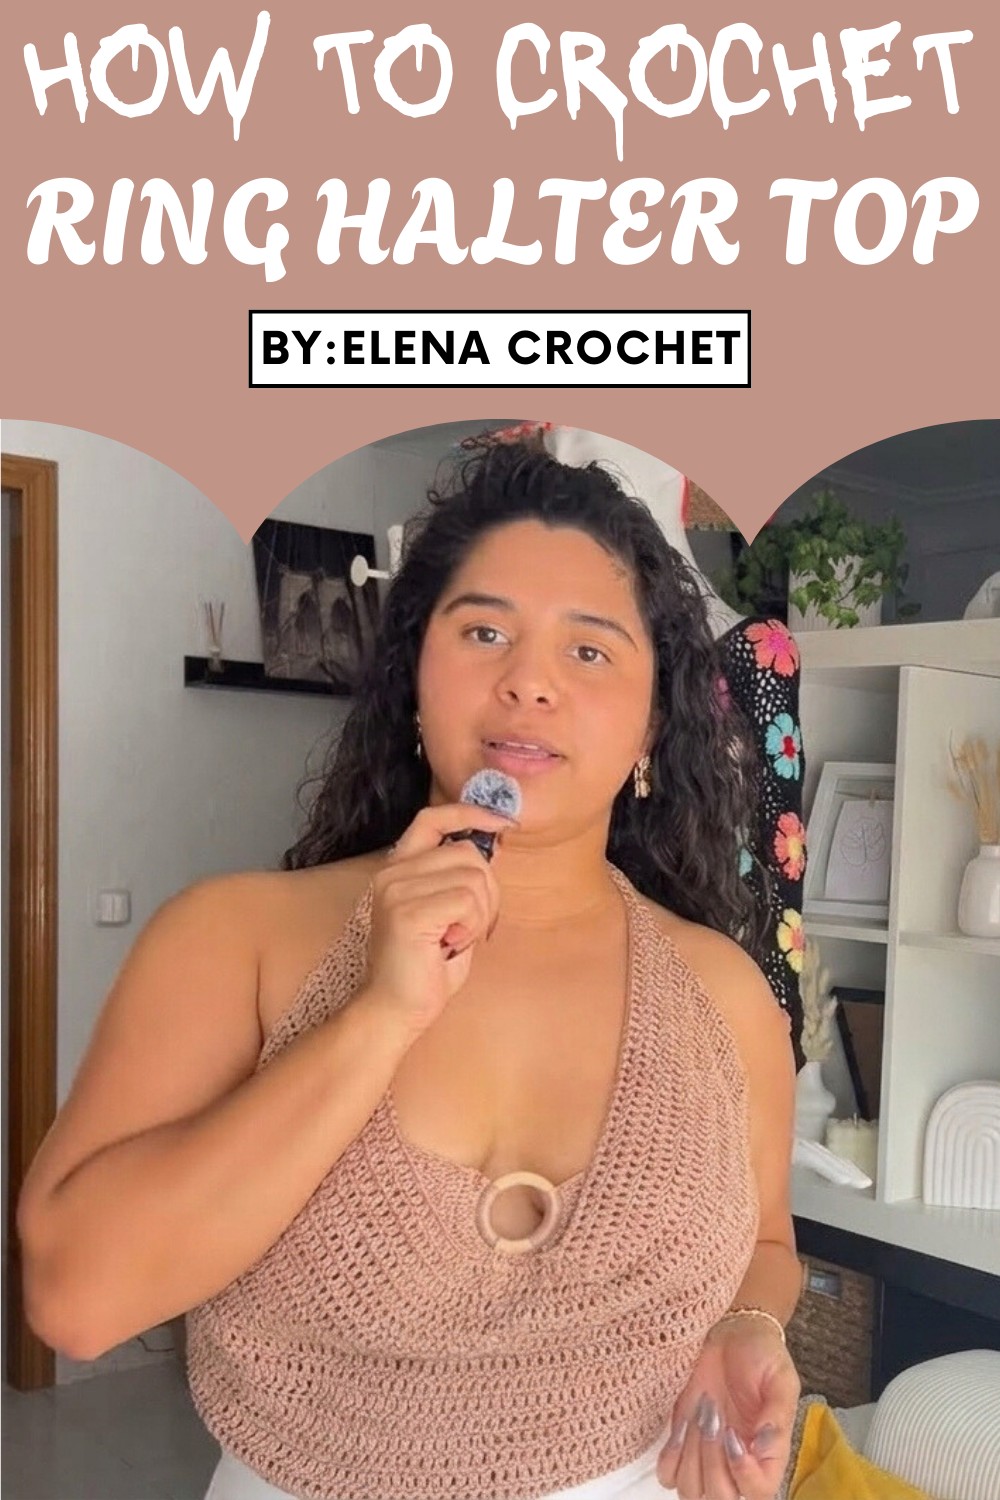
Style your look for sunny days with Free Crochet Ring Halter Top Pattern that feels easy to wear & perfect for any beginner or fashion lover.
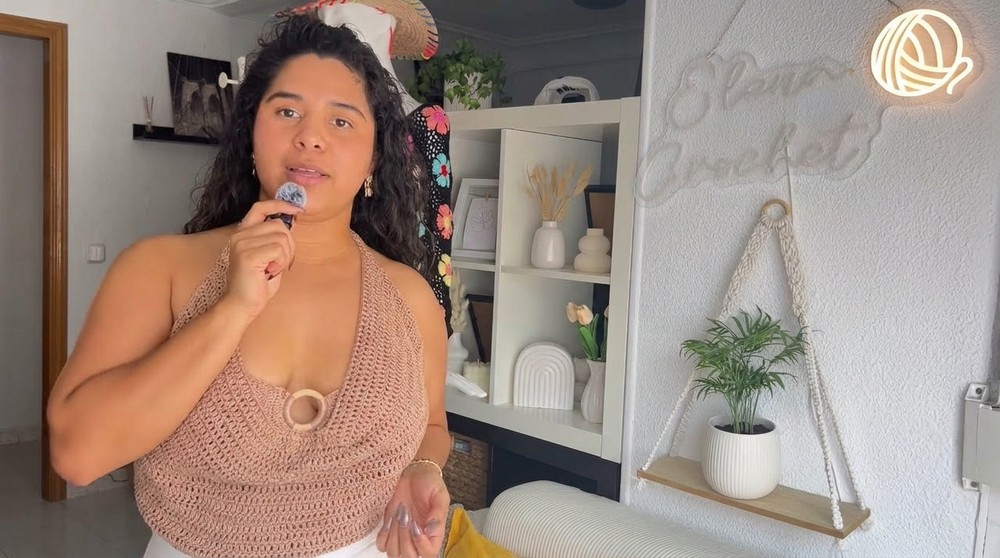
Wearing a beautiful top can make anyone feel special and confident. With a Crochet Ring Halter Top pattern, even someone new to making clothes can create a piece that stands out. This pattern forms neat rings that add a touch of style and a breezy look, making it perfect for warm days or fun outings. The open design is not just fashionable, but also helps you feel cool and comfortable.
Effortless free crochet ring halter top guide that’s super simple
Bright colors, soft pastels, or bold shades all work well, letting each person show off their favorite style. This top suits all body types and fits nicely, so everyone can enjoy wearing it with their favorite shorts, jeans, or skirts. Making this top is joyful because the steps are simple and the finished look is always eye-catching. Adding the Crochet Ring Halter Top pattern to your wardrobe means having something that is both easy to wear and always trendy.
Easy Crochet Ring Halter Top Pattern
Materials List
- Yarn: Círculo Brand (150g skein, suitable for a 3 mm hook; any DK or light worsted weight cotton or cotton-blend yarn will work)
- Hook: 3.5 mm crochet hook (adjust accordingly for your yarn and personal tension)
- Notions:
- Scissors
- Yarn needle for weaving in ends
- Measuring tape
Key Abbreviations (US Terms)
- ch – chain
- sl st – slip stitch
- dc – double crochet
- st(s) – stitch(es)
- Row – row (for working in rows)
Special Notes
- This pattern makes a rectangle top that drapes with the help of straps.
- Sizing is fully adjustable by changing the number of starting chains (width) and number of rows (height).
- The sample is for approx. size M, but easily adaptable—a good project for beginners.
Pattern
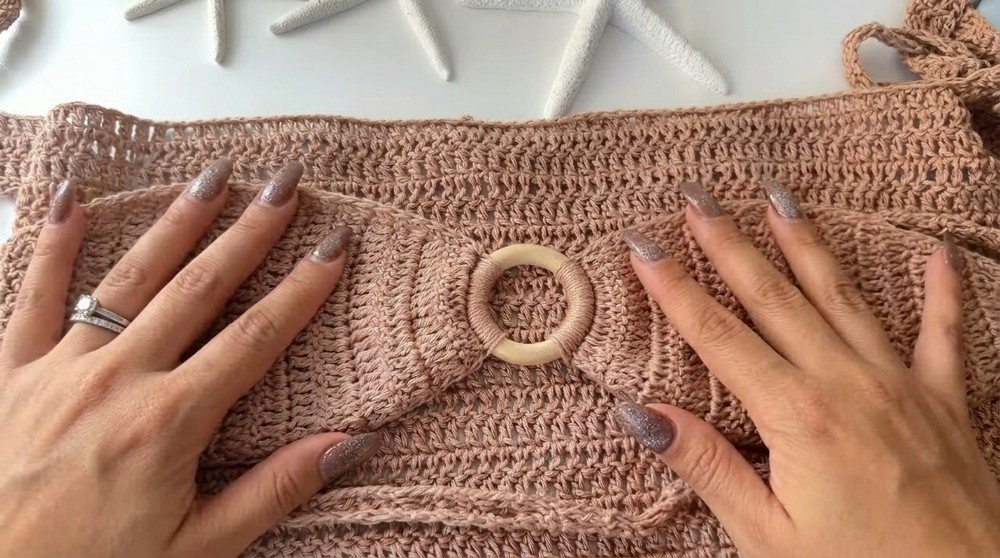
Main Rectangle Body
- Foundation Chain:
- Ch as many as needed to reach your desired width.
- Sample size M: ch until you reach 60–62 cm (the sample in transcription was almost 63 cm and used 100 ch; your number may differ if you want a more open or more closed neckline).
- For smaller/larger sizes, make fewer/more chains; the top will drape more with a longer chain.
- Ch as many as needed to reach your desired width.
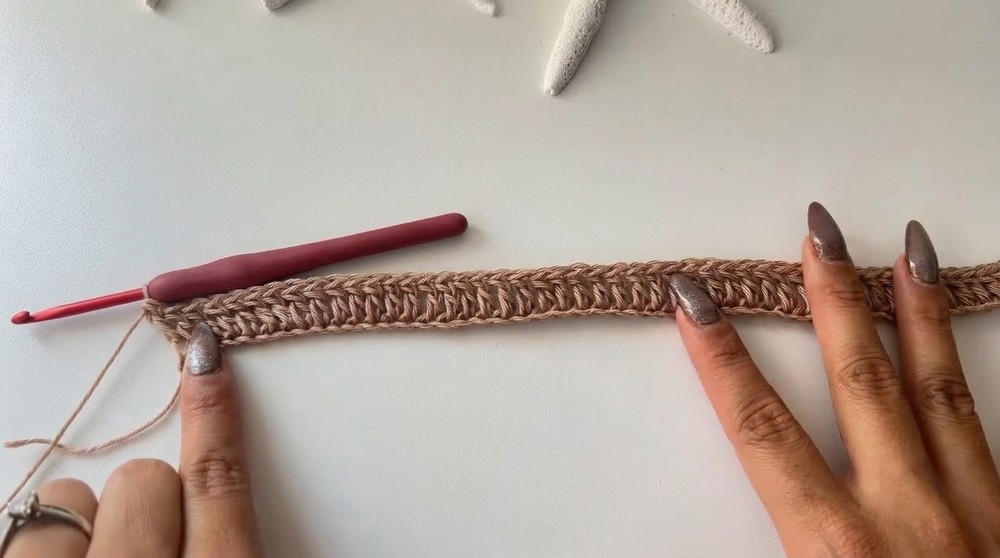
- Row 1:
- Ch 2 more (to turn; does not count as a dc),
- Dc in 3rd ch from hook and in each ch across to end.
- Row 2:
- Ch 2, turn (counts as first dc only if desired).
- Dc in next st and in every st across, including the final st (top of turning ch from previous row).
- Repeat Row 2 until the top reaches your desired length.
- Sample worked 25 rows for approx. 28 cm.
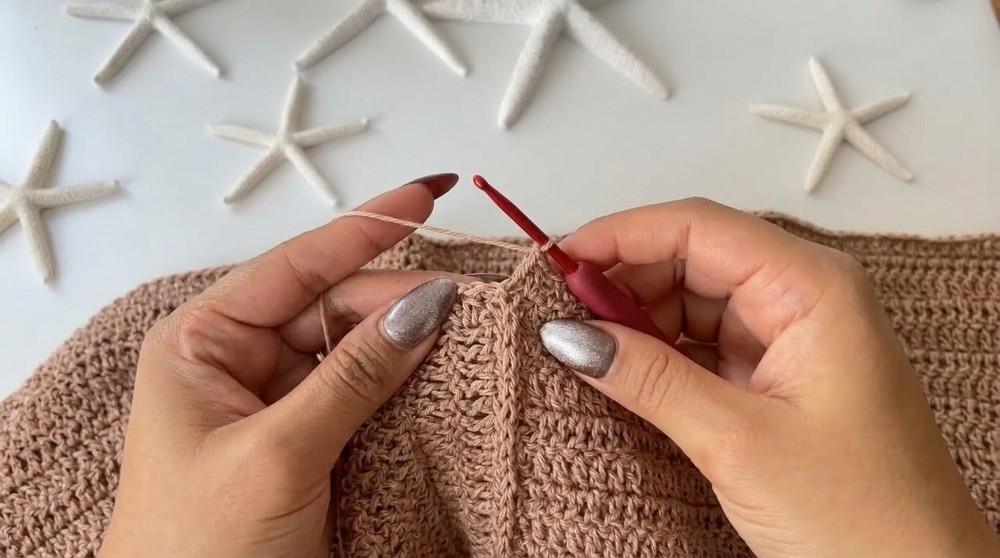
Straps (Make 4: 2 for Neck, 2 for Back)
- Straps are made as extensions of the rectangle's corners in dc for sturdiness.
- Without cutting yarn at the end of your last row:
- Ch 3 (or 2, as preferred), turn.
- Dc into each of next 3 sts (4 dc total for the strap).
- Continue in rows: Ch ⅔, turn, dc into each dc (4 sts per row).
- Repeat until the strap is about 57 cm long (or your preferred tie length).
- Fasten off and weave in end.
- Repeat on each of the three remaining corners:
- Attach yarn to the corner with a sl st and make a strap in the same manner (4 dc wide, rows until length matches original strap).
Assembly and Finishing
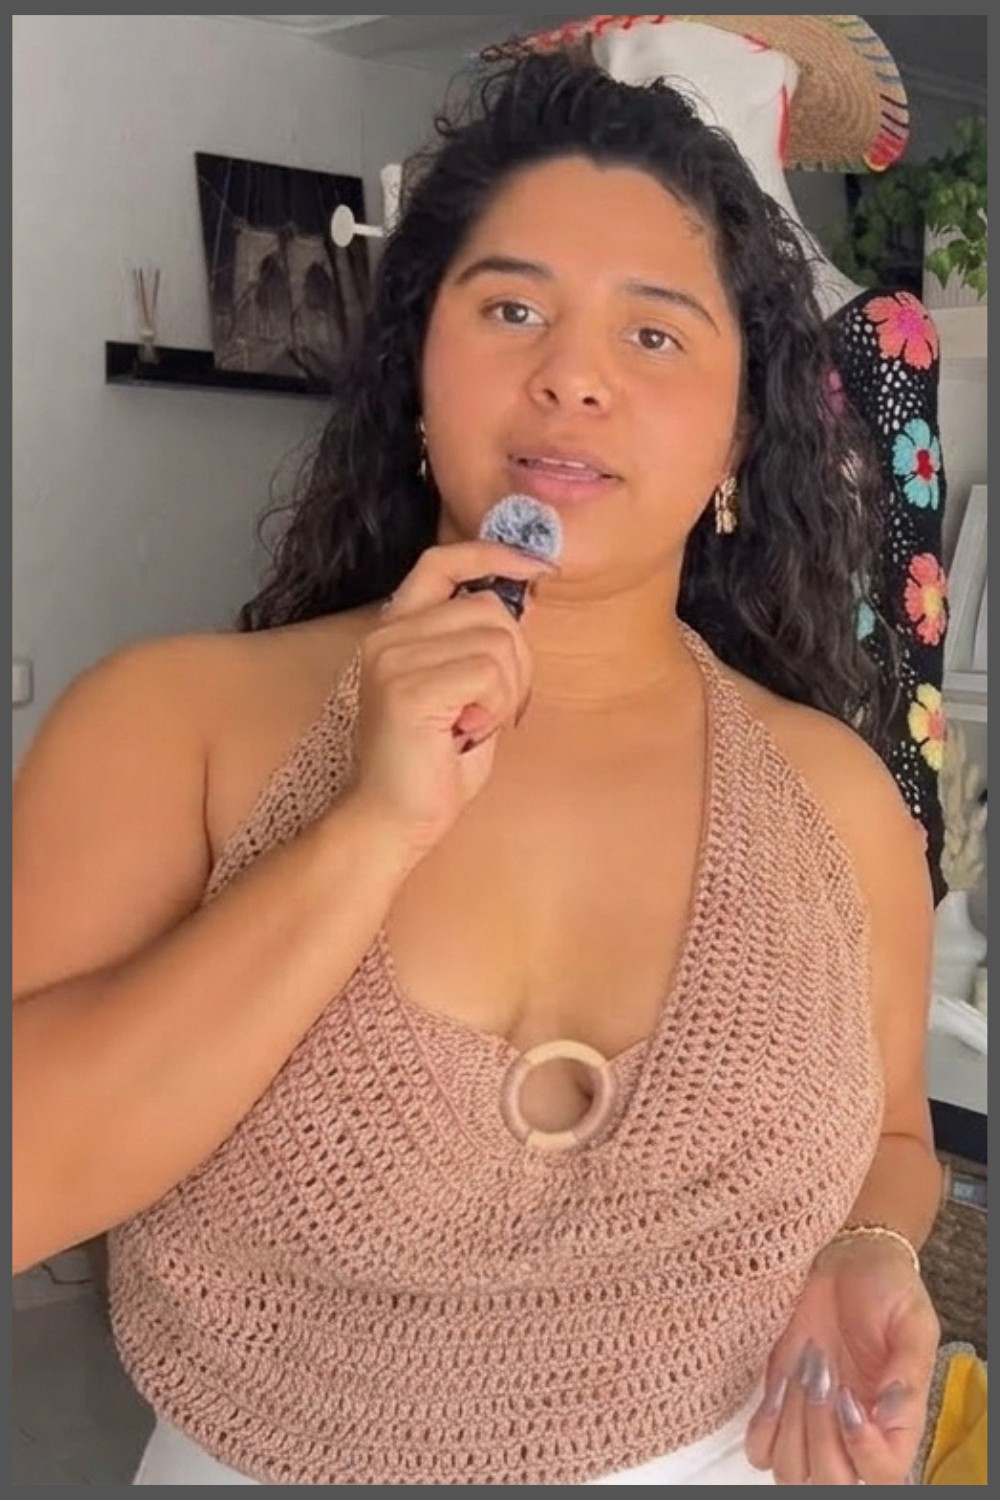
- With four straps made, assign each corner of the rectangle a strap.
- When worn, tie the upper two straps behind the neck (halter style) and the lower two straps behind the back to create the draped effect shown in the tutorial.
- Weave in all ends securely.
Pattern Correction
- Turning Chains:
- Make sure to use a consistent number of turning chains (2 or 3, depending on your height preference for dc) and work the first/last dc in the correct place for a straight edge.
- Strap Placement:
- Attach the straps at the very corners for symmetry.
- Even Strap Length:
- Match each strap in length and row count for a professional look; measure precisely.
Tips
- Test as You Go:
- After a few rows, measure on yourself or your intended recipient for best fit. Cotton stretches slightly after wearing.
- Customizing Fit:
- Adjust the width (starting chain) for a more open/closed neckline.
- Adjust the height (number of rows) for longer or cropped style.
- Straps can also be made thinner or thicker by adjusting dc count.
- Color Play:
- Use contrasting or variegated yarn for a different look, or embellish edges with a simple sc border if desired.
Conclusion
This top is a beginner-friendly project, ideal for summer and customizable for any size or color preference. The entire garment is constructed using only double crochet stitches with basic rectangle shaping, making it quick and meditative. Straps in each corner create simple, elegant draping and a comfortable, adjustable fit.


Leave a Reply