

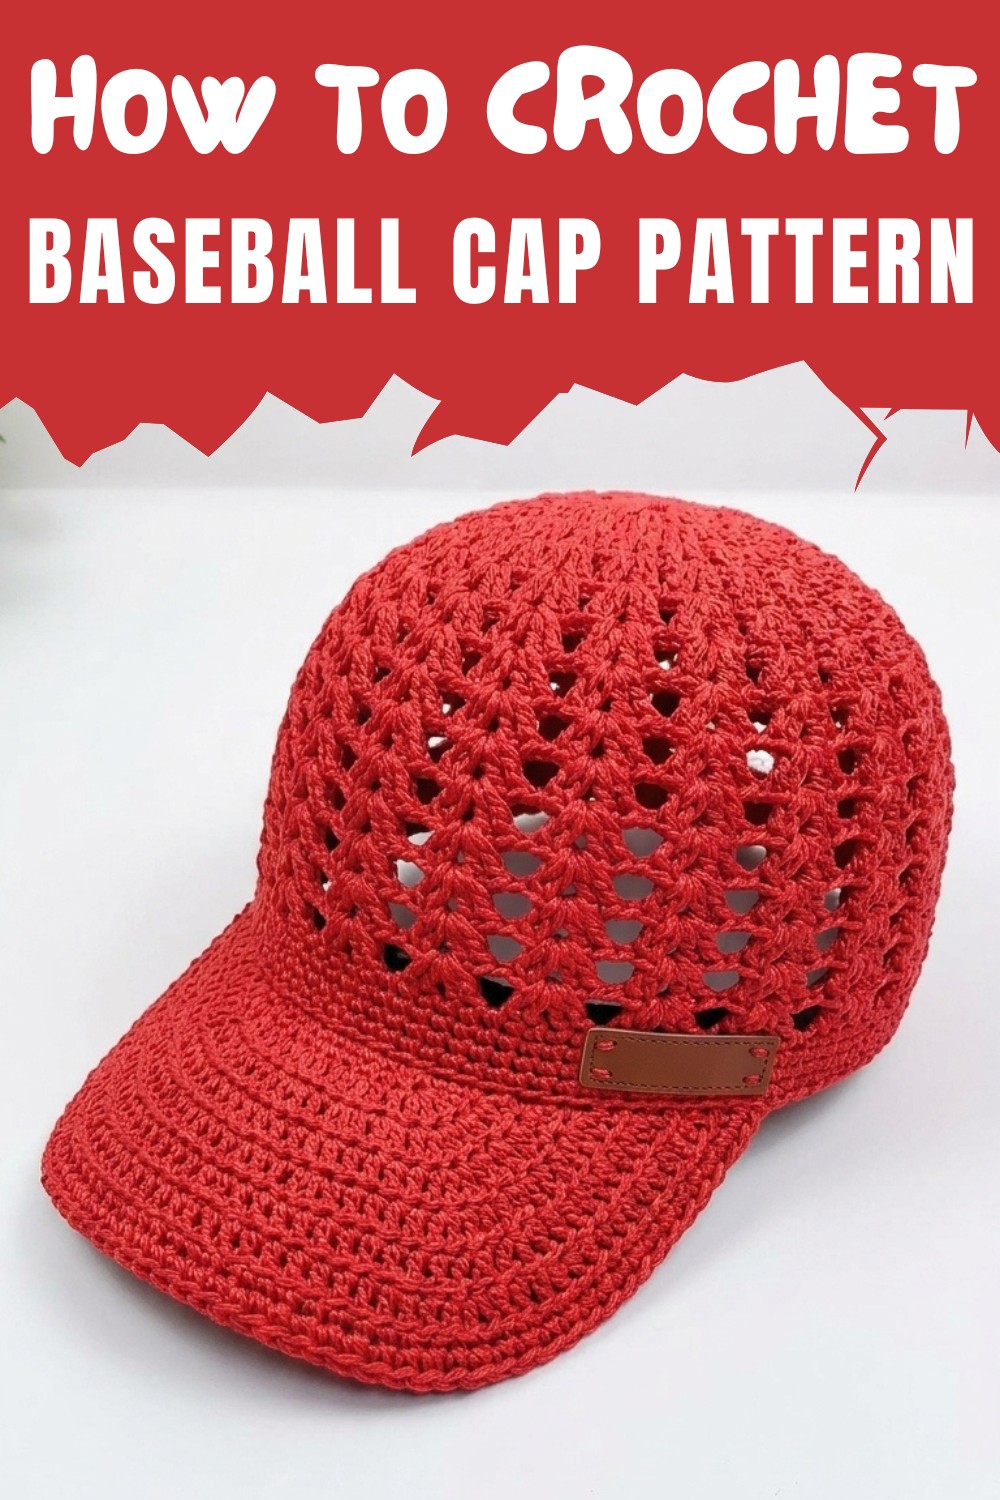
Learn how to crochet a soft and lightweight baseball cap with simple instructions that is perfect for sunny days and can be made in your favorite colors.
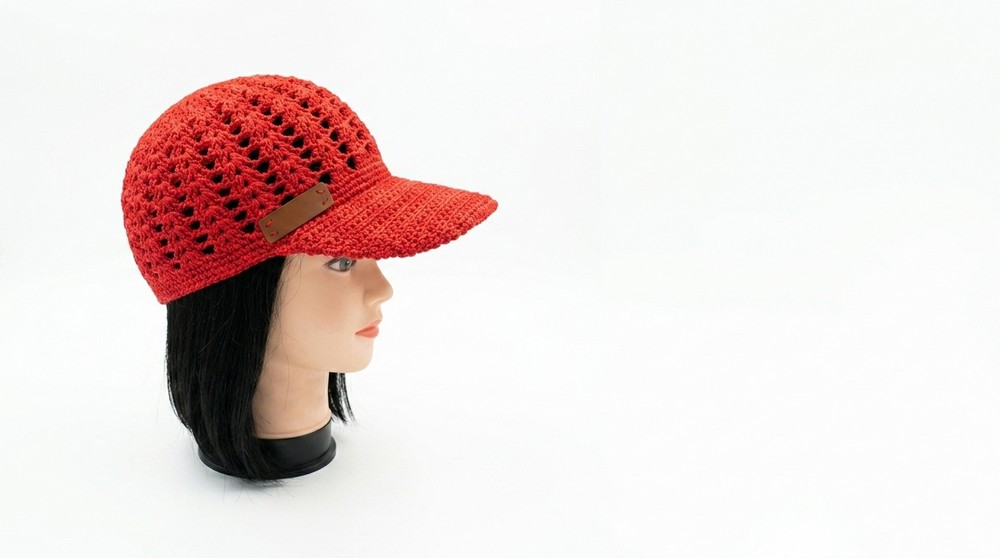
Keeping cool and stylish has never been easier with this lightweight and cozy baseball cap. Perfect for sunny days, casual outings, or just adding a soft touch to everyday outfits, it offers both comfort and charm. Its smooth texture feels great on the head, and the snug yet breathable fit makes it ideal for long wear.
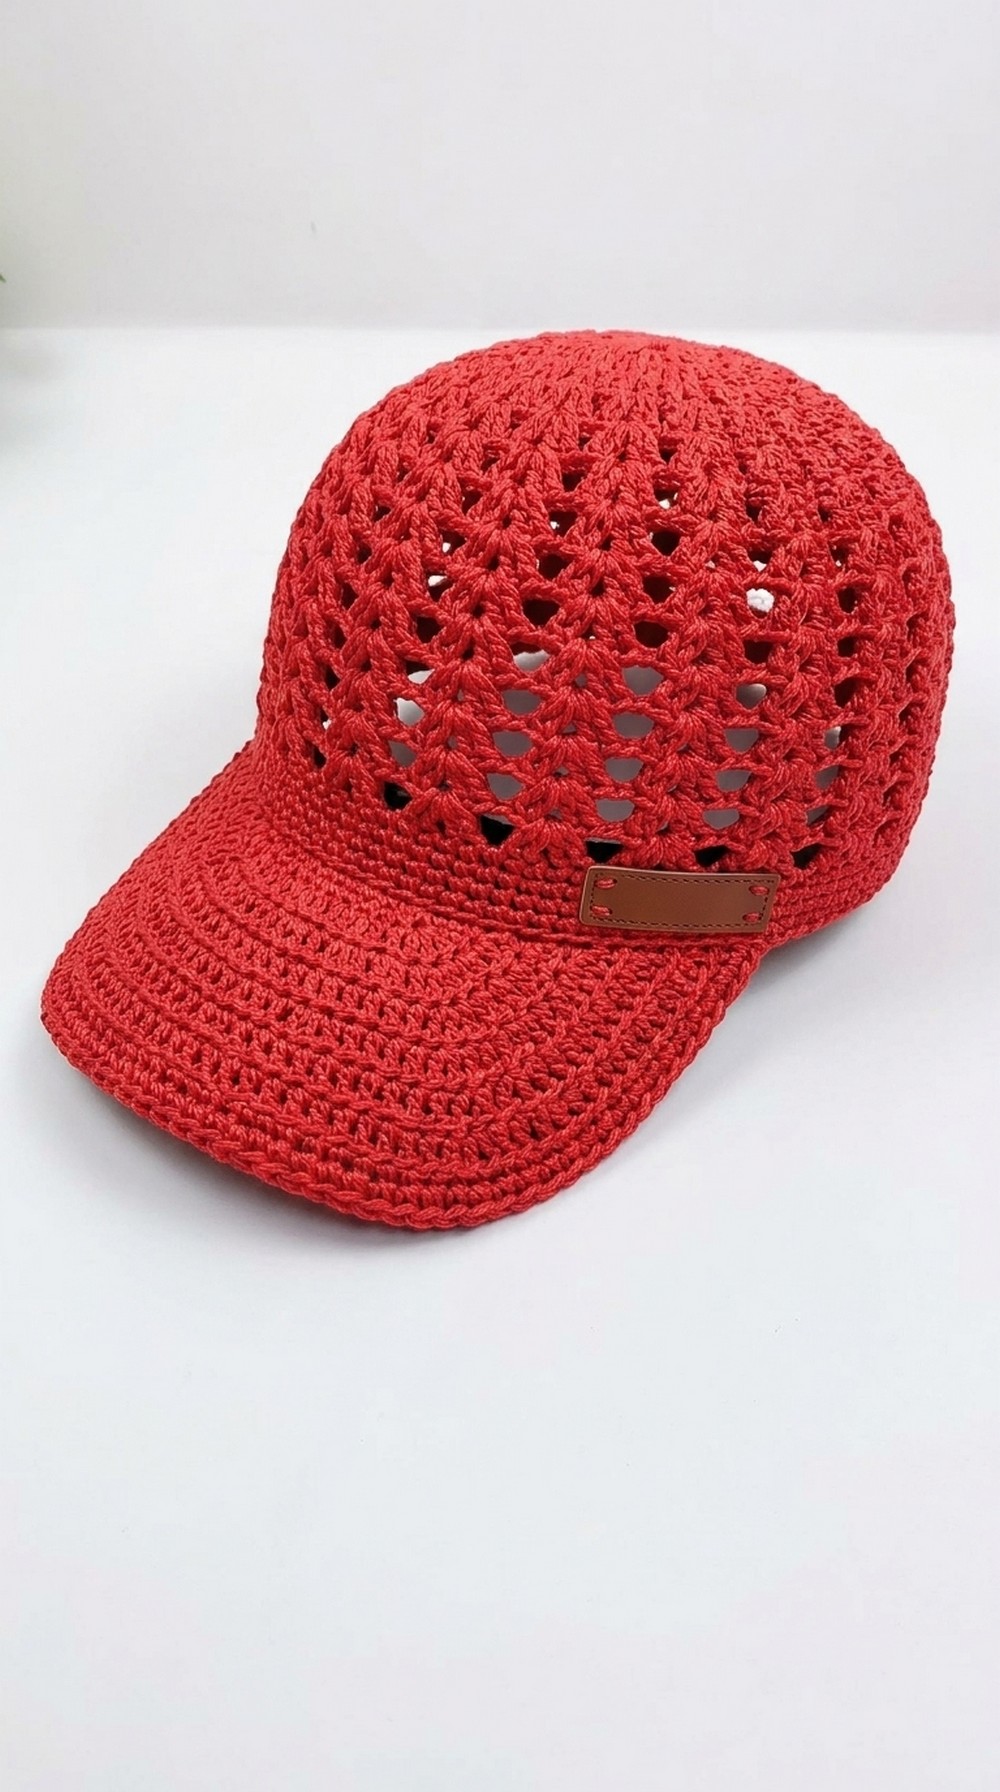
Crochet Baseball Cap Pattern Best Sun Hat For Summer
Available in any color, this cap can be adapted to match personal preferences, making it a fun and versatile choice for all ages. The classic design gives it a clean and sporty look, making it suitable for countless occasions. Whether enjoyed as a wearable accessory or shared as a thoughtful handmade gift, it’s a delightful way to combine usefulness with a unique sense of style.
Baseball Cap Crochet Pattern Instructions
Materials Needed
- Yarn: Cotton linen flat yarn, 1 spool (enough for one hat).
- Crochet Hook: 4mm double-ended crochet hook.
- Additional Supplies (included in the kit):
- Leather tag
- Stitch markers
- Sewing needle
- Plastic visor/base for the brim
- Scissors
- Lighter (optional, to seal yarn ends and prevent fraying).
Special Techniques
- Magic Ring (adjustable ring): Used for seamless initial rounds.
- Invisible Join: Creates a seamless finish by mimicking a regular stitch.
- Slip Stitch Position Adjustment: Ensures stitches are aligned correctly for symmetrical shaping.
- Decreasing: To shape the brim and achieve a curved finish.
Gauge
Gauge measurement isn't explicitly defined in the transcription, but ensure your stitches are uniform and firm. Adjust tension during practice rounds.
Size Options
- Kids: Foundation chain of 18 stitches.
- Adults: Foundation chain of 19 stitches.
- Large head sizes: Foundation chain of 20 stitches.
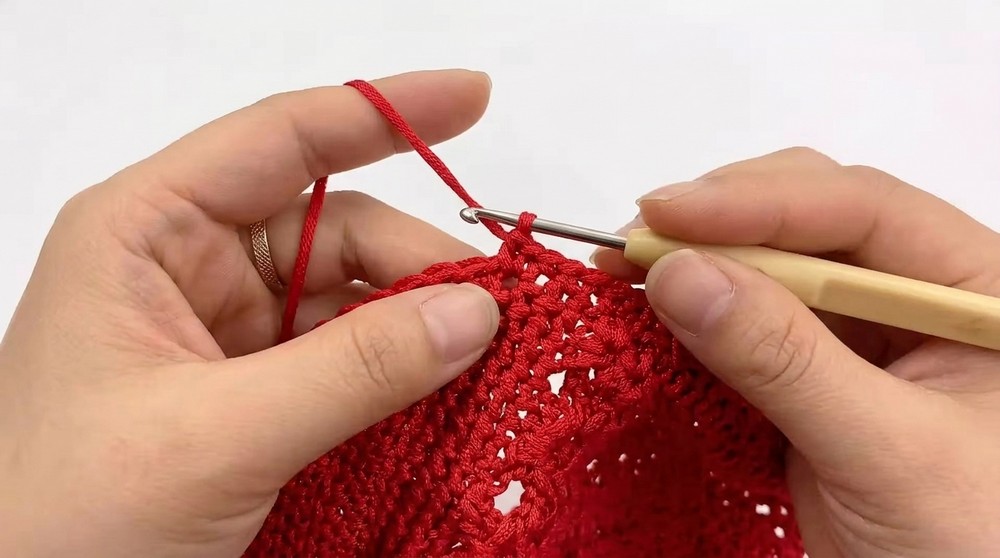
Pattern Instructions
Foundation and Crown
Round 1: Foundation
- Create a slip knot and attach your yarn to the hook.
- Chain 3 stitches. Insert a stitch marker into the first chain to mark the starting point.
- Work a foundation chain:
- 18 chains for kids
- 19 chains for adults
- 20 chains for larger sizes
These chains count as one stitch.
- Yarn over, insert the hook into the first chain, and work double crochets across:
- Crochet 18 more double crochets to achieve 19 stitches in total for the adult size (adjust stitch numbers for other sizes).

Round 2: Increase
- Slip stitch into the top chain from Round 1 (under both loops). Chain 3 to begin the round.
- Mark the starting chain with a stitch marker.
- Work 2 double crochets into each stitch around. This is an increase round to widen the crown.
- Tuck the yarn tail as you work the stitches (optional).
- By the end of this round:
- Adult size: 38 stitches
- Kid size: 36 stitches
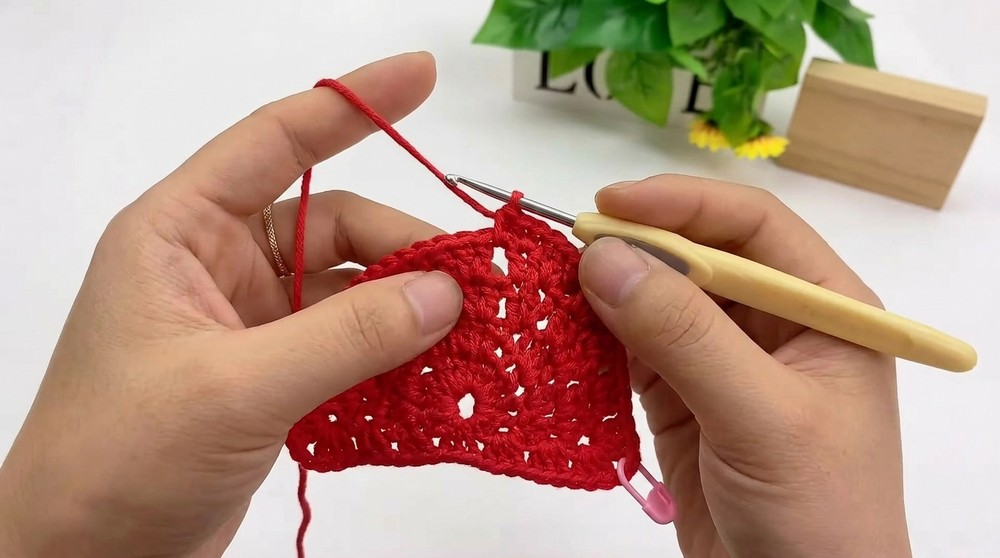
Round 3: Adding Space (V-Stitch Pattern)
- Slip stitch into the first chain from Round 2.
- Chain 3 (counts as the first stitch), mark the chain with a stitch marker.
- Work two double crochets into one stitch, then chain 1.
- Skip one stitch, and in the next stitch, crochet two double crochets into the same space (V-stitch pattern). Chain 1 again to space the groups.
- Repeat across the round. End with the "skip one, chain 1" pattern.
Round 4: Increasing Groups
- Begin with a slip stitch, then chain 3. Mark the first chain with a stitch marker.
- Work 3 double crochets per group (increase from the previous 2).
- For each group:
- One double crochet in the first stitch.
- Two double crochets in the second stitch of the group.
3.Chain 1 between each group. Continue this pattern to increase the total number of stitches per group.
- For each group:
Hat Body
Round 5: Repeat and Adjust
- Work as per the established "shell pattern" (4 double crochets grouped as follows):
- Two double crochets, chain 1, two double crochets into the center gap of each shell group from previous rounds.
- This pattern creates the textured body of the cap.
- Continue working in the shell pattern until the hat measures 16 cm from the crown center.
- If you prefer a deeper hat, crochet additional rounds.
Brim
Brim Base Shaping
- Fold the hat in half. Mark the center stitch with a stitch marker.
- Count 22 stitches on each side from the center, marking the edges for the brim.
- The brim will cover 45 stitches total (22 stitches on each side plus 1 center stitch).
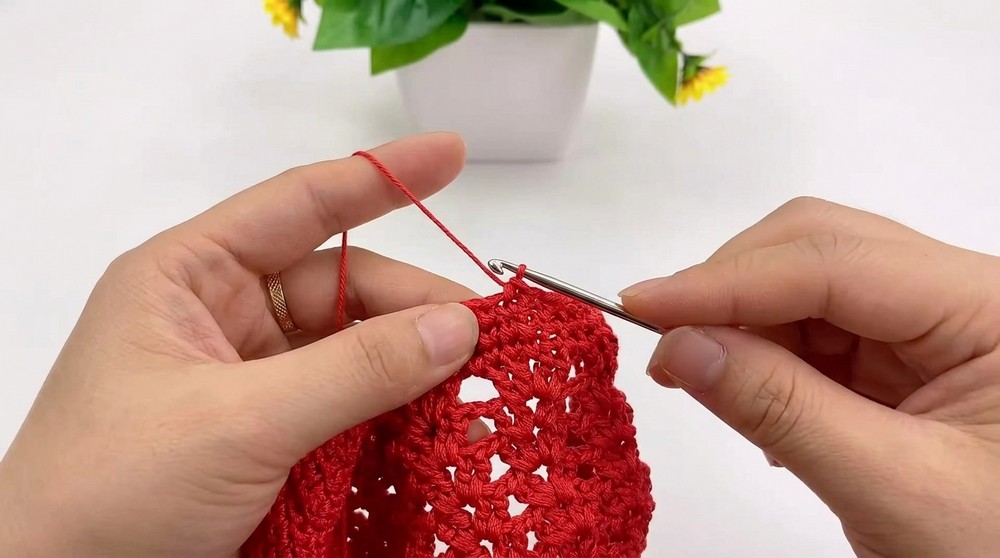
Brim Construction (Double Layered)
- Start the brim row with a slip stitch.
- Insert the hook into the front loop only of the first marked stitch and chain 1 to anchor the yarn.
- Place a stitch marker in the first stitch.
- Work single crochet stitches across 45 stitches using the front loop only.
- Leave the back loop unworked for the second layer later.
- For shaping:
- Decrease once every 4 shell groups (skip the first stitch in each decreased group).
- Mark reduced stitches to avoid losing track.
Finishing
Edge Rounds
- Crochet three rounds of single crochet above the brim for structure.
- Work in a spiral (no slip stitches) for each round and mark the first stitch.
- If two rounds feel insufficient, add a third round for proper depth.
Invisible Join
- After completing the final round, fasten off with an invisible join:
- Insert the yarn into the first marked stitch.
- Pull through the yarn as if stitching naturally.
- Insert the needle into the last stitch hole from beneath, catching the back loop to create a seamless join.
- Tuck the yarn tail into the wrong side of the hat and sew it tightly. Cut off excess and lightly melt the end with a lighter to seal.
Attaching the Brim
- With the remaining yarn, crochet the second layer of the brim using the unworked back loops.
- Attach the visor securely using the sewing needle and yarn.
- Ensure tight and even stitching for durability.
Final Words
Congratulations! Your weatherw-pattern baseball cap is complete. This textured cap features classic shell-pattern crochet and a sturdy, double-layered brim. Customize the hat with additional colors, leather tags, or embroidery for a personalized touch.
Tips to Maintain the Pattern
- Blocking: Steam block the finished hat lightly to enhance its shape.
- Cleaning: Hand wash and lay flat to dry to maintain yarn integrity.
- Customization: Add stitches or rows for larger sizes; decrease for smaller fits.
Leave a Reply