

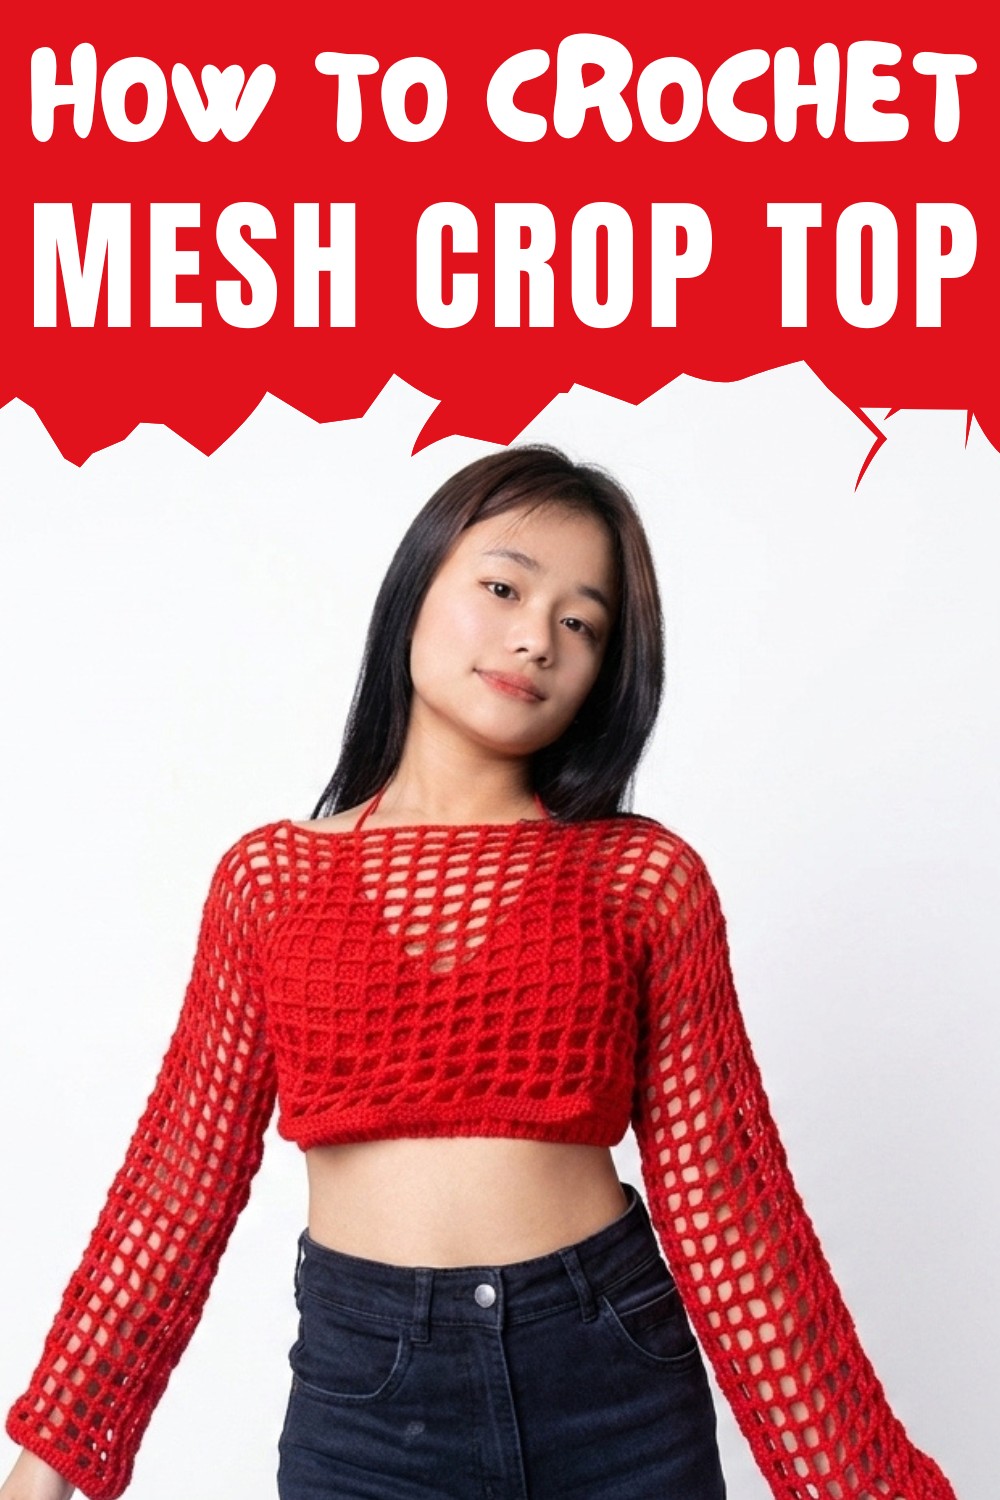
Sew a stylish Free Crochet Mesh Crop Top Pattern with breezy open stitches, flattering fit, and easy steps, perfect for sunny days, beachwear, and layering outfits.
This crochet project is built on simplicity and style, making it perfect for beginners or anyone looking to create something trendy and unique. The Free Crochet Mesh Crop Top Pattern is designed to highlight your creativity while producing a lightweight, breathable, and fashionable piece. This crop top stands out with its delicate mesh design, featuring airy holes and elegant stitching—perfect for warm weather or as a stylish layering piece.
Elegant Crochet Mesh Crop Top Pattern for Trendy Summer Style
Its beauty lies in the effortless combination of comfort and chic appearance, making it versatile for summer outings, casual meetups, or even paired with more formal looks. The pattern is easy to follow, allowing you to crochet something wearable and flattering in no time. You can customize the size, colors, and even add details like fringe or decorative accents to make it uniquely yours.

Whether you’re making it for yourself or gifting it to someone special, this crop top fits beautifully into everyday fashion while being handmade with love. Its delicate look makes it eye-catching, while its functional use keeps you cool and stylish all day long. Don’t miss the chance to bring crochet into modern fashion with this straightforward and delightful pattern.
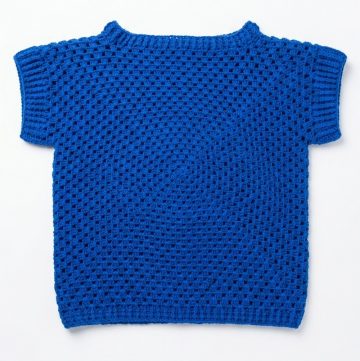
Crochet Lacy Mesh Top with Sleeves
Skill Level
Intermediate to Advanced
(Crocheters should be comfortable working with tall stitches and creating mesh designs while measuring and shaping pieces for assembly.)
Finished Size
Adjustable depending on the number of foundation chains and rows. The length and width of the panels can be customized to fit any body type.
Materials
- Yarn:
- Lightweight or DK acrylic/cotton yarn with good drape.
- Approx. 1,000–1,200 m depending on size.
- Crochet Hook:
- Recommended: 3.5 mm/4.0 mm hook (US E/7 or G/6), or size needed to meet your preferred tension and fabric.
- Notions:
- Stitch markers (optional).
- Scissors.
- Tapestry needle for joining panels.
- Optional Decorations: Ribbon for tie closures or lace fabric.
Key Abbreviations (US Terminology)
- CH: Chain
- TR: Triple Crochet
- DC: Double Crochet
- SC: Single Crochet
- St(s): Stitch(es)
- Rep: Repeat
Special Notes
- Working in Panels:
The body and sleeves are worked flat and assembled later using seam stitches or tapestry needles. - Foundation Chains:
Adjust the foundation chain length to fit desired width or size.
Pattern Instructions
Body Panels (Make 2)
- Foundation Chain:
- Start with a chain of 113.
- Adjust the length of the chain based on your desired width. Ensure an odd count to maintain symmetry of the mesh design.
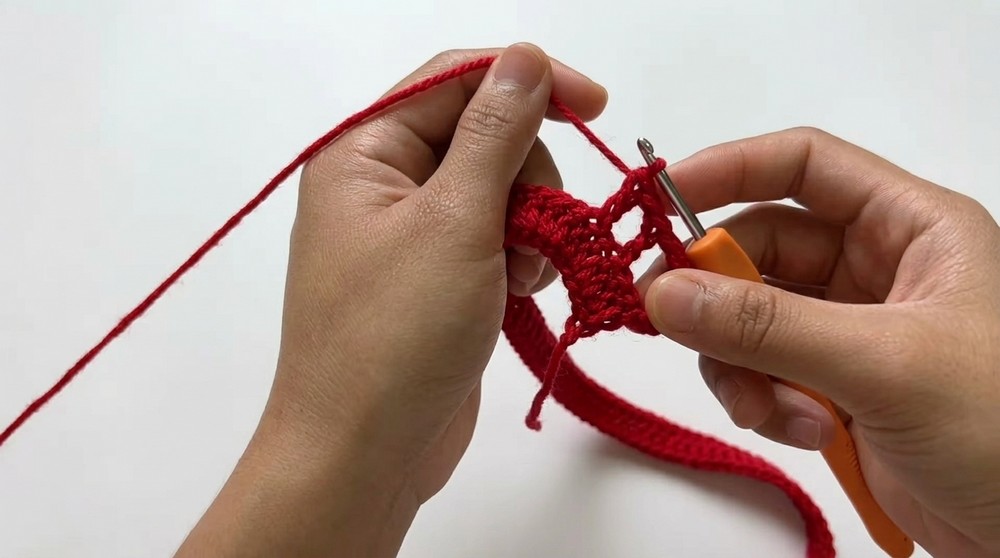
- Row 1:
- Skip the first 3 CHs, and work 1 DC into the 4th CH from the hook.
- Work 1 DC into every CH across to the end of the row. (113 DCs)
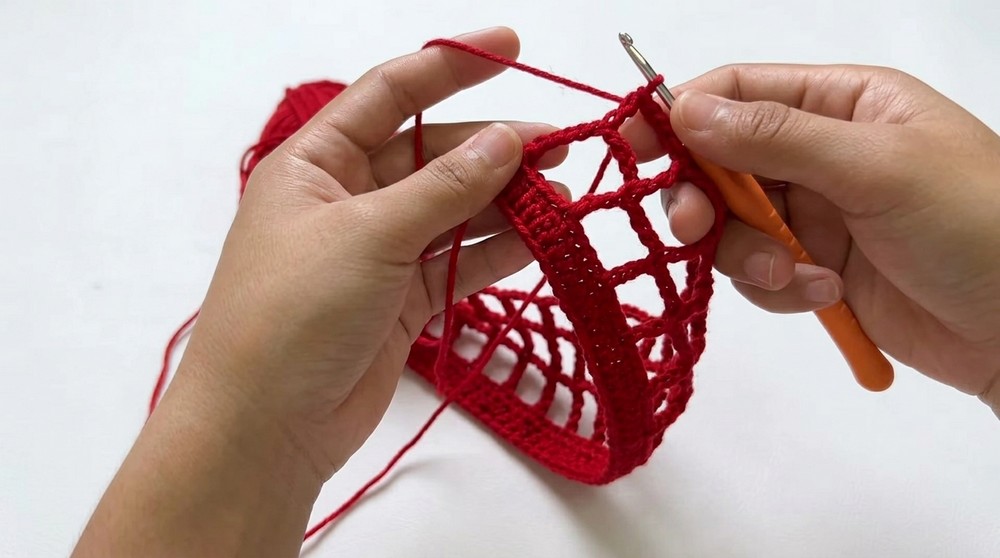
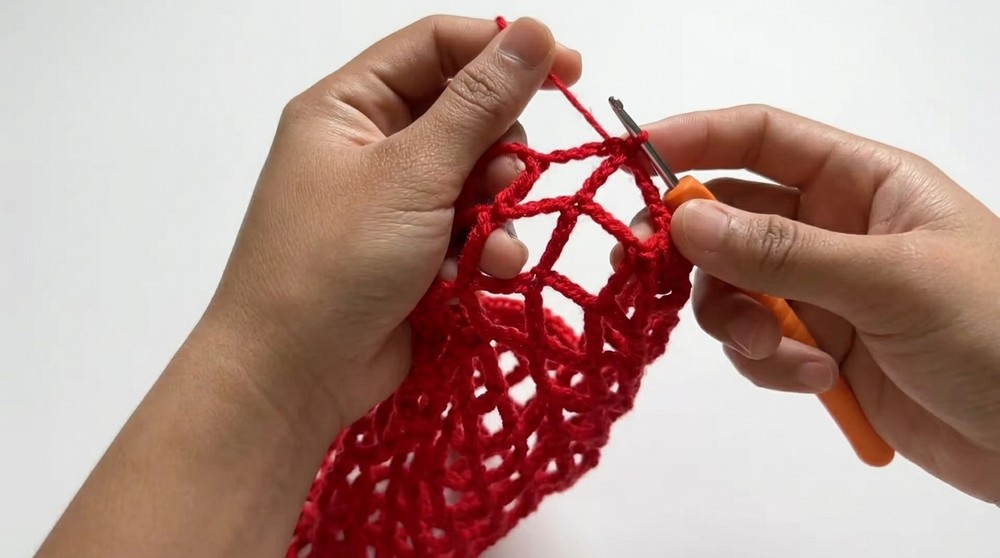
- Row 2 (Beginning Mesh Design):
- CH 10, turn.
- Skip the first 4 sts, work 1 TR into the 5th st.
- CH 5, skip the next 4 sts, work 1 TR into the next st.
- Rep the pattern: CH 5, skip 4 sts, TR into next st—repeat until the end of the row. You will finish with CH 5, TR in the last st.
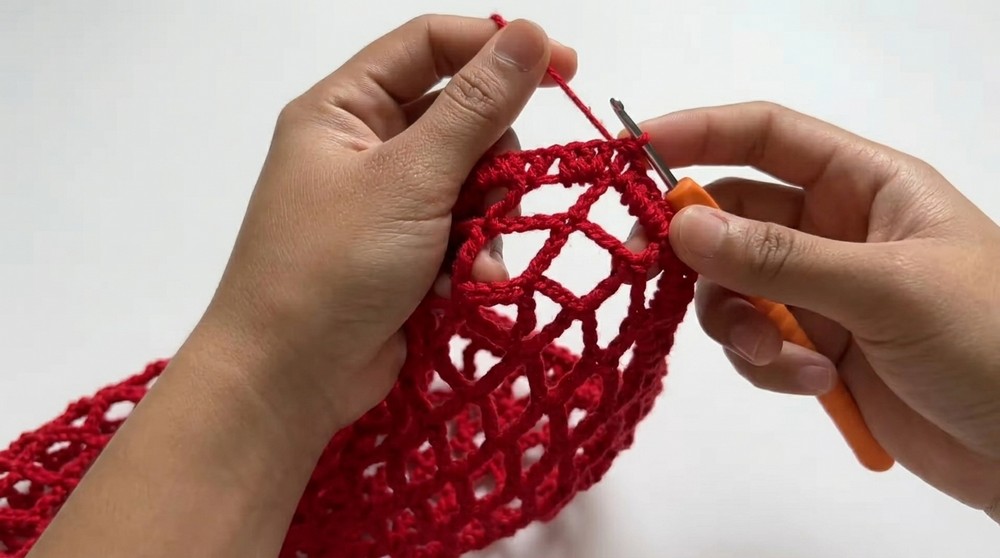
- Rows 3–15:
- For each row, begin with CH 10, turn.
- Work 1 TR into the previous row’s TR (i.e., at the top of the TR stitch).
- Continue the pattern: CH 5, skip 5 chains from the previous row, TR at the top of the next TR stitch.
- Repeat this pattern, ensuring that the mesh remains uniform.
(You can extend the panel by adding rows to adjust the length.)
Optional Design Adjustments
- If you want a smaller panel, reduce the rows (e.g., make 12 rows).
- If you prefer a longer top, increase the rows (e.g., make 18 rows).
Sleeves (Make 2)
- Foundation Chain:
- Start with the same number of CHs (113), or adjust for desired sleeve width. Sleeves may be narrower if preferred.
- Row 1:
- Follow Row 1 of the body panels: Work 1 DC into every CH across.
- Row 2:
- Begin the same mesh pattern as in the body panels: CH 10, TR into 5th st, CH 5, skip 4 sts, TR into next st.
- Rows 3–15:
- Continue the mesh repeat pattern, working TR into the TRs of the previous row and CH 5 between TR stitches.
(You can adjust the number of rows based on desired sleeve length or personal measurements.)
Assembly
- Joining Body Panels:
- Lay the two body panels flat, ensuring that the mesh pattern aligns.
- Use a tapestry needle or your hook to seam together the side edges, leaving space at the top for armholes.
- Seam the tops (across shoulders) with surface slip stitching or sewing.
- Attaching Sleeves:
- Fold each sleeve panel lengthwise and attach to the armhole openings on the body using surface slip stitching or sewing with a tapestry needle.
- Ensure even alignment of mesh edges.
- Finishing Seams:
- Adjust the seams to ensure no gaps around armholes and shoulders.
Optional Decorative Edge
- Adding an Edge:
- To create a clean edge around the neckline or hem, add SCs evenly spaced along the edge, working 2 SCs into every TR or CH space.
- Ribbon Closure:
- Weave a thin ribbon through the shoulders or neckline for an adjustable tie closure.

Tips for Success
- Check Measurements Before Assembly:
Measure the panels against a garment or body to ensure fit before seaming. - Maintain Tension:
Avoid loose tension in the mesh design to ensure the panel retains its shape. - Customize Sleeve Lengths:
Shorten or lengthen sleeves by adjusting rows of mesh. - Blocking:
Lightly block your completed panels to enhance the texture and drape of the lace pattern.
Conclusion
Congratulations! You’ve completed your Lacy Mesh Top. This delicate project blends functionality with aesthetic appeal, making it a beautiful addition to your wardrobe. The mesh design ensures breathability and showcases your crochet skills with the repeated pattern of chain-5 and triple crochet stitches.
Pattern Correction
- It’s recommended that stitch counts are adjusted (especially for sleeve width) for individuals, as standardized counts in the video may not be universal. Ensure foundation chains align with personal measurements.


Leave a Reply