

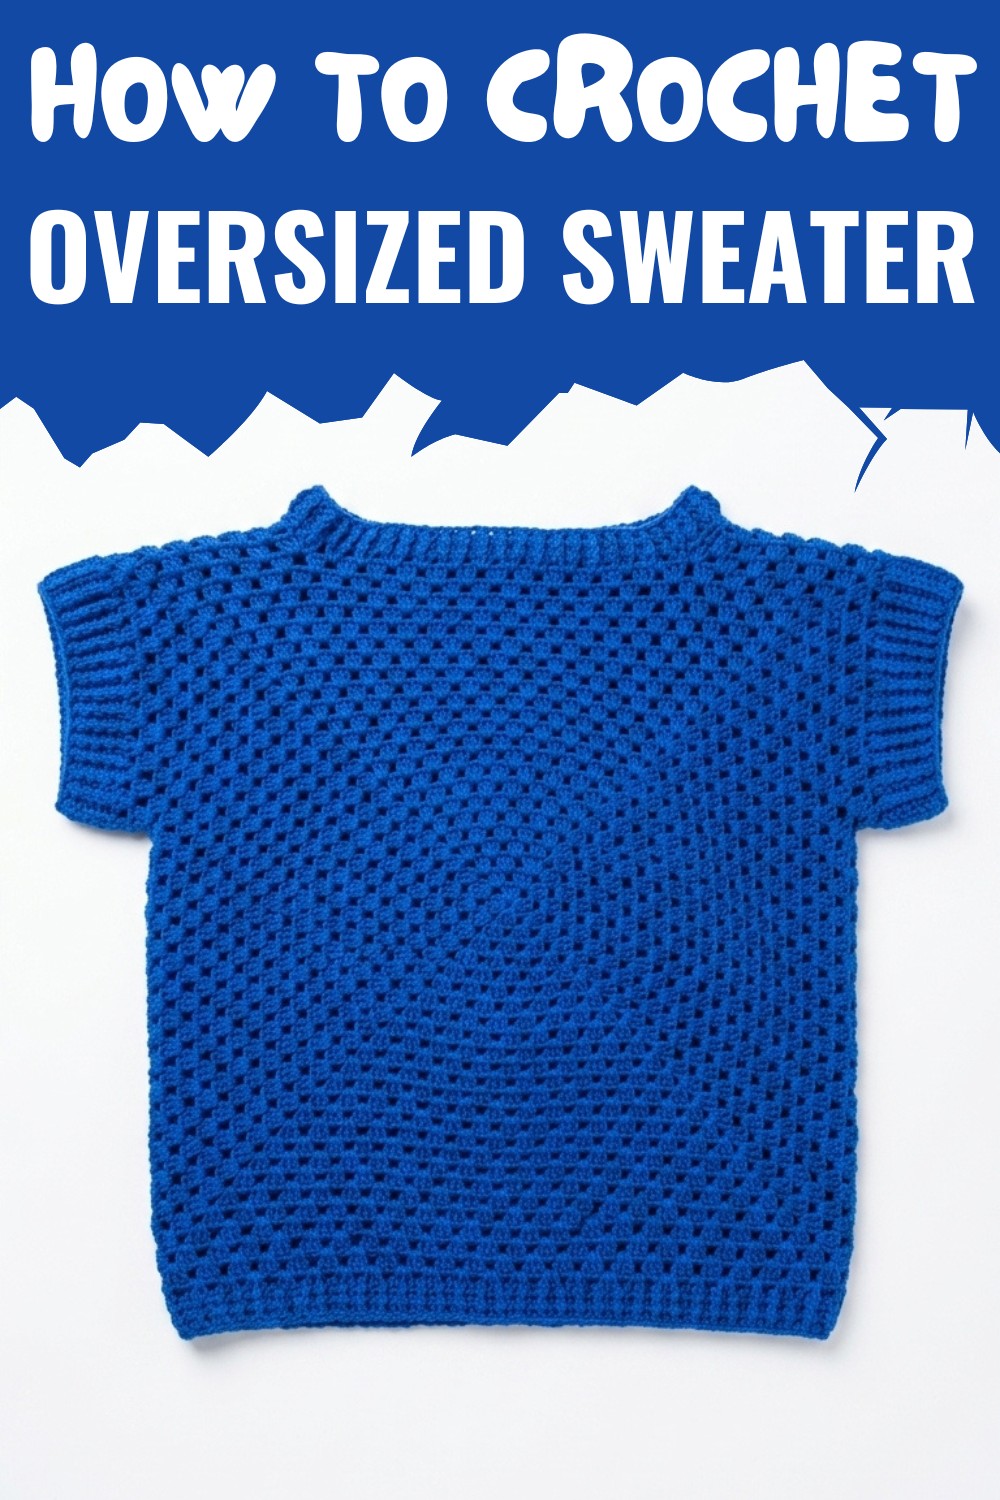
Create a cozy oversized sweater with this easy and free crochet pattern, perfect for beginners and ideal for staying comfortable and stylish every day.
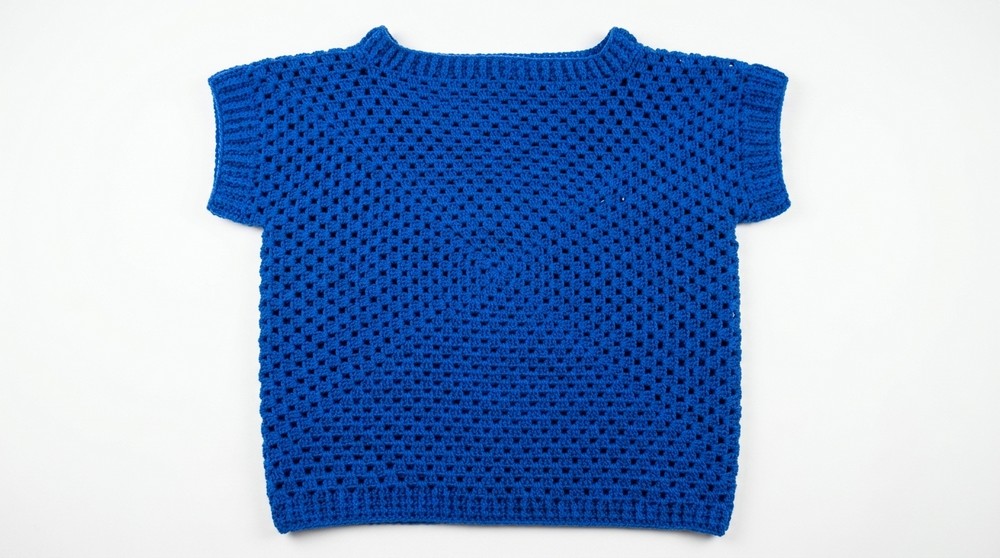
This soft and roomy crochet sweater feels like a warm hug you create with your own hands. Designed to be big and loose, it allows your body to move freely while keeping you relaxed and cozy. The style is simple yet super charming, with a modern and neat drape that makes it effortlessly stylish. The stitches are easy to learn, making it a perfect project even for beginners who can follow the steps without any stress.
Cozy & Stylish: The Ultimate Crochet Oversized Sweater Pattern
This Free Crochet Oversized Sweater Pattern breaks the process into clear parts, letting you watch your sweater take shape as you work, filling you with pride along the way. It’s versatile and can be worn on cold school mornings, lazy weekends at home, or fun evenings with friends. Whether you want to crochet it in soft neutral tones or in bright, playful colors that reflect your personality, the options are endless.
Plus, its relaxed shape hides small mistakes, so your project will look great even if every stitch isn’t perfect. In the end, you’ll have a cozy handmade sweater that’s perfect for everyday use, feels wonderful, and is extra special because it’s made by you.
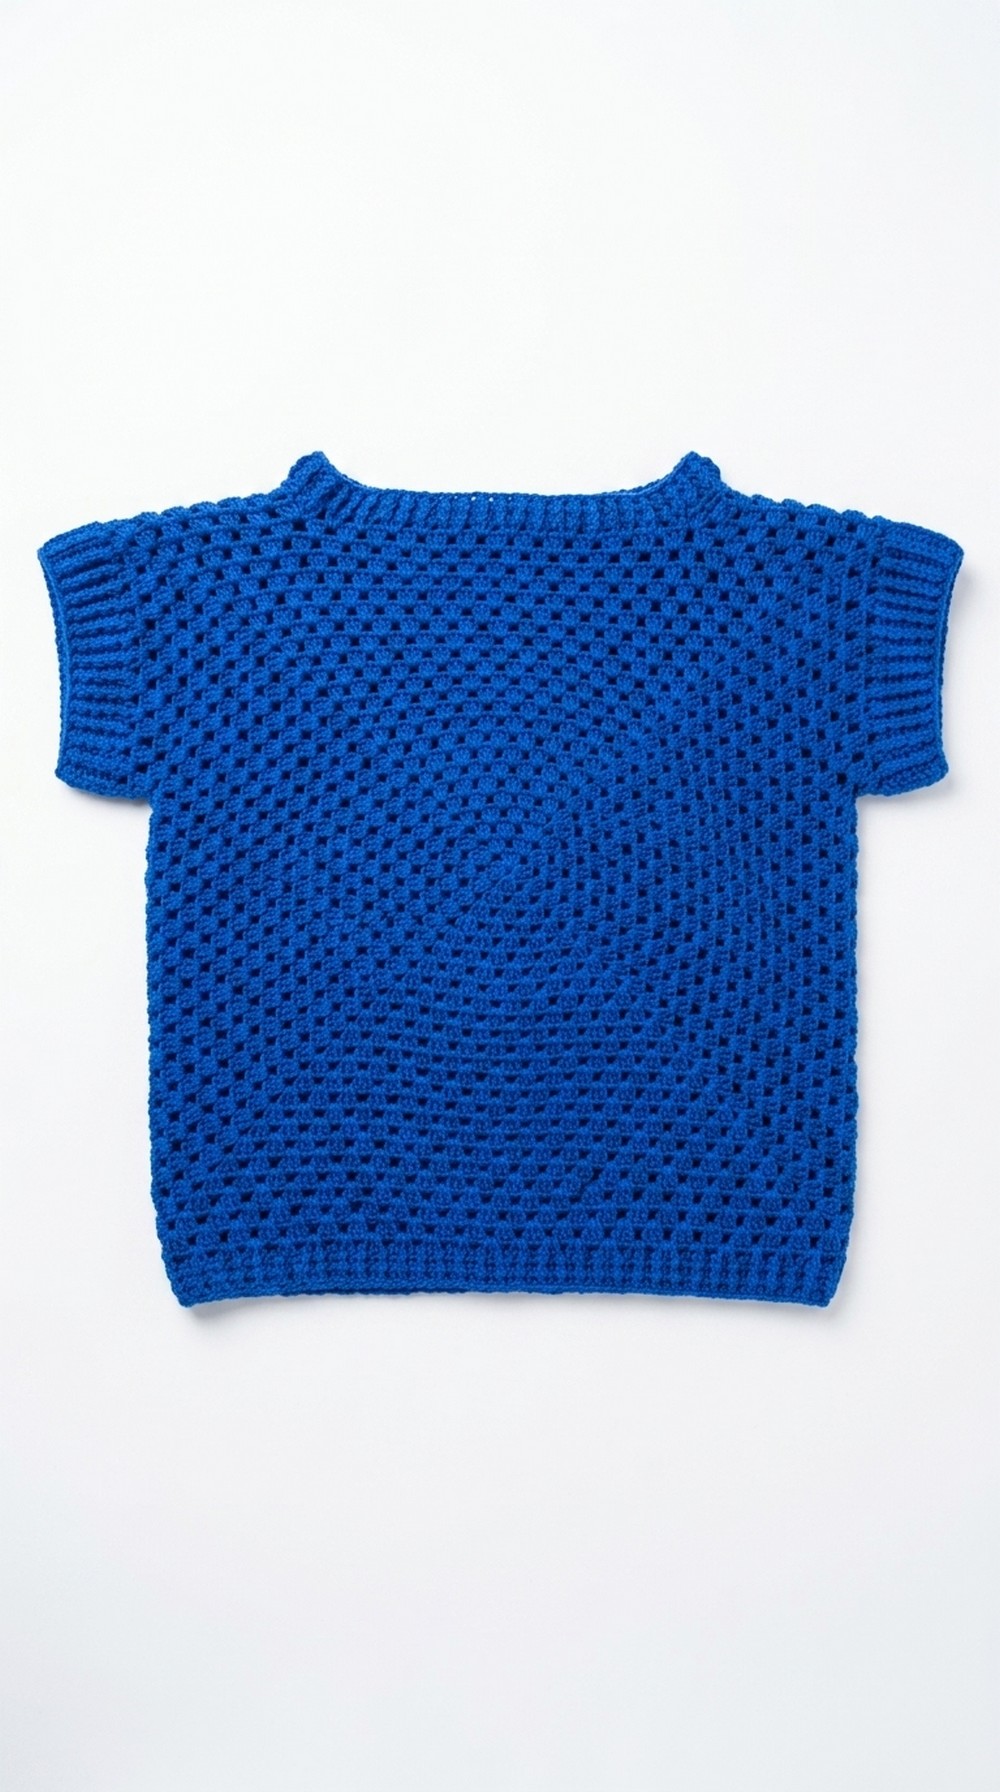
Step-by-Step Crochet Granny Square Top Pattern
This guide explains how to create a trendy Crochet Granny Square Top, based on the transcription provided. This pattern is beginner-friendly and allows for customization through color combinations and sizing adjustments. It’s a fantastic project for both new and seasoned crocheters who enjoy lightweight, versatile designs.
Materials Required
- Yarn: A single strand of medium-weight acrylic or cotton yarn (color of your choice).
- Crochet Hook: 3 mm hook.
- Measuring Tape for accurate sizing.
- Scissors to cut loose ends.
- Stitch Markers for marking key points (e.g., armhole openings).
- Yarn Needle for weaving in loose ends.
Gauge
Gauge is not strictly required for this project. However, a typical 4-inch square should contain approximately 10 double crochets by 7 rows when using the yarn and hook specified. Adjust tension as needed to achieve your desired fit.
Finished Size
This tutorial targets a size 33 bust (approximately 16.5 inches per panel). However, instructions for customizing the size are included in the pattern.
Special Techniques Used
- Slip Knot: A basic knot used to start the project.
- Double Crochet (DC): Yarn over, insert hook, yarn over, pull up a loop (3 loops on hook), yarn over, pull through 2 loops, yarn over, pull through 2 loops.
- Granny Square Cluster: Worked in groups of 3 double crochets.
- Front Post Double Crochet (FPDC): Yarn over, insert the hook from front to back around the post of the next stitch, yarn over, pull through, yarn over, pull through 2 loops twice.
- Back Post Double Crochet (BPDC): Yarn over, insert the hook from back to front around the post of the next stitch, yarn over, pull through, yarn over, pull through 2 loops twice.
Step-by-Step Granny Square Top Pattern
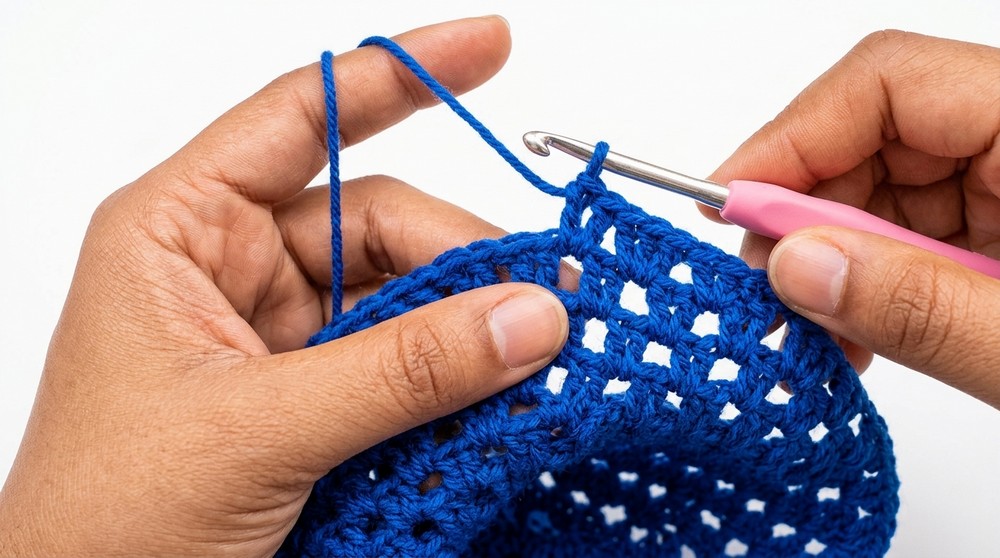
1. Creating the Granny Squares
Step 1: Start with the Slip Knot
- Make a slip knot: yarn over your finger and twist the yarn using two fingers to secure.
- Insert your 3 mm hook, twist the loop, and yarn over to pull through.
Step 2: Creating the Foundation Row
- Chain 6 stitches and slip stitch into the first chain to form a circle.
- Chain 3 (counts as the first double crochet of your granny square).
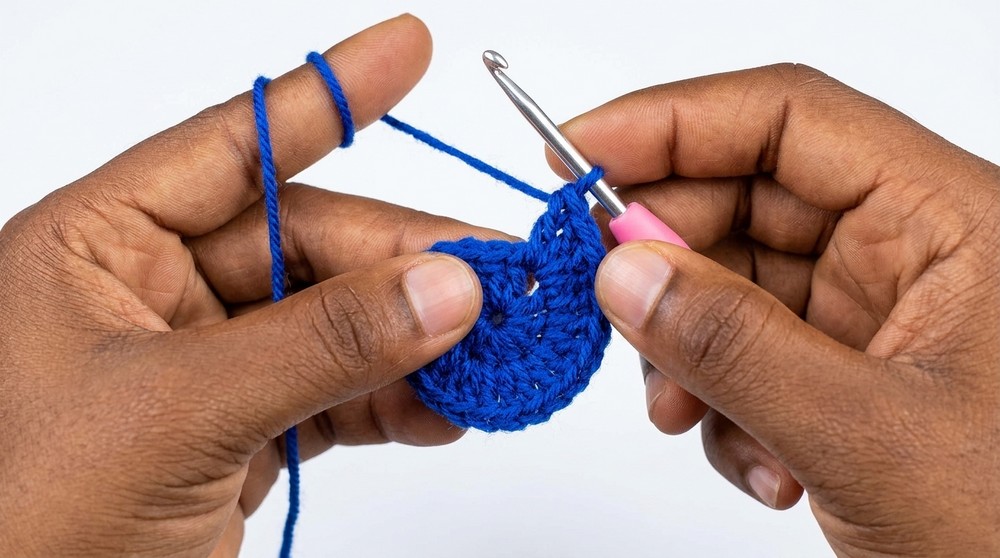
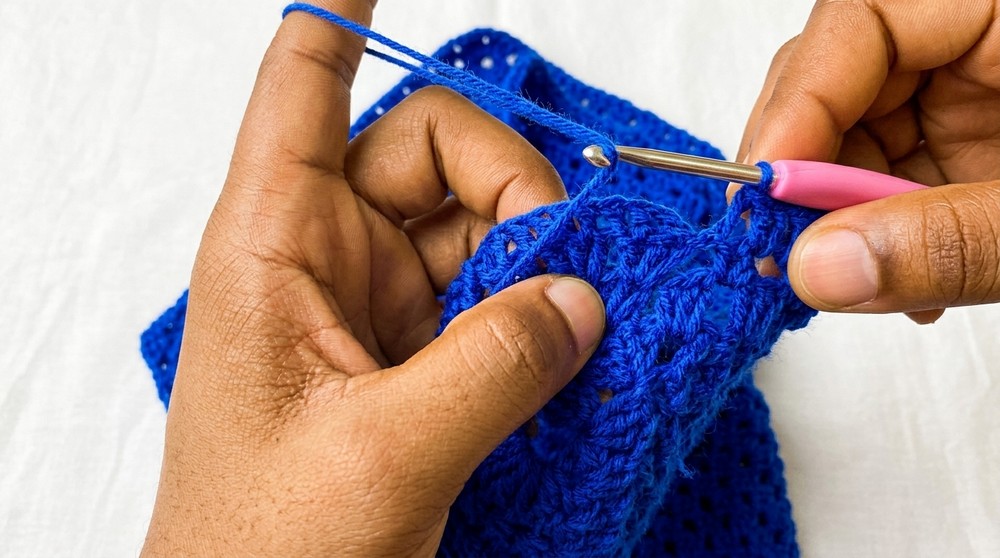
Step 3: First Row
- Work 3 double crochets inside the circle, chain 2 to create a corner.
- Repeat (3 DCs, Chain 2) three more times to form four clusters.
- Slip stitch into the third chain of the first cluster to join.
- Pull gently to tighten.
Step 4: Second Row
- Chain 5 (counts as 1 DC + 2 chains for the corner).
- Work 3 DCs in each chain-2 space from the previous row; chain 2 between clusters to maintain the square shape.
- Use a slip stitch to join at the end.
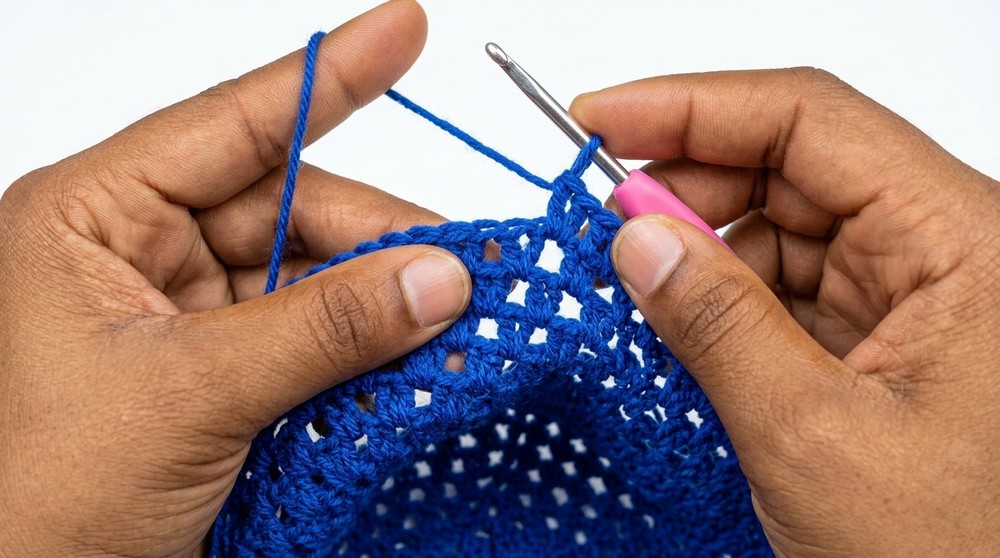
Step 5: Subsequent Rows
- Repeat the granny square technique for 23 rows for the front panel.
- Work the back panel similarly, but make its top edge 2 rows wider than the front panel (to account for additional ease).
2. Panel Assembly
Step 1: Joining the Top Edges
- After completing both panels, lay them flat with the right sides facing each other.
- Use a joining method (slip stitch or whip stitch) to attach the front and back panels along the shoulders.
- Ensure the front panel remains narrower by leaving one row unworked, as mentioned earlier.
Step 2: Shaping the Armholes
- Measure 5.5 inches from the top edge for the armhole depth. Place stitch markers to mark the openings.
- Sew or slip stitch along the side seam, stopping at the armhole marker.
3. Finishing the Neckline
Step 1: Neckline Foundation
- Reattach the yarn at the neckline with a slip knot.
- Chain 3, then work 3 DCs into each space around the neckline.
Step 2: Adding Texture
- Create Front Post (FPDC) and Back Post Double Crochet (BPDC) stitches in alternating sequence for two rows.
- Slip stitch at the end of each row to close.
- Cut the yarn and weave in the loose ends for a clean finish.
4. Finishing the Bottom Edge
- Attach the yarn at the bottom edge.
- Work Double Crochet Two Togethers (DC2Tog) across each corresponding space between panels for the first row.
- In subsequent rows, work plain DC clusters and follow the FPDC/BPDC technique for added texture along the hem.
- Stop when the desired length is achieved (recommended: two to three additional rows).
5. Adding Armhole Details
- Attach the yarn at the armhole edges.
- Follow the same FPDC/BPDC technique for two rows to create structured edges.
Tips for Success
- Color Combinations: Mix and match vibrant yarn shades to make your top stand out.
- Sizing Adjustment: Measure your bust and create additional granny square rows for a better fit; ensure both panels match.
- Blocking: Block your granny square panels to straighten edges before assembly.
Customization Ideas
- Crop Top Version: Stop at fewer rows for a trendy cropped look.
- Sleeves: Extend the granny square design and create short sleeves for a bold variation.
- Border Design: Add scalloped or shell stitch borders to elevate the look further.
Conclusion
Your beautiful Crochet Granny Square Top is now complete! This project combines simplicity with creativity, allowing beginners to explore texture, pattern repetition, and basic stitching techniques. The finished piece is ideal for warm-weather outings or layering over tanks.
Leave a Reply