

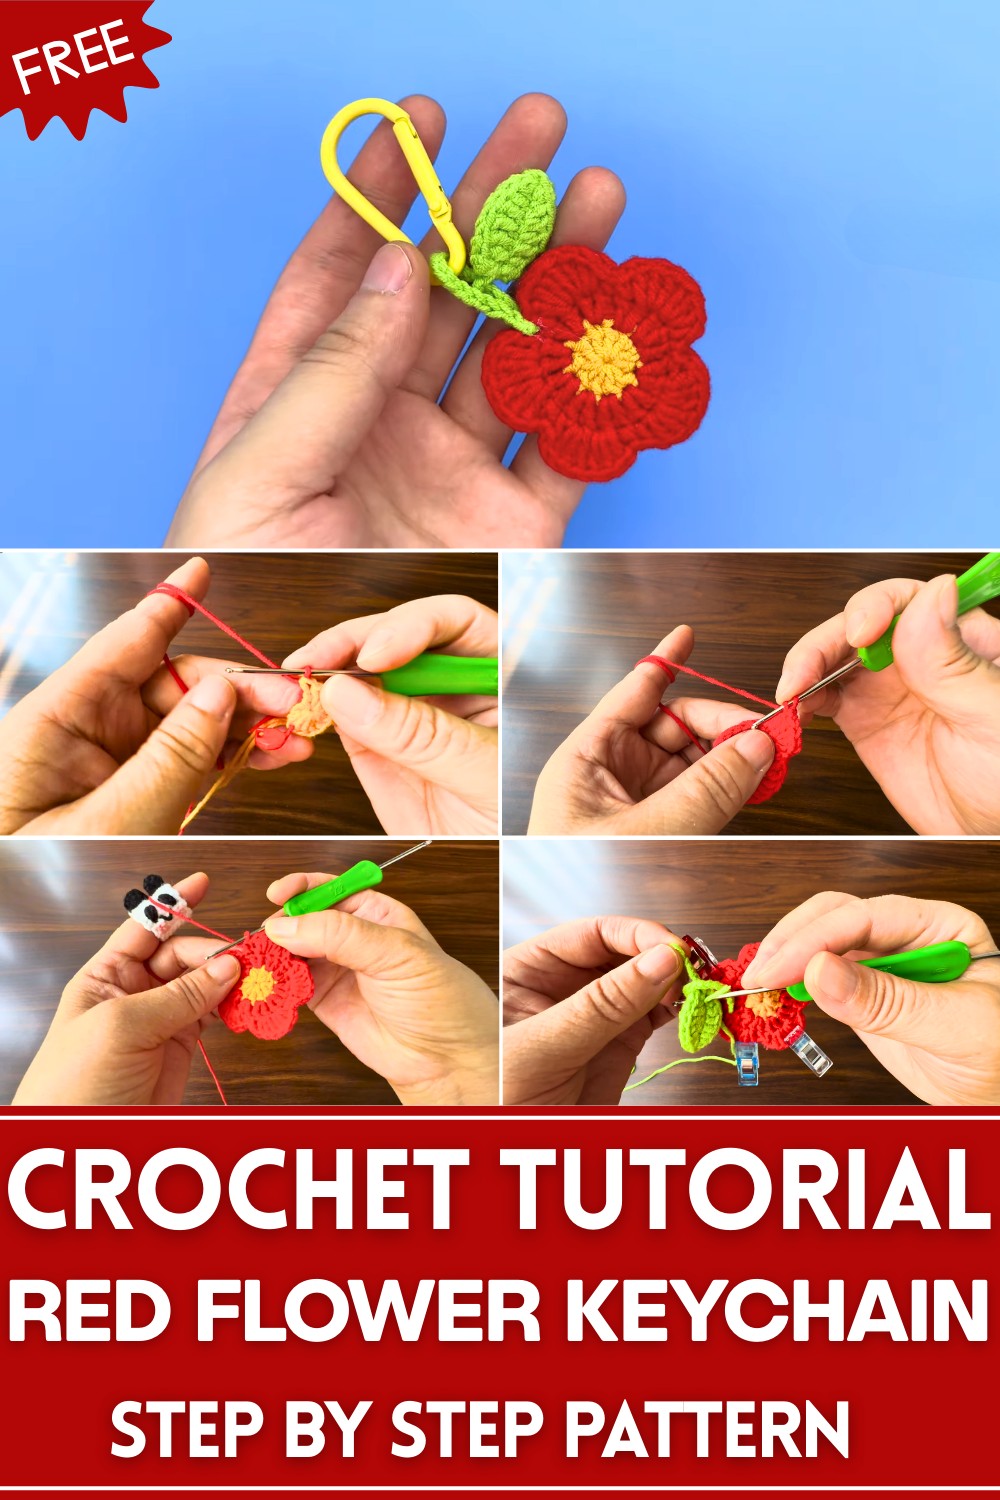
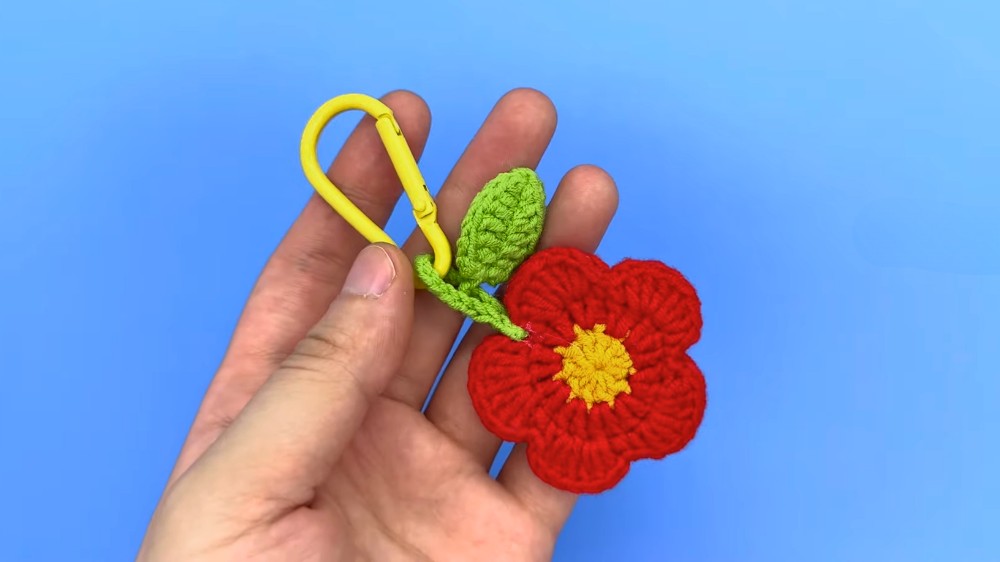
Charm your everyday essentials with the Free Crochet Red Flower Keychain Pattern, a playful accessory that keeps keys stylish and easy to spot.
Keys are often the most overlooked items in our daily routines, yet they hold great significance, from unlocking homes to safeguarding personal spaces. A bright, handmade accessory can turn these everyday essentials into something cheerful and memorable. A small red flower charm not only adds a pop of color but also makes it easier to spot keys in a crowded bag or drawer. The Free Crochet Red Flower Keychain pattern captures this idea perfectly, offering a fun and functional way to combine practicality with charm.
Fun Crochet Red Flower Keychain Pattern With Cheerful Vibes
Beyond its visual appeal, this keychain provides real benefits. It is lightweight, durable, and versatile, suitable for attaching to keys, backpacks, purses, or even as a decorative zipper pull. The pattern begins with a tight, circular base that forms the flower’s center, followed by evenly spaced petals built up with consistent stitches to ensure strength and shape.
Midway, each petal is crafted to maintain symmetry while giving the flower a natural, rounded look. The final rows secure all details, leaving a polished and long-lasting accessory. Ideal for thoughtful handmade gifts, colorful bag charms, or playful personal accessories, this red flower keychain brings both utility and joyful appeal to everyday life, turning ordinary objects into vibrant little statements.
Materials Required
- Yarn:
- Four-ply orange yarn (for the flower center).
- Four-ply red yarn (for the flower petals).
- Four-ply green yarn (for the leaf and connecting ring).
- Tools:
- Crochet hook.
- Scissors.
- Stitch markers (optional, for tracking rounds).
- Clips (for assembly).
- Hot glue (to bond flower pieces).
Special Features
- Customizable Connecting Ring: The length of the connecting chain can be adjusted based on your preferences, making it suitable for different uses.
- Double-sided Flower: Two flower pieces are crocheted and glued together to ensure durability and a polished, three-dimensional appearance.
- Natural Leaf Design: A folded crocheted leaf adds a lifelike quality, enhancing the overall aesthetic.
Step-by-Step Instructions
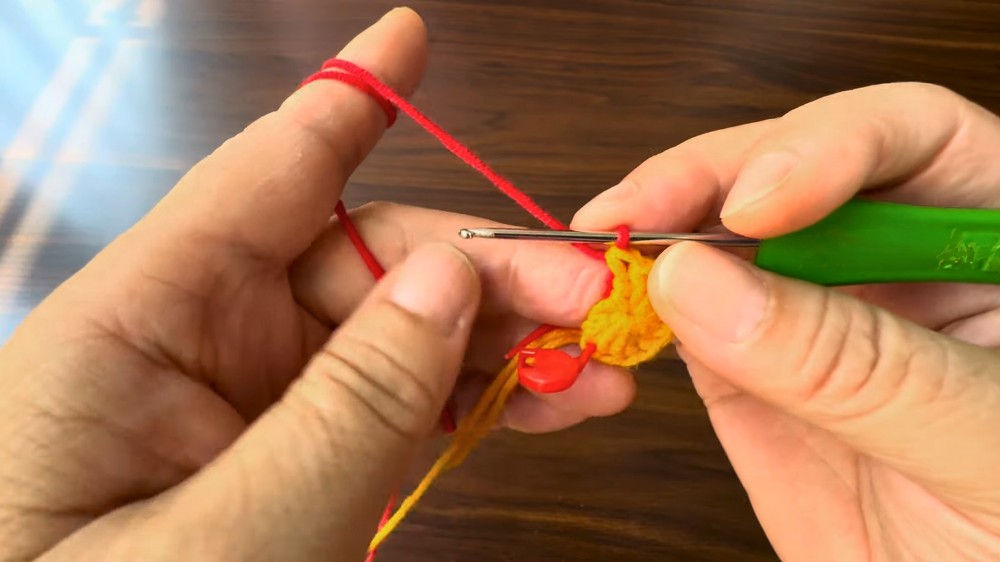
1. Crochet the Center of the Flower
- Begin with the orange yarn to create the flower’s center.
- Make a magic ring and start with a loop that doesn’t count as a stitch.
- Chain two, then crochet 10 double crochets into the magic ring.
- Place a stitch marker in the first stitch for easier navigation in subsequent rounds.
- Pull the loop tight to close the ring, change to red yarn, and join with a slip stitch to the first stitch.
2. Crochet Round Two
- Chain two and proceed with 10 double crochet increases (crocheting two double crochets in each stitch).
- This will result in 20 double crochets.
- Place the orange yarn under the hook and crochet over it to hide the ends.
- Finish this round by joining with a slip stitch, chain one, and cut the orange yarn.
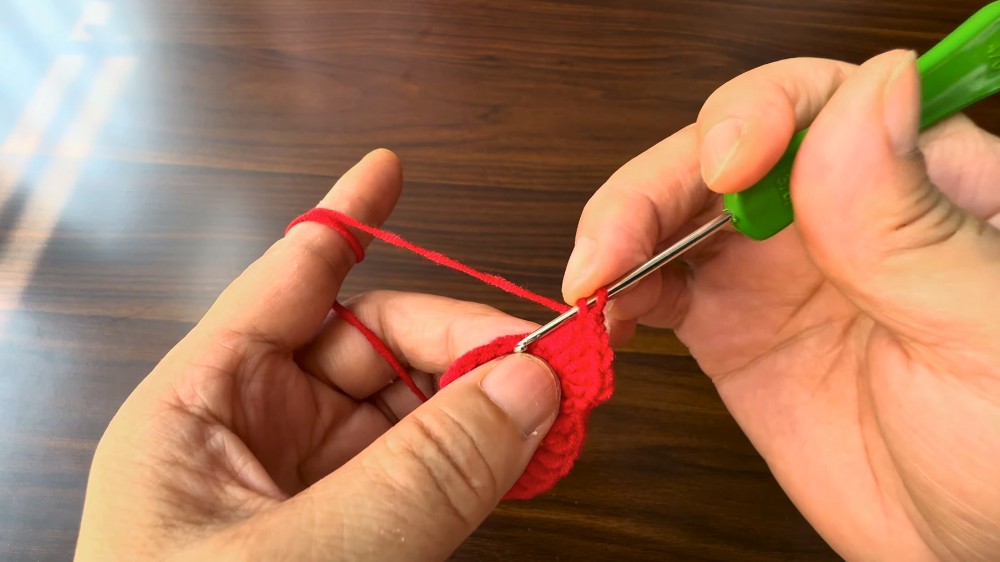
3. Create the Petals
- Crochet the petals using red yarn:
- Single crochet into the first stitch, chain one, and make three double crochets in the next stitch.
- Repeat the process in the next stitch for another set of three double crochets.
- Chain one and finish the petal with a single crochet in the final stitch.
- Continue making five total petals, using all 20 stitches.
- Chain one, cut the red yarn, and weave in the ends.
4. Make a Second Flower Piece
- Repeat the above steps to create a second flower identical to the first.
5. Crochet the Leaf
- Use green yarn to crochet the leaf:
- Begin with a knot that doesn’t count as a stitch.
- Crochet 16 chains, skipping the last chain.
- Work back along the chains: single crochet, half double crochet, three double crochets, another half double crochet, and single crochet.
- Repeat this pattern along the opposite side, ensuring symmetry.
- Fold the completed leaf in half and securely stitch it together using matching stitches from both sides.

6. Create the Connecting Ring
- With green yarn, crochet 20 chains (adjust length as needed).
- Use a knot that doesn’t count as the first stitch.
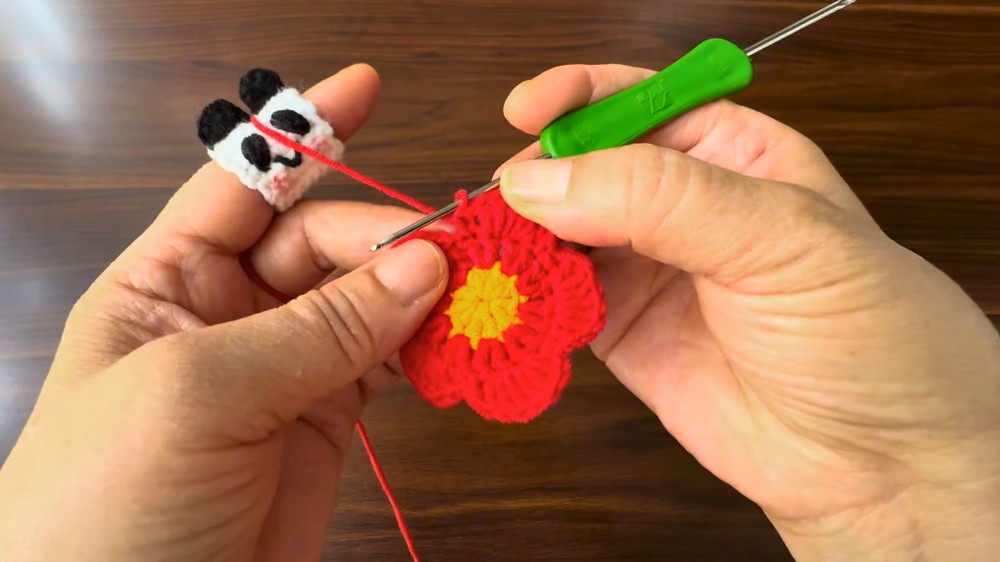
7. Assemble the Flower
- Glue the two flower pieces together neatly using clips to align the petals perfectly.
- Attach the connecting ring to the flower by inserting the yarn tail of the chain between the two petals and tying a tight knot.
8. Attach the Leaf
- Join the leaf with the connecting ring by crocheting six chains, pulling the crochet chain through the ring, and connecting them with a slip stitch.
- Hide yarn tails inside the leaf for a clean finish.
Level of Difficulty
This project is beginner-friendly but does require precision during assembly for a clean look. The stitches are basic, including single crochet, double crochet, half double crochet, and slip stitches.
Tutor’s Suggestions
- Tighten yarn ends when switching colors to avoid gaps that may affect appearance.
- Use stitch markers for better organization, especially when transitioning rounds or petals.
- Hide yarn tails by crocheting over them to simplify finishing and keep the project neat.
Uses
The finished flower can be used in many creative ways:
- Accessories: Attach to keys, cell phones, or bags for a decorative touch.
- Gifts: Give as a heartwarming handmade present to family and friends.
- Décor: Incorporate the flower into garlands, wreaths, or jewelry pieces for added charm.
Conclusion
With its stunning simplicity, this crocheted red flower demonstrates how basic crochet stitches can yield extraordinary results. From its vibrant petals to its lifelike leaf and adaptable connecting ring, every detail is designed to reflect the care and skill of its maker. This project is not only satisfying to complete but doubles as a thoughtful and beautiful gift.
Tip
When assembling the flower pieces, use hot glue for precision and durability. To ensure perfect alignment, secure each petal with clips and glue them one at a time, removing clips only after application.


Leave a Reply