

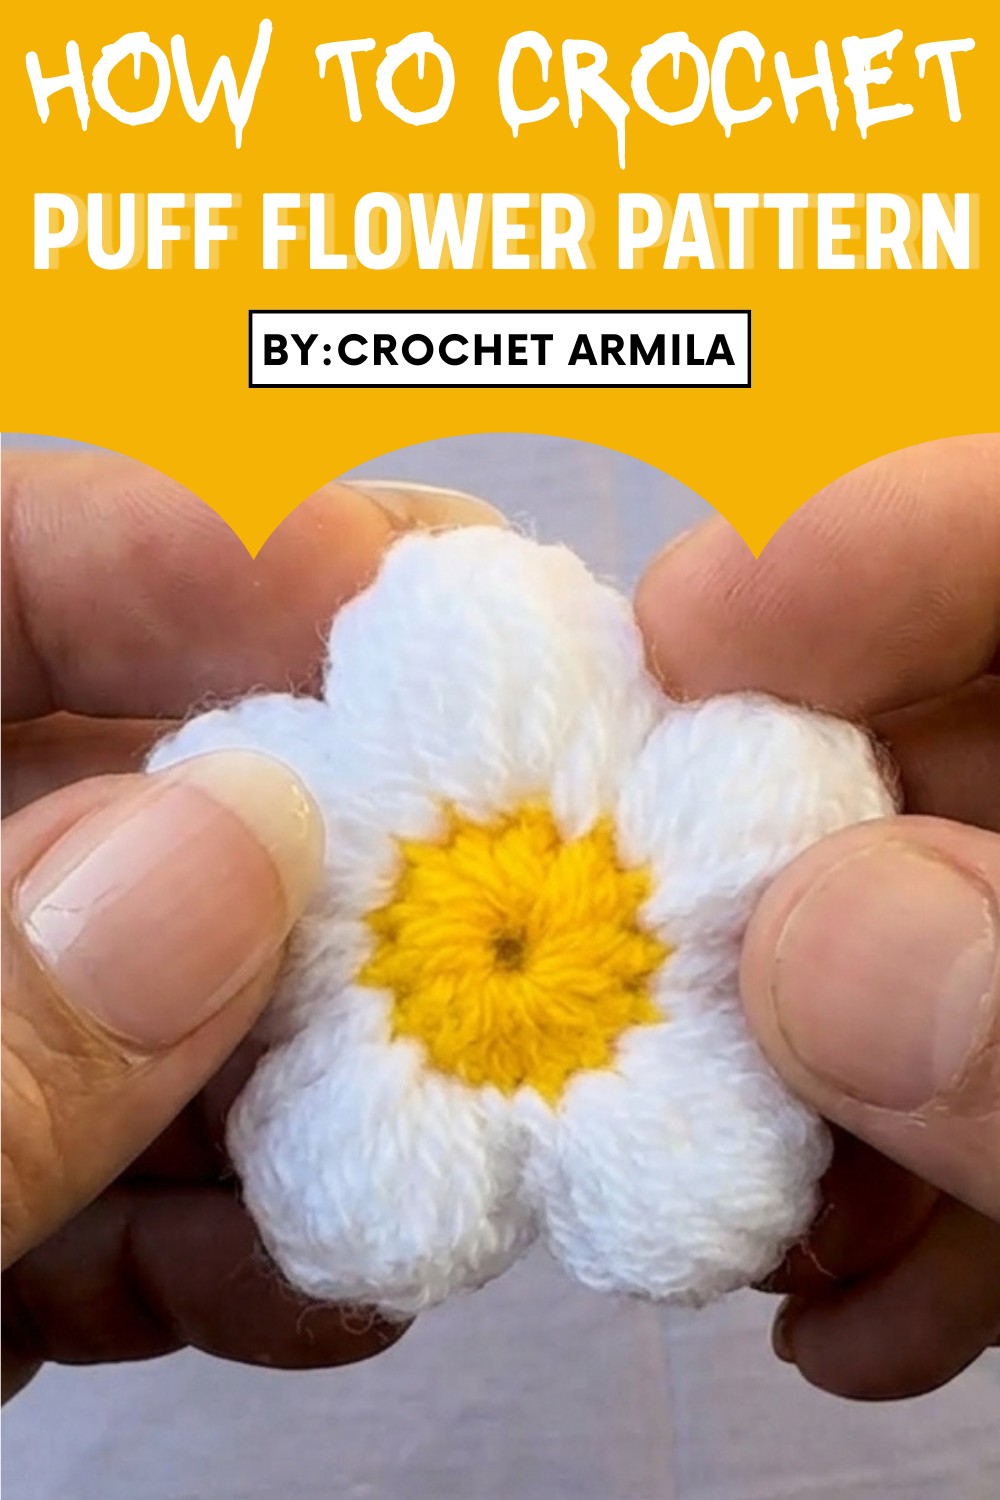
Add charm to your crafts with this Free Crochet Puff Flower Pattern that creates soft, puffy flowers perfect for décor, gifts, or playful handmade accents.
Not every small decoration has to be plain or boring to make a project look special. The Free Crochet Puff Flower Pattern shows how to create a delicate three-dimensional flower that is soft, full, and charming. This flower usually has rounded, raised petals made with smooth yarn and neat crochet stitches, giving it a polished handmade look.
Sweet Free Crochet Puff Flower Pattern for Handmade Decor
Its fluffy texture and cheerful shape make it perfect for decorating bags, hats, hair accessories, or even as part of a small bouquet for home decor. The pattern follows simple, clear steps, making it easy for beginners to create a beautiful finished piece. By choosing different yarn colors, the puff flower can look soft, bright, or playful, adding a personal touch to any project. In the end, this crochet puff flower is a tiny handmade creation that blends charm, creativity, and versatile usefulness in one lovely piece.

Crochet Puff Flower Embellishment Pattern
Materials List:
- Yarn:
- Main Flower: Any wool or cotton yarn (medium weight)
- Center of Flower: A contrasting bright color (e.g. yellow)
(You can use any yarn available, as gauge is not crucial for this pattern.)
- Hook Size:
- 2.25 mm Crochet Hook
- Additional Supplies:
- Scissors
- Tapestry needle
Skill Level:
Advanced Beginner (Familiarity with puff stitches, using magic circles, and working in rounds is helpful.)
Abbreviations (US Crochet Terminology):
- ch: Chain
- sc: Single Crochet
- dc: Double Crochet
- sl st: Slip Stitch
- puff stitch: Work a cluster where multiple loops are pulled up and closed together to create "puff-like" texture.
- st(s): Stitch(es)
- mc: Magic Circle
Special Notes:
- Starting with a Magic Circle: This ensures a neat center for the flower.
- Puff Stitch Creation: Each puff stitch consists of pulling up loops multiple times and closing the cluster at once.
- Customization: Try this project with different color combinations for a unique look.
Pattern Instructions
Puff Flower Body
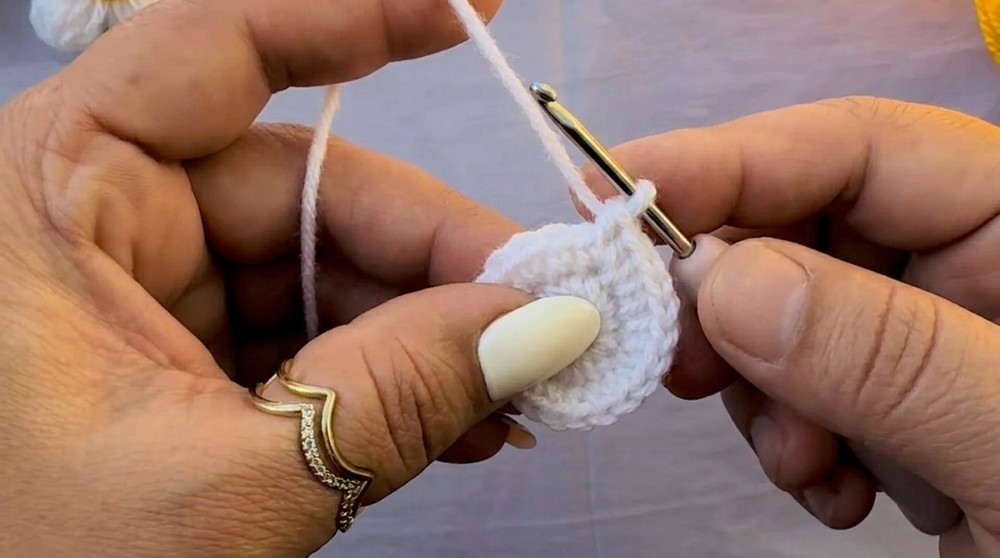
Round 1: Base Foundation
- Create a magic circle (mc).
- Work 10 sc into the mc.
- Pull the short tail of the mc to tighten the circle and close it.
- Join the round by making a slip stitch into the first sc made.
(Now you will have a secure circular base.)
(10 sts)
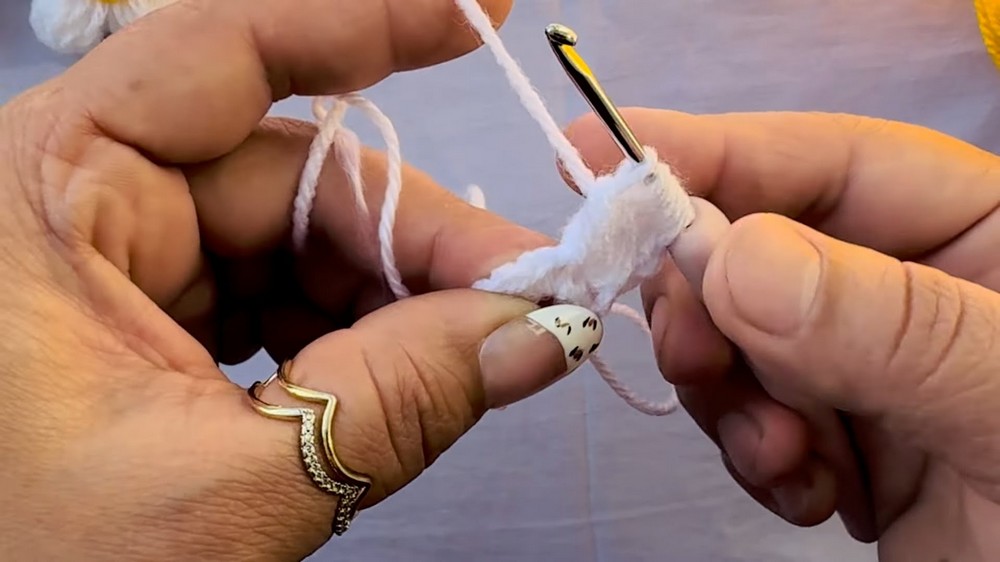
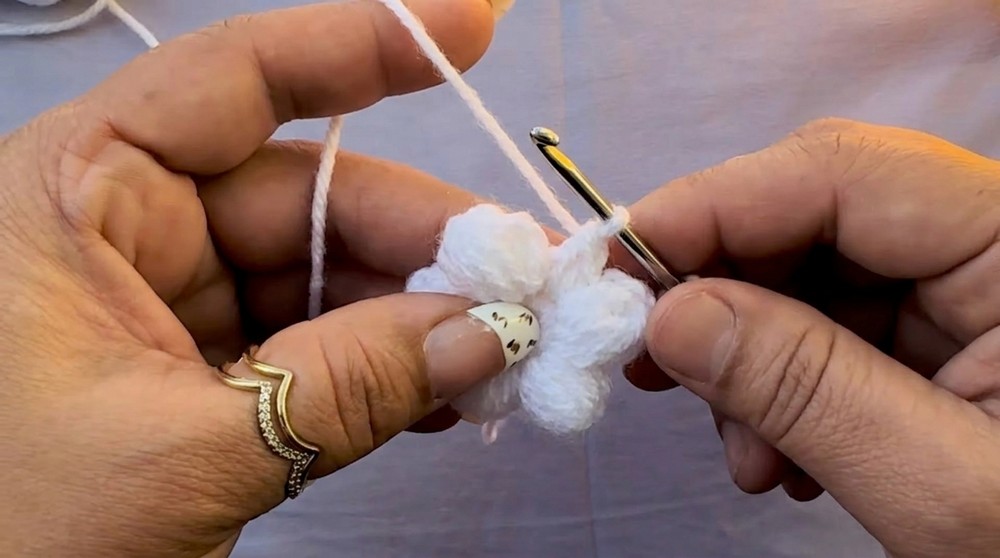
Round 2: Puff Petals
- Start with 2 ch. (acts as the starting chain for your first puff stitch).
- In the same st:
- Begin working a puff stitch:
- Yarn over, insert the hook into the same stitch and pull up a loop.
- Repeat this step 5 times.
- You should now have loops on your hook.
- Yarn over and pull through all loops to close the puff.
- Secure it with a 1 ch.
- Begin working a puff stitch:
- Move to the next st:
- [Repeat steps for the puff stitch]:
- Yarn over, insert hook into the next st and pull up loops 5 times.
- Yarn over and pull through all loops.
- Secure with 1 ch.
- [Repeat steps for the puff stitch]:
- Complete all remaining sts in the round with puff stitches.
- After the last puff:
- Ch 3, and sl st into the base of the first puff to close the round.
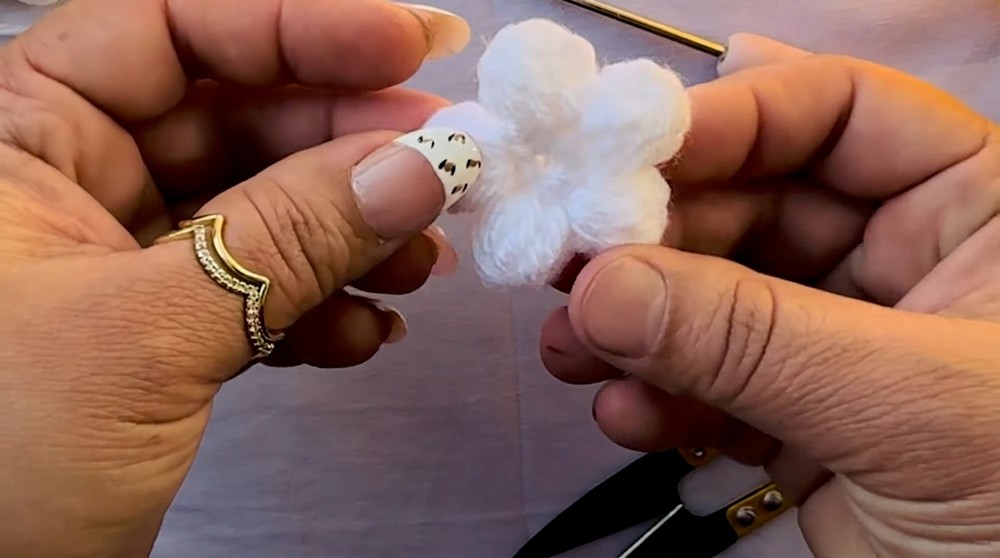
(You should now have a puff flower with 10 petals forming the circumference.)
Round 3: Reinforce the Petals
- Turn your flower around to the back side.
- For each petal (starting from the first):
- Work sl st from behind the base of the puff to give the petals a "popped" or raised look.
- Continue this around the entire base to secure each petal.
Flower Center (Yellow)
Round 1: Magic Circle
- With a contrasting yarn color (e.g., yellow), create a magic circle (mc).
- ch 2 as your starting chain.
- Work 5 puff stitches into the magic circle:
- Follow the same steps to create a puff stitch:
- Yarn over, insert hook into the mc and pull up loops 5 times.
- Yarn over and pull through all loops to close.
- Secure with 1 ch.
- Follow the same steps to create a puff stitch:
- Pull the short tail tightly to close the circle.
- Fasten off and leave a short tail for securing.
Attach Center to Flower:
- Position the yellow center over the open middle of the puff flower.
- Thread the remaining tails of the yellow section onto a tapestry needle.
- Insert the needle into the back of the flower and pull through, ensuring the center is firmly attached.
- Secure with a knot at the back and weave in all ends.
Finishing:
- Trim off excess yarn neatly.
- Shape the flower by gently adjusting the petals and ensuring all puff stitches look uniform.
- Attach your flower to any item:
- Sew it onto sweaters, cardigans, or other apparel.
- Use a hot glue gun (optional) for non-fabric applications (e.g., decorating bags or home décor).
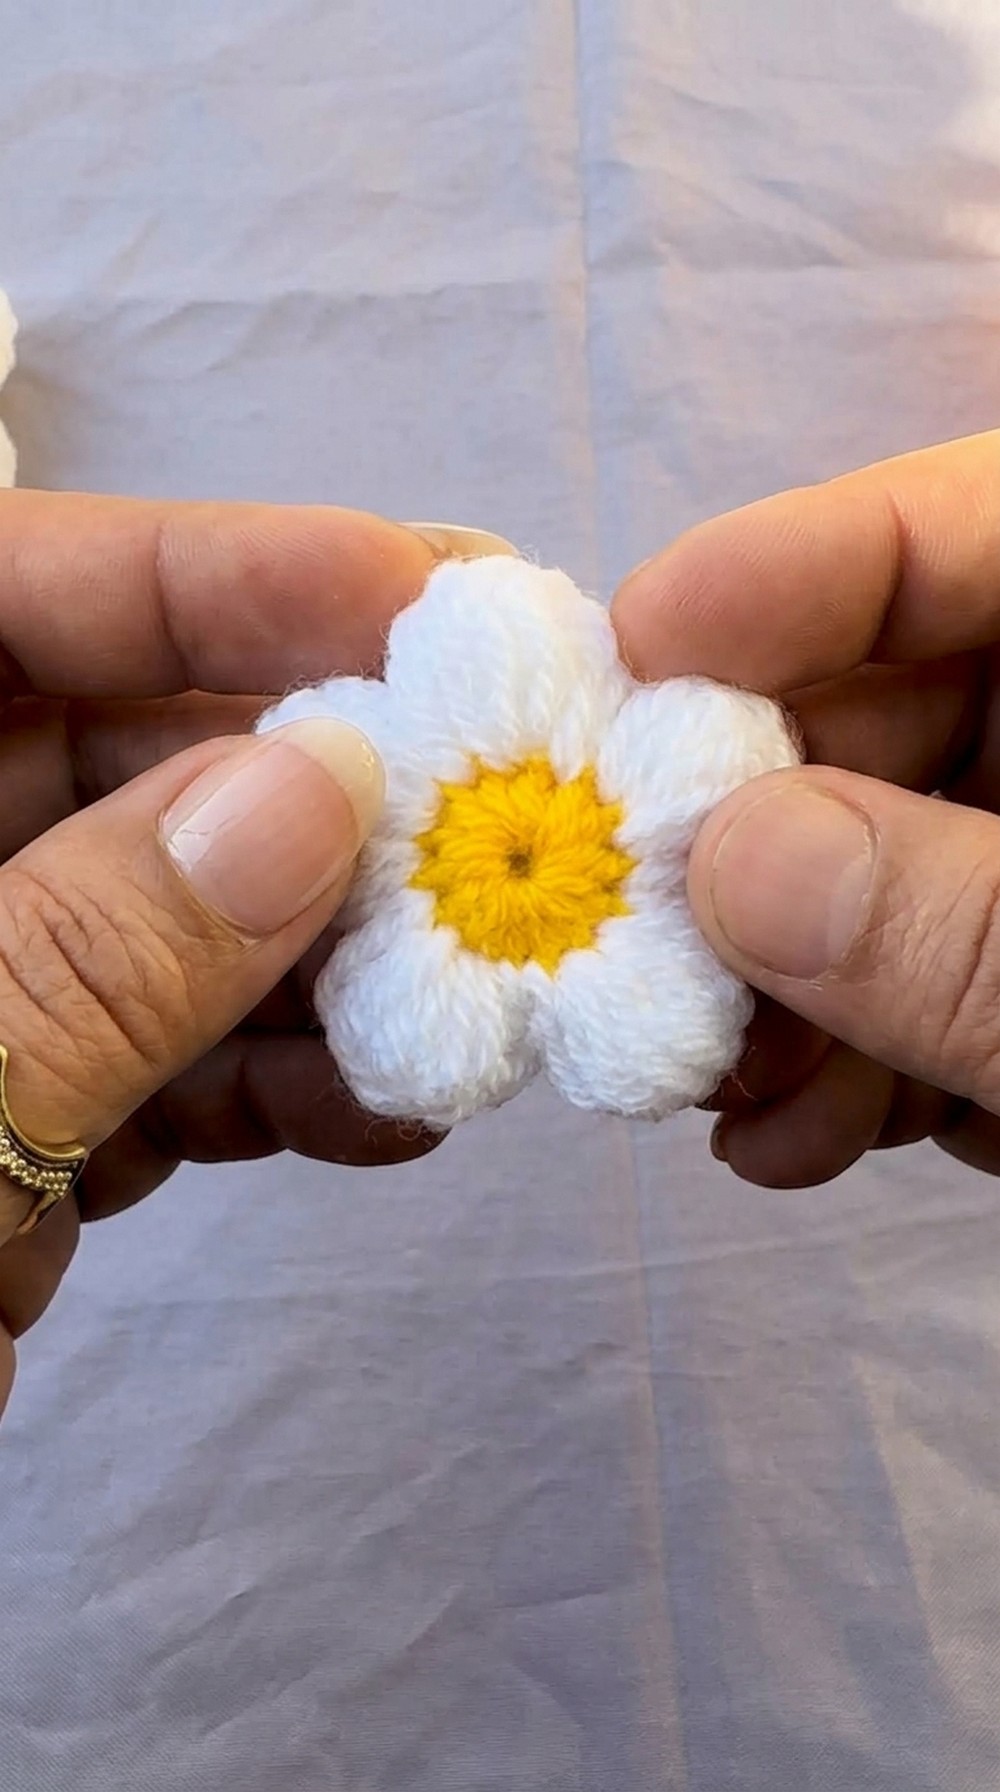
Final Words
Congratulations! Your puff flower is now ready to embellish your projects. This flower creates a 3D look, making it perfect for adding a unique touch to wearable garments, crochet bags, or even home décor items.
Tips for Maintaining Your Crochet Puff Flower:
- Care Instructions:
- If using wool or cotton, hand-wash gently with mild soap.
- Avoid excessive washing to maintain the puff texture.
- Store Correctly:
- Avoid folding or pressing the flower flat for prolonged periods to keep its "puffed" appearance intact.
- Experiment:
- Try this pattern with varied yarn weights to create flowers in different sizes.
- Add beads or sparkle with metallic yarn to enhance the design further.
Leave a Reply