

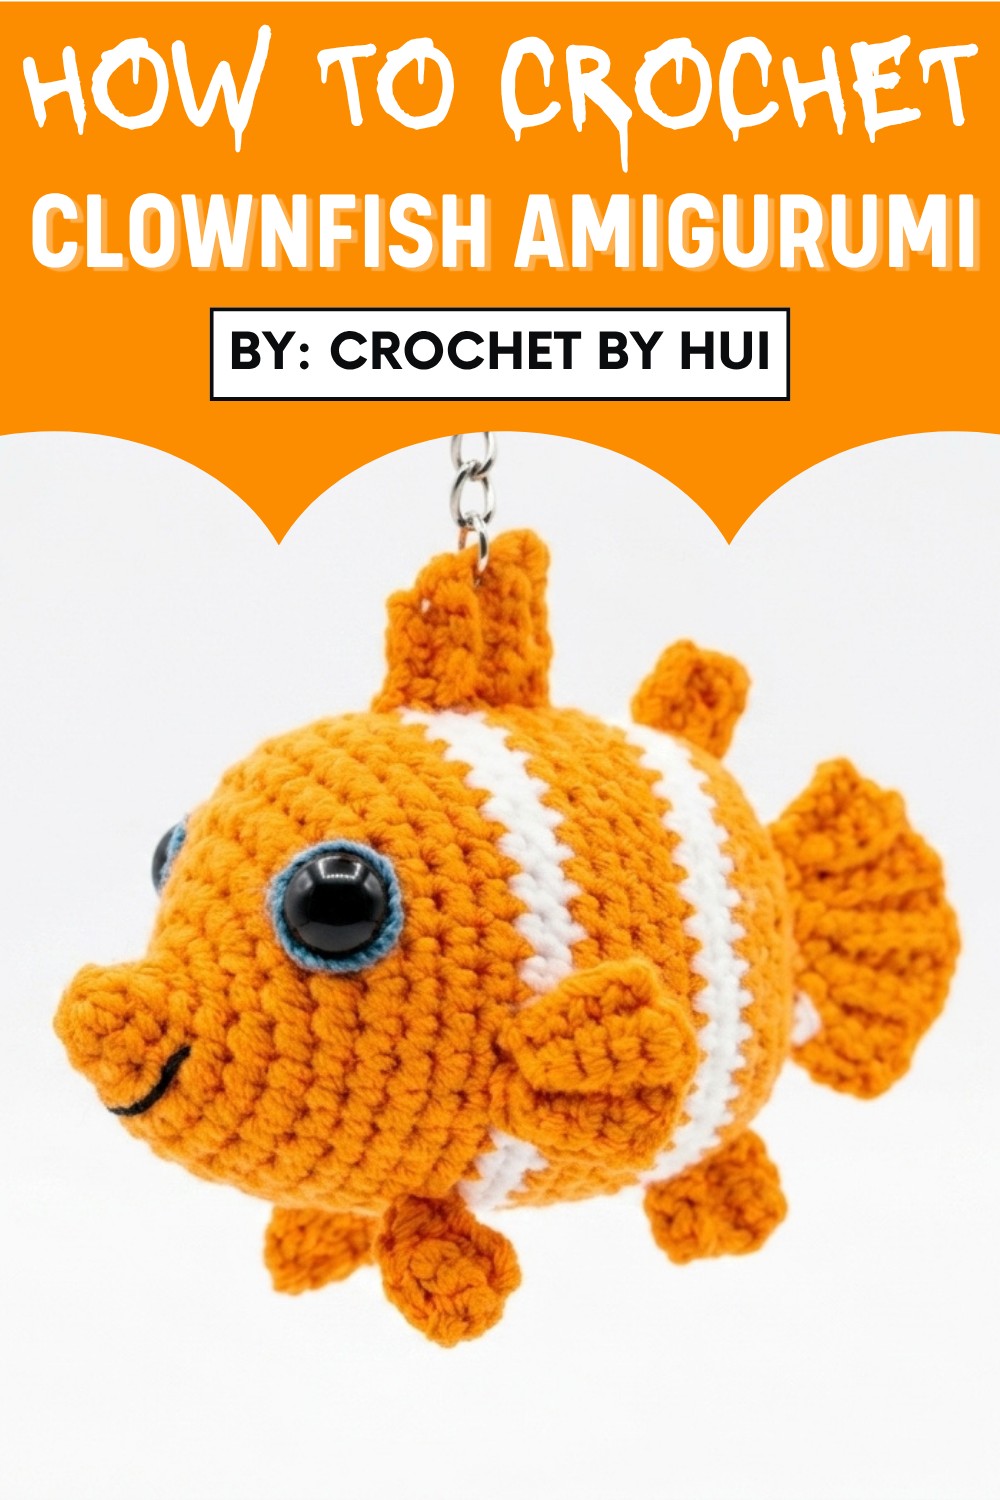
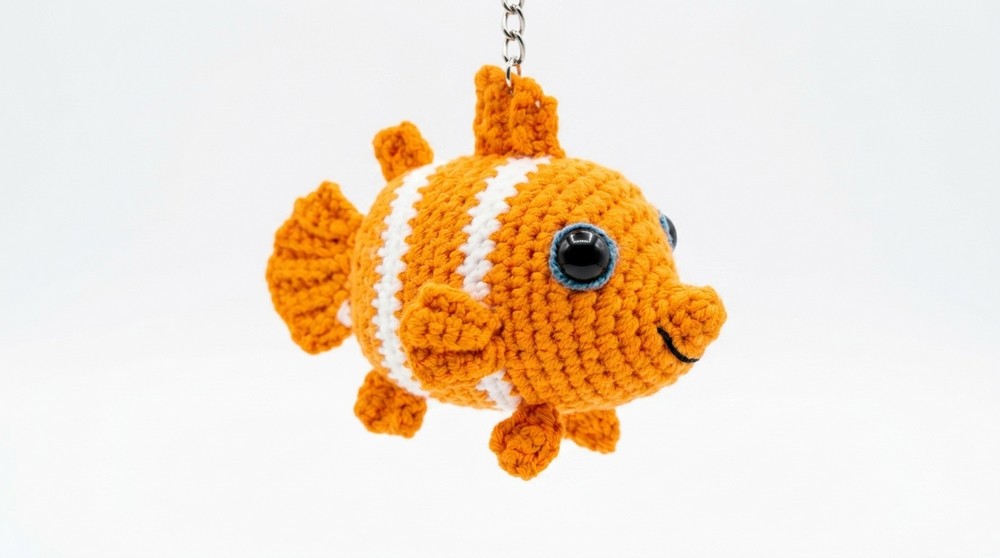
Hook some fun with this free crochet clownfish amigurumi pattern, colorful & perfect for keychains, gifts, or just showing off your skills.
Bring the wonders of underwater life into your hands with a project that’s as fun as it is rewarding. This adorable clownfish amigurumi pattern is a joy to crochet, featuring vibrant stripes, a round body, and intricate fins that capture the playful character of a real clownfish. With its eye-catching design, this pattern is perfect for making cute pendants, keychains, or heartfelt gifts for kids and ocean lovers alike.
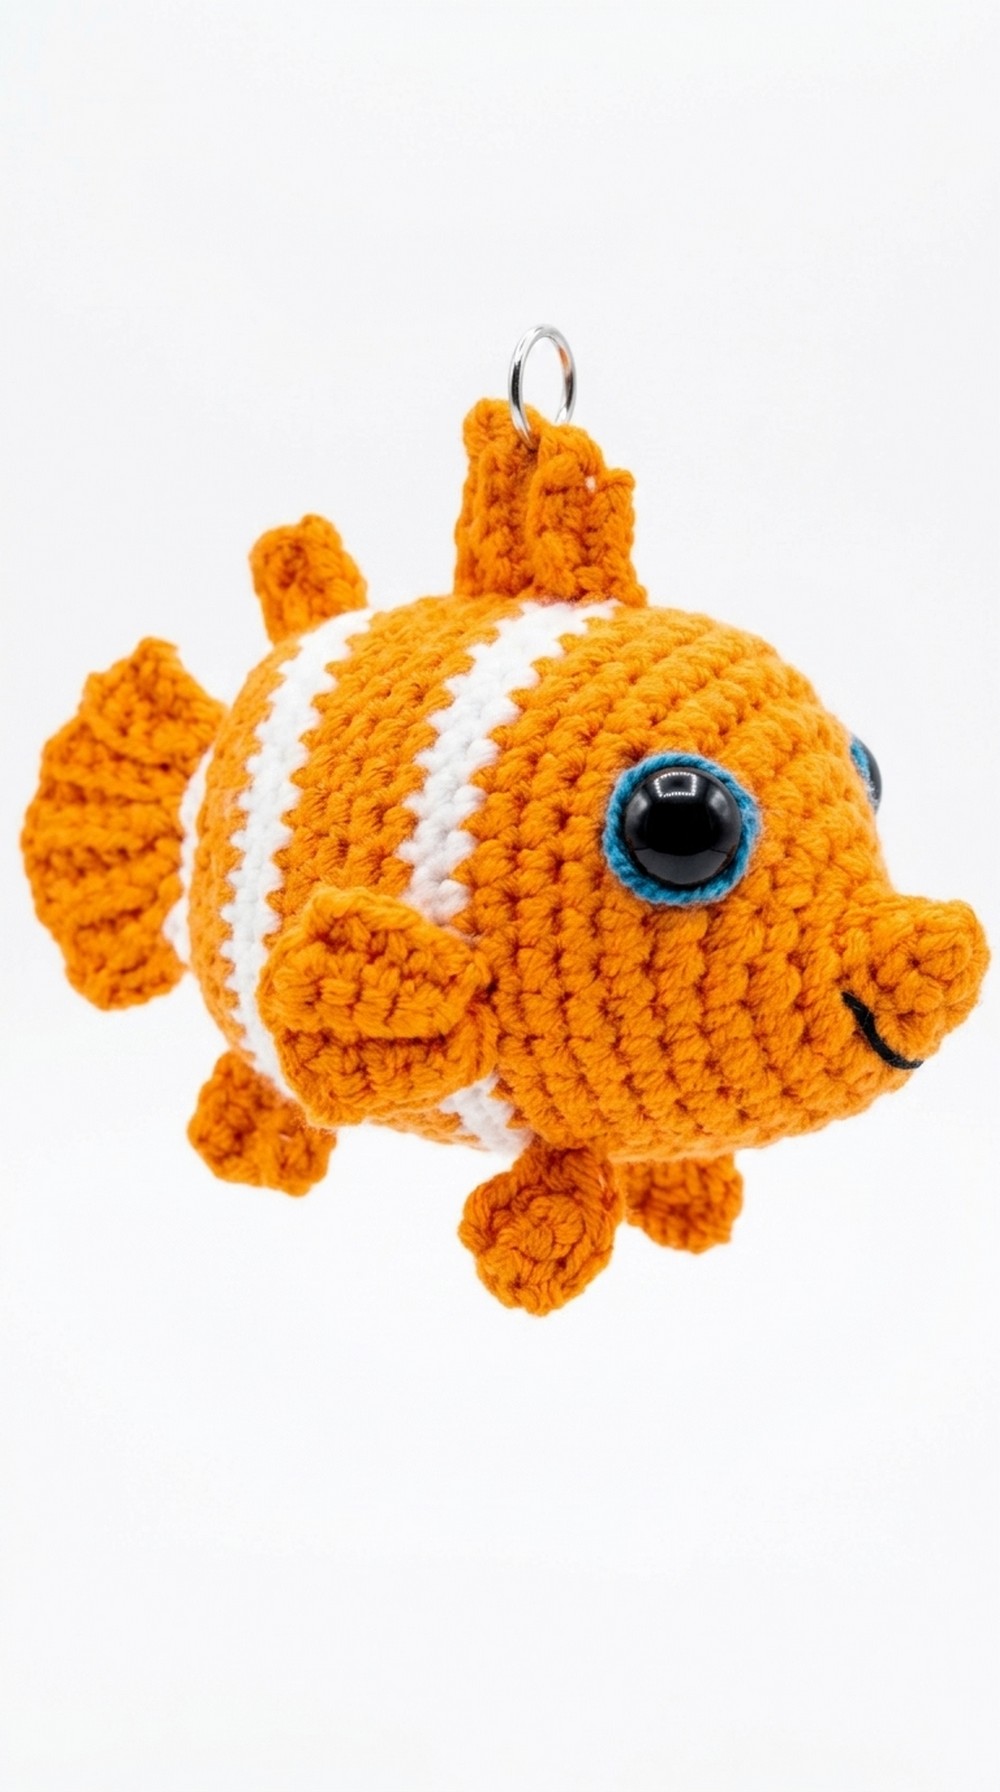
Crochet Clownfish Amigurumi Pattern for Creative Hobbyists
The pattern offers a relaxing challenge, with clear step-by-step instructions suitable for hobbyists with basic to intermediate skills. The small size also makes it an ideal project for using up leftover yarn, ensuring there’s no waste. You can personalize it with different colors or add special details like eyes or tiny stitches to give it extra charm.
Beyond aesthetics, this crocheted clownfish serves as a wonderful conversation starter or an eco-friendly alternative to store-bought trinkets. Its compact size allows you to carry it anywhere as a token of creativity and joy. Whether brightening up a bag, keyring, or shelf, one thing is certain: this lively little clownfish will bring smiles wherever it goes. Let this innovative pattern inspire your crochet adventures.
Level of Difficulty
Intermediate: While the pattern involves basic stitches like single crochet, increases, and decreases, the intricate fin details and color changes require some experience with shaping and working in rounds. Beginners are encouraged to take their time.
Materials Needed
- 2.0mm Crochet Hook
- Yarn in Orange, White, and Black
- Waste thread (for marking rounds)
- Stuffing material (like polyester fiberfill)
- Scissors
- Yarn needle
Step-by-Step Crochet Clownfish Amigurumi Pattern
Part 1: Body
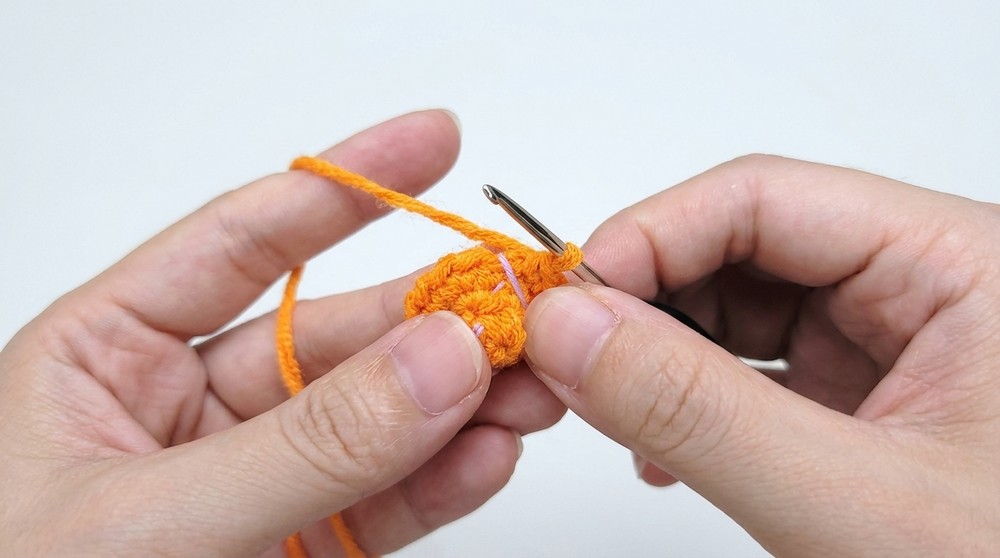
- Round 1:
- Make a magic ring, chain 1, and crochet 5 single crochets (sc) into the ring. Pull the loop tight to close the ring. (5 stitches)
- Round 2:
- Place a waste thread marker to track rounds. Start with 2 sc, then 1 sc increase. Repeat. (6 stitches)
- Round 3:
- Start with 1 sc increase, then 1 sc, then 2 sc increases, and repeat. (10 stitches)
- Round 4:
- Work 7 sc, followed by increases in the remaining stitches to complete the round. (17 stitches)
- Round 5:
- Start with 4 sc, then alternate between 1 sc, 1 sc increase, and 1 sc 5 times, and finish with 3 sc. (22 stitches)
- Round 6:
- Begin with 5 sc, then alternate between 1 sc, 1 sc increase, and 1 sc 6 times, and finish with 5 sc. (28 stitches)
- Round 7:
- Work 6 sc first. Then alternate between 1 sc, 1 sc increase 8 times, finishing with 6 sc. (36 stitches)
- Rounds 8-19:
- Make 36 sc in each round.
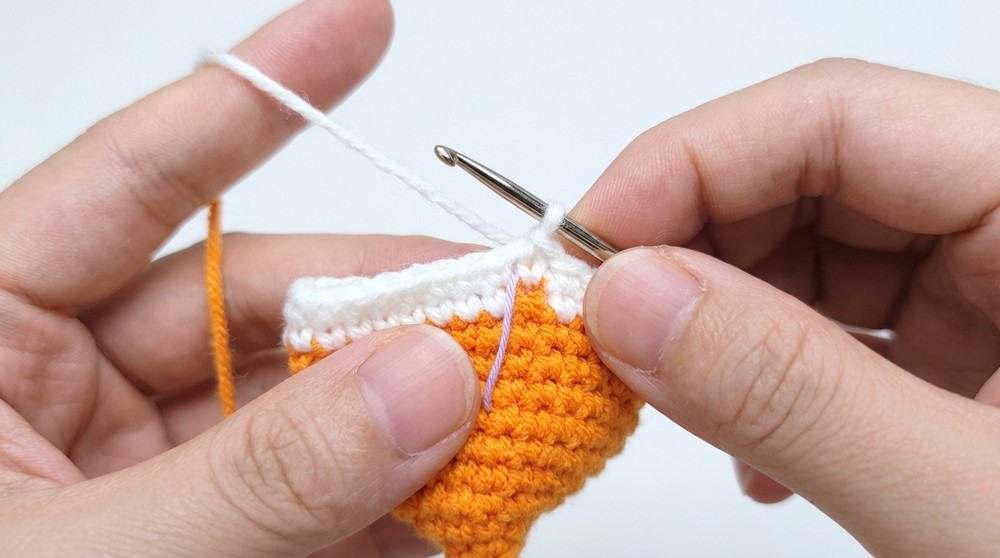
- At the end of Round 11, change to white yarn and work Rounds 12-13. Switch back to orange yarn for Rounds 14-19.
- Stuff the body as you work.
- Round 20-24:
- Gradually decrease the stitches. Alternate between short stitches and sc decreases to form the tail-end shape. The final stitch count should reduce to 12 stitches.
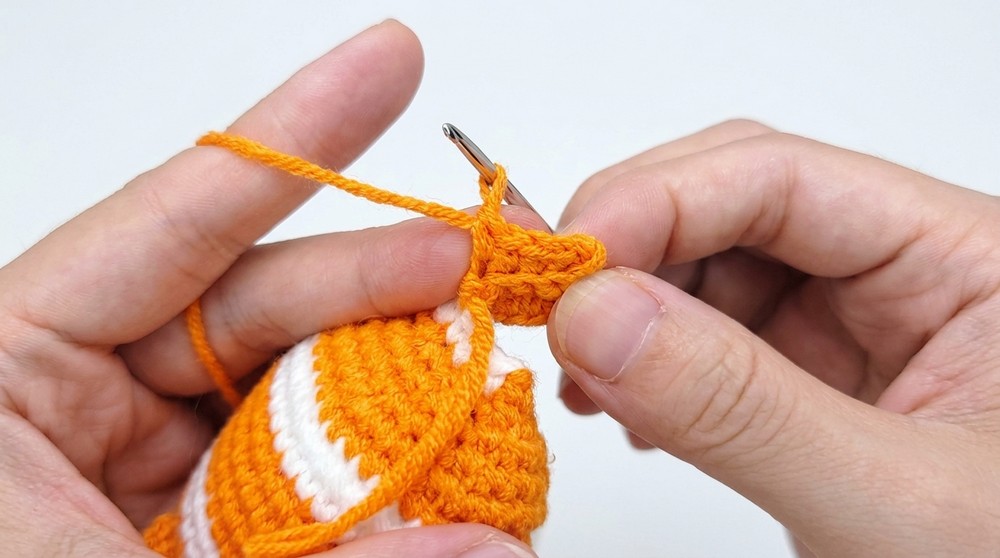
- Round 25:
- Finish with white yarn, fold the piece in half, and crochet through both sides with 5 sc. Cut and weave in the yellow tail-end.
2: Tail
- Row 1:
- Attach the yarn and chain 5. Work 4 sc back into the chain stitches. Add a slip stitch at the end to secure.
- Row 2-6:
- Alternate between short stitches, increases, and decreases, leaving a blank stitch on each row for shaping.
- Weave in ends and sew the tail to the back of the body to complete the shape.
3: Pectoral Fins
- Start with Row 1: Chain 5, then work 4 sc into the chain stitches.
- Row 2-5: Use the same method as the tail to shape the fins by short stitches or short stitch increases.
- Make 2 fins and attach them symmetrically on the sides of the body.
4: Pelvic Fins
- Row 1: Chain 4, and work 3 sc into the chain stitches.
- Row 2-3: Use the same approach to shape the fins.
- Make 2 fins and attach them symmetrically underneath the body.
5: Dorsal and Anal Fins
- Dorsal Fin:
- Work in the same style as the other fins but create a larger fin with additional rows (approximately 5 rows).
- Anal Fins:
- Follow the same technique as the dorsal fin but create a smaller size.
- Attach the large dorsal fin on the back and the anal fin on the bottom of the body.
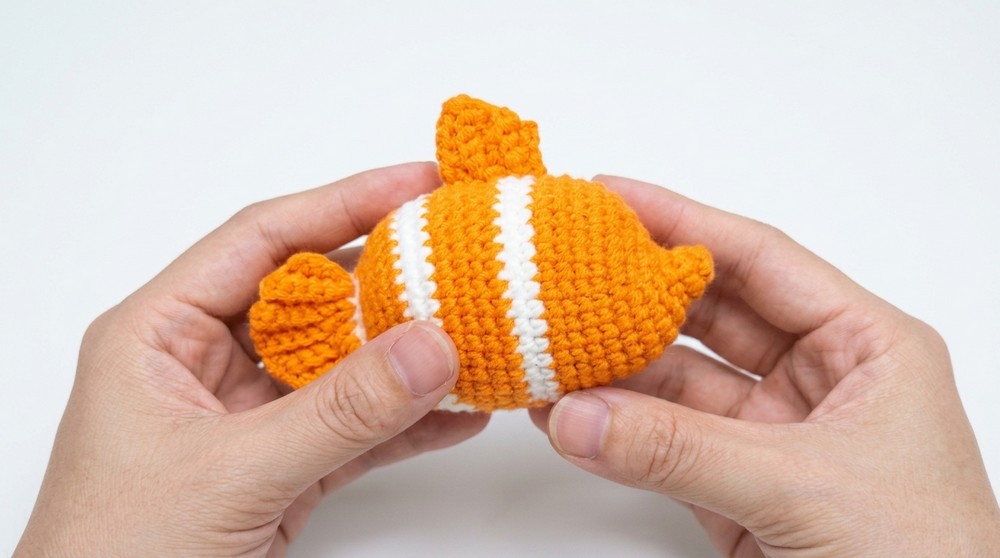
Assembly
- Carefully position all the fins around the body for symmetry.
- Use a yarn needle to sew the fins securely into place.
- Stuff the body completely to ensure a round, firm shape.
- Adjust details (stripes, fin placement) for a perfect finish.
Special Features
- Adorable clownfish design with intricate stripes and fins for detail
- Portable – perfect as a pendant or keychain accessory
- Playful underwater theme for ocean lovers
Tutor Suggestions
- For beginners: Start with the body and become comfortable with increases/decreases before moving on to the fins.
- Color tip: Use high-contrast yarn (e.g., bright orange and white) for maximum visual impact.
- Customization: Add extra details like tiny beads for eyes or adjust the fin sizes for a personalized touch.
Uses
- Fun decoration for bags, keys, or kids’ school accessories
- Thoughtful handmade gift for ocean-themed lovers or children
- Great scrap yarn project to use up small yarn pieces
Conclusion
The Crochet Clownfish Amigurumi Pendant Pattern is a delightful blend of creativity and technique that results in an adorable handcrafted keepsake. With attention to the finer details, this project not only highlights your skills but also brings a touch of the ocean into everyday moments. Suitable for crocheters looking for a manageable challenge, this pattern is sure to bring smiles anywhere it goes.
Pro Tip
To prevent color changes from showing, always carry the unused yarn along the inside of the fabric, ensuring a neat and polished finish!
Leave a Reply