

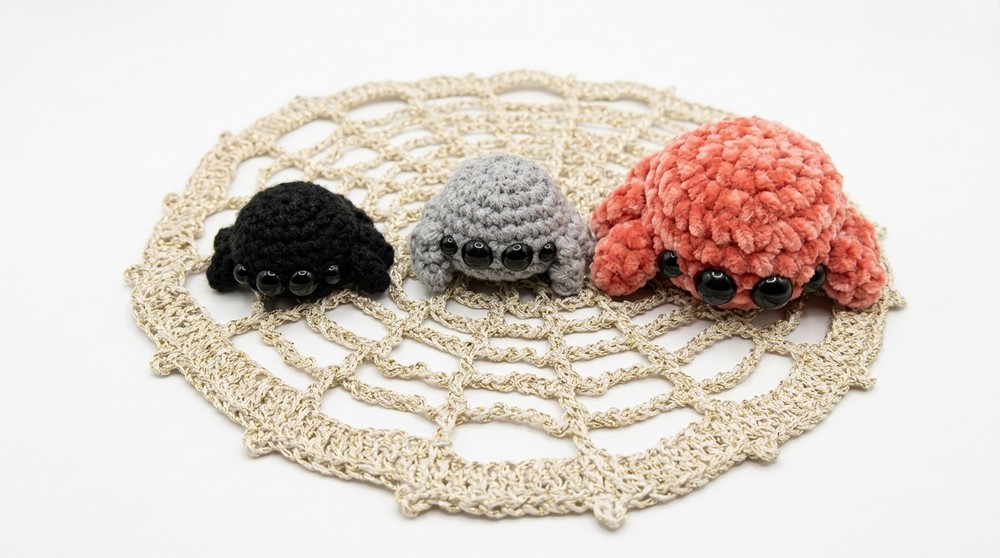
Unlock your creativity with this free crochet baby spider pattern, perfect for Halloween decor, gifts, or personalized keychains.
Looking for a playful project that combines creativity and practicality? The crochet baby spider pattern is a perfect choice for adding charm to seasonal decorations, gifting, or accessorizing. Designed with versatility in mind, this pattern allows you to use various yarn types and colors to achieve different styles, sizes, and textures, ensuring that each spider has its own unique flair. Whether you’re aiming to crochet a cute Halloween display, make adorable keychains, or crochet delightful souvenirs, this pattern makes it easy to customize to your needs.
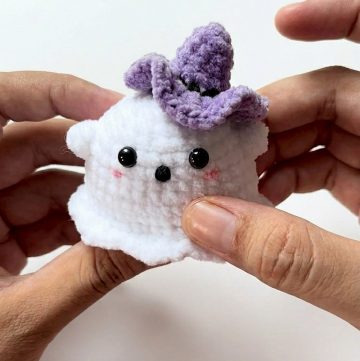
Lovely Crochet Baby Spider Pattern Step-by-Step
With minimal materials and straightforward steps, it’s a wonderful project for beginners to gain confidence or experienced crocheters to enjoy a quick, satisfying task. Learning the basics of forming shapes and attaching elements like legs and embellishments offers a fun challenge while still remaining manageable. Plus, it’s a fantastic way to use up leftover yarn and turn scraps into delightful creations.
Beyond the joy of crocheting it, this pattern is super versatile for decorating your space, personalizing gifts, or even selling it as handmade items. With their squishy bodies and adaptability, they’re cute, practical, and endlessly charming, perfect for showcasing your crochet skills in style.

Special Features
- Adjustable size based on yarn thickness and hook size.
- Can be customized with different materials for varied textures, such as chenille or velvet.
- Multiple uses: keychains, decorations, souvenirs, or amigurumi toys.
Level of Difficulty
This pattern is designed for beginners with basic knowledge of crochet stitches such as the magic ring, single crochet (SC), increasing, and decreasing.
Materials Needed
- Yarn: Any color and thickness of your choice. Suggested: 2mm–5mm yarn (e.g., standard yarn, chenille, or velvet).
- Hook: Match the hook size to your yarn (e.g., 2.5mm–5mm).
- Stuffing: Polyfill for stuffing the body.
- Safety Eyes: A pair of 7-8mm eyes (for the main eyes) and smaller eyes (5-6mm for the side eyes).
- Tapestry Needle: For closing stitches and attaching legs.
- Stitch Marker: Optional but helpful for keeping track of rows.
- Glue (optional): To secure safety eyes if needed.
Step-by-Step Instructions for the Mini Spider
Body
Rounds 1–8: Build the Body
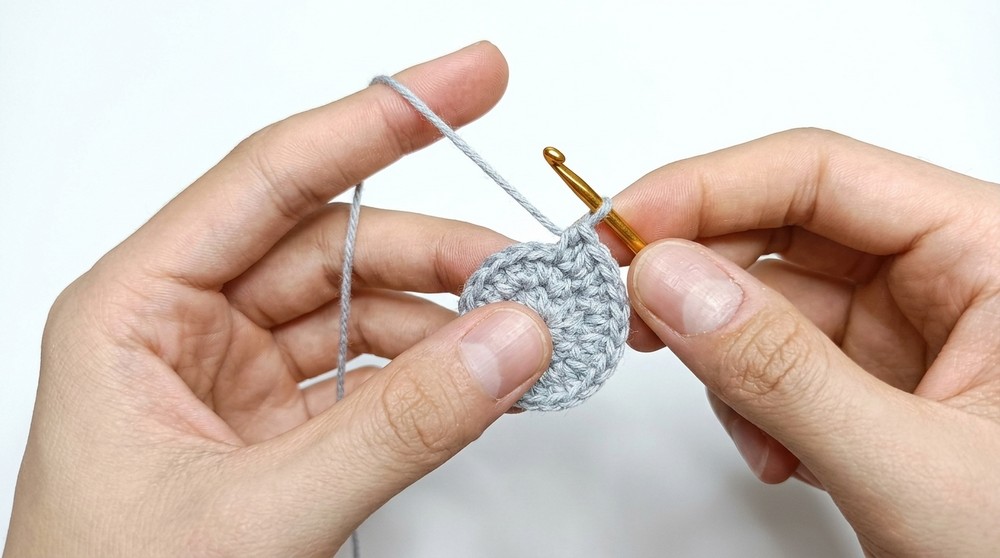
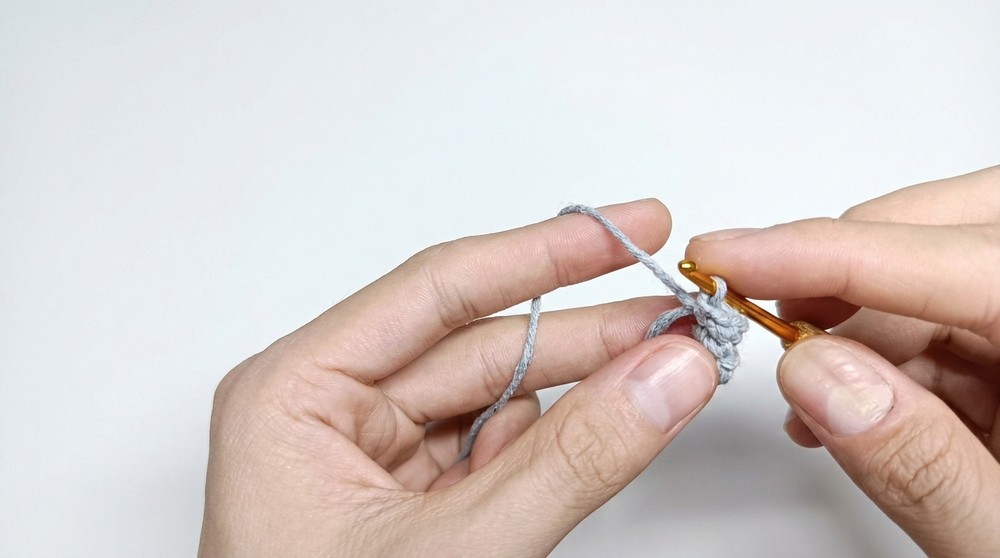
- Round 1: Create a magic ring with 6 SC inside the ring. (6 stitches total)
- Round 2: Work 1 increase in every stitch (2 SC per stitch) around. At the end of the round, you’ll have 12 stitches.
- Round 3: Alternate 1 SC, 1 increase around. You will end up with 18 stitches.
- Round 4: Alternate 2 SC, 1 increase around. At the end, there will be 24 stitches.
- Rounds 5–8: Crochet 1 SC in every stitch (no increases) to maintain the body size and add height.
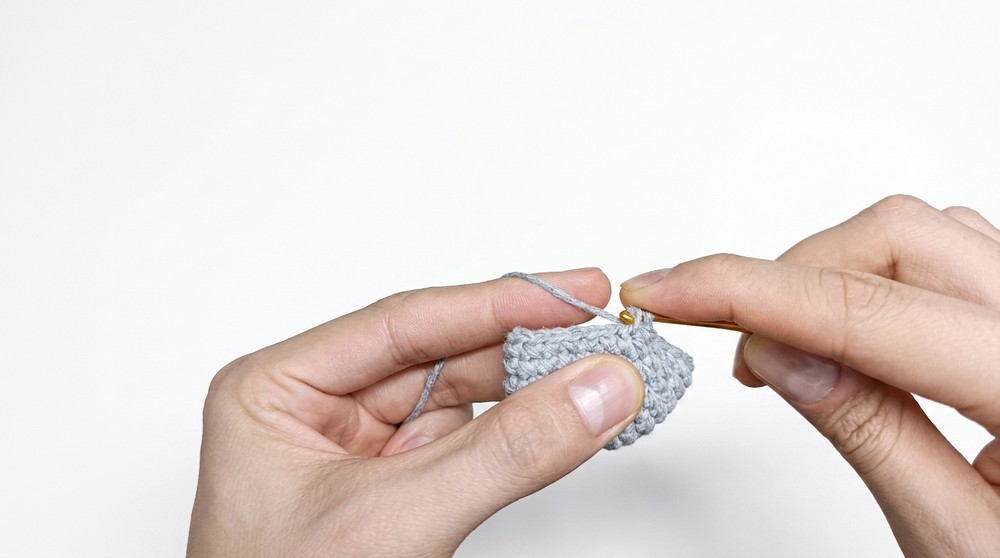
Round 9: Start Shaping the Body
- Work 2 SC, 1 decrease around. This reduces the stitch count to 18 stitches.
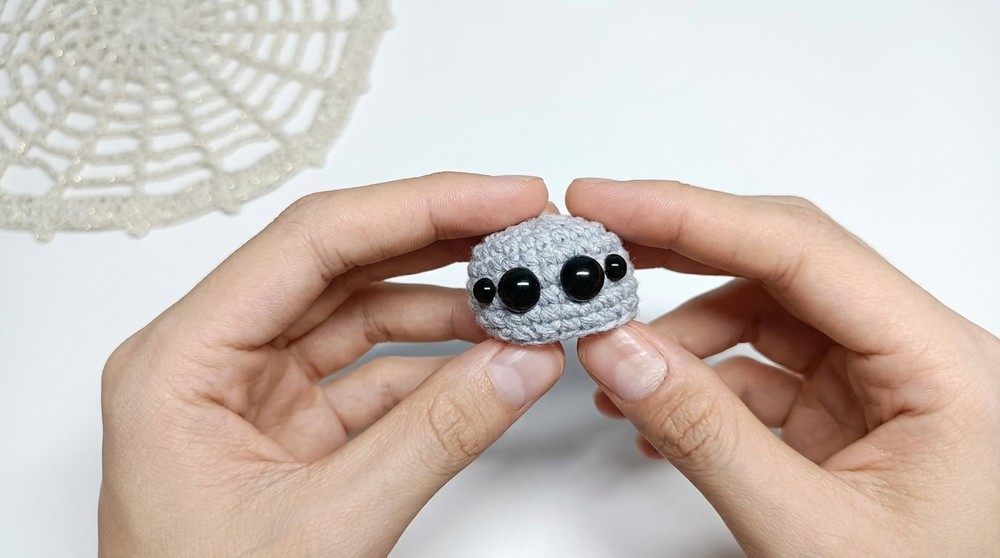
Insert Eyes (Optional at This Point)
- Position the 7-8mm safety eyes between Rounds 6 and 7 with 2 stitches apart.
- Add the smaller side eyes (5-6mm) next to the larger eyes, leaving just 1 stitch apart.
- Secure the eyes with backing or glue as desired.
Round 10: Add More Shape
- Alternate 1 SC, 1 decrease around. This will reduce the stitch count to 12 stitches.
Stuff the Body
- Fill the spider with polyfill and ensure the shape is firm and evenly stuffed.
Final Round (Round 11): Close the Body
- Make sequential decreases across 3 stitches until the hole is mostly closed.
- Use a tapestry needle to weave the remaining opening closed. Pull the yarn taut to create a smooth, tight finish.
Legs (Make Eight)
Each leg is done in just 3 rounds.
- Round 1: In a magic ring, crochet 5 SC.
- Rounds 2–3: Work 1 SC in each stitch (no increases). This will keep the leg shape narrow and tube-like.
- Finishing: Slip stitch into the next stitch, then cut the yarn, leaving about 9–10 cm for sewing.
Attach Legs to the Body
- Position 4 legs on each side of the spider, aligned along the row where the eyes were placed.
- Space the legs at 1 stitch apart for a uniform look.
- Use a tapestry needle to sew each leg securely to the body. Knot and weave in the loose ends to secure them.
Conclusion
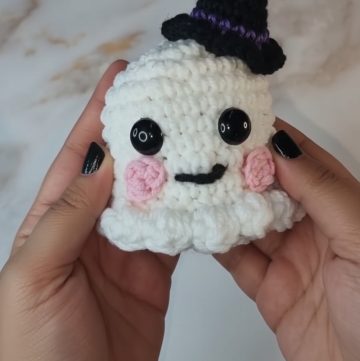
Once the legs are attached, your adorable mini spider is complete! You can scale this pattern by adjusting yarn thickness and hook size to crochet different-sized spiders for Halloween decorations, keychains, or other customizable uses.
Tutor's Suggestions
- Experiment with different yarn types (e.g., velvet for a fluffy effect or chenille for a plush look).
- For added personality, use different eye colors or add small fangs with embroidery thread.
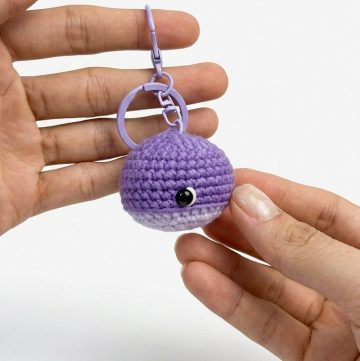
- If gifting, consider attaching a keyring or using lightweight stuffing to make it more functional.
Tip
To ensure your mini spider maintains its shape over time, double-knot and hide all loose threads securely inside the body.
Leave a Reply