

Crochet Your Own Bee Keychain with This Easy Pattern
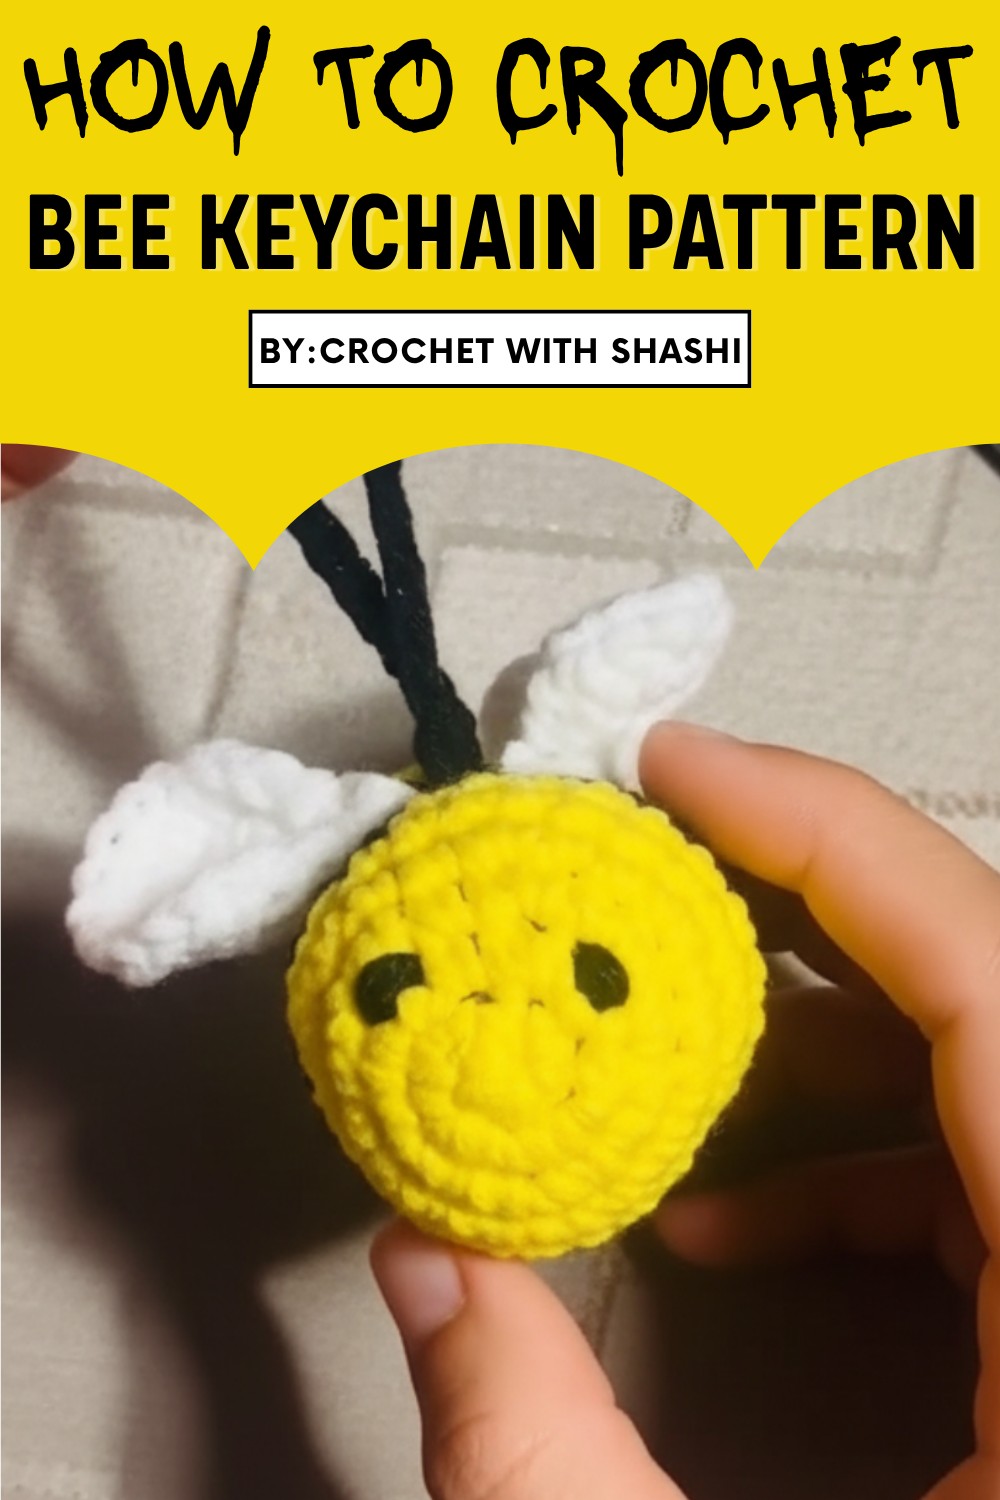
Step-by-Step Pattern Details
Materials Needed:
- Yarn (in yellow, black, and white)
- Crochet hook: 4mm (or a size suitable for your yarn)
- Scissors
- Stuffing (Poly-fill or cotton)
- Tapestry needle
- Keychain ring
- Stitch marker (optional for beginners)
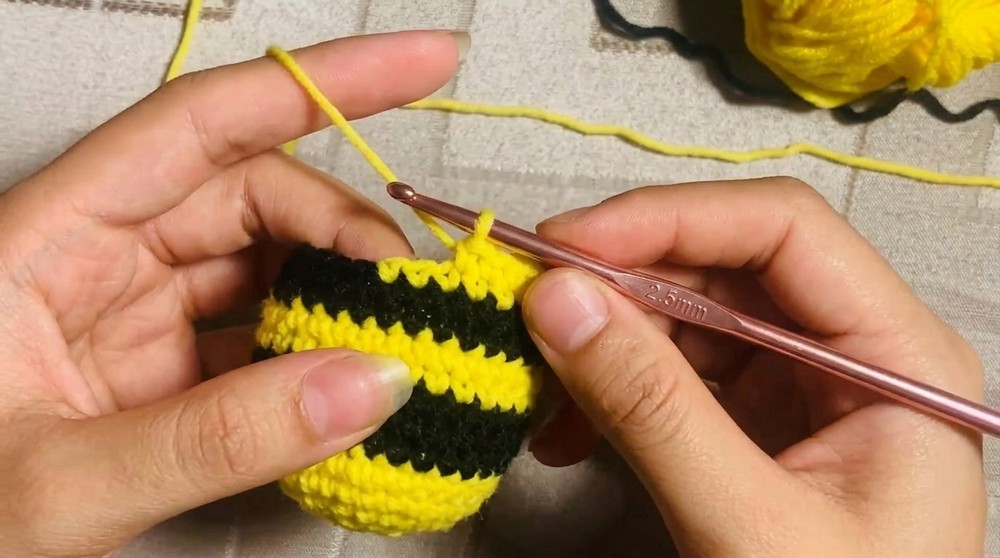
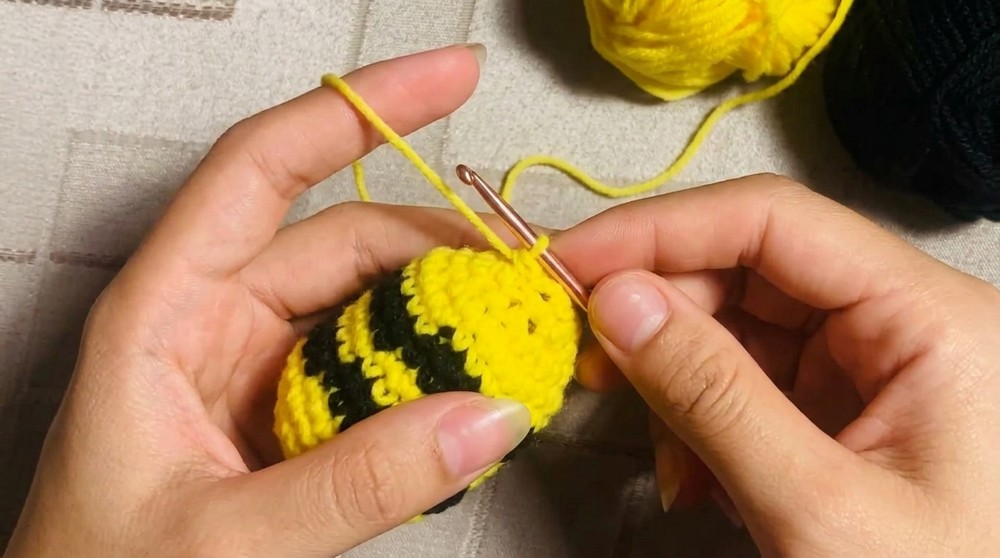
Step 1: Making the Bee’s Body
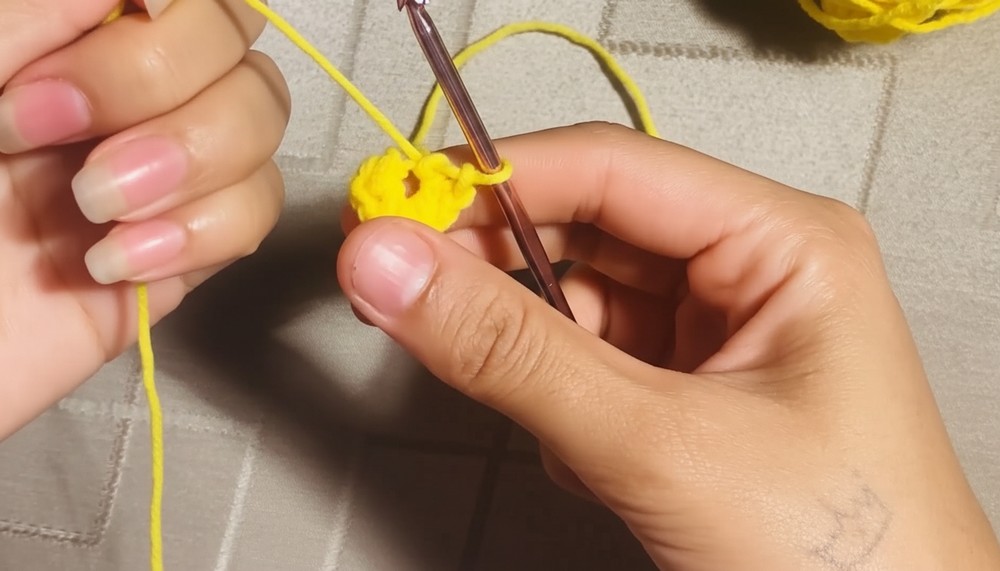
- Start with a Magic Ring using yellow yarn.
- Create the ring by forming a circle with the yarn and pulling a loop through it.
- Chain 1 to secure the ring.
- Round 1: Work 6 Single Crochets (SC) into the magic ring. Pull the yarn to tighten the ring, ensuring there’s no gap. Close the round with a slip stitch (SS).
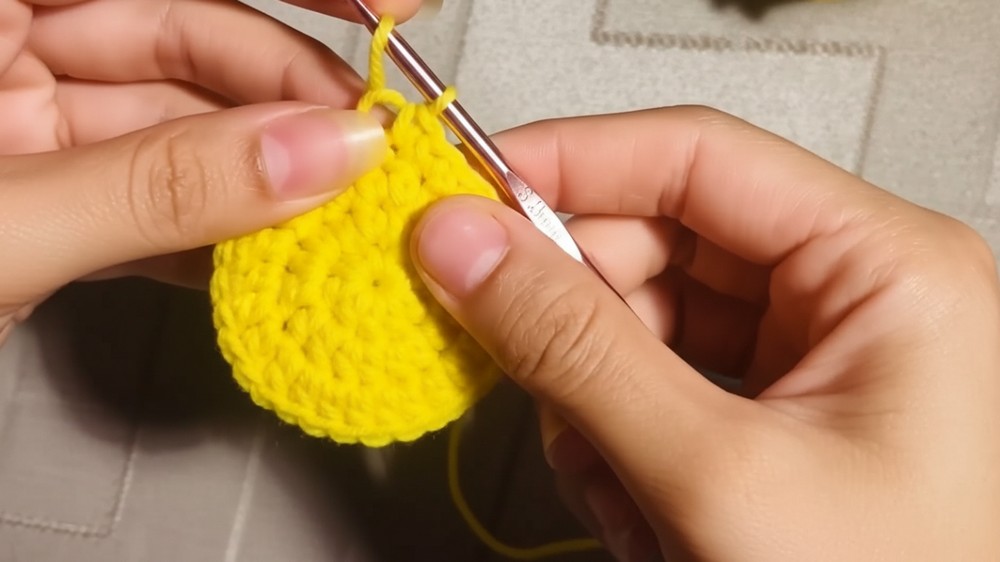
- Round 2: Work 2 SC into each stitch from the first round (12 stitches in total).
- Round 3: Alternate between 1 SC in the first stitch and 2 SC in the second stitch (18 stitches total in this round).
- Rounds 4-6: Switch to black yarn for one round, then switch back to yellow yarn for the next round. Repeat this pattern (black, yellow, black) to create the distinctive stripes of the bee. Use SC stitches throughout.
- Rounds 7-8: Begin decreasing. Work 1 SC in the first two stitches and then perform a Single Crochet Decrease (SC Decrease) in the third stitch. Repeat around (12 stitches total at the end).
- Round 9: Stuff the bee’s body with fiberfill, ensuring it is firm. Continue decreasing in this round by working SC decreases in every stitch (6 stitches total).
- Close the bee’s body by weaving the yarn through the remaining stitches using a tapestry needle. Pull tight and secure the yarn.
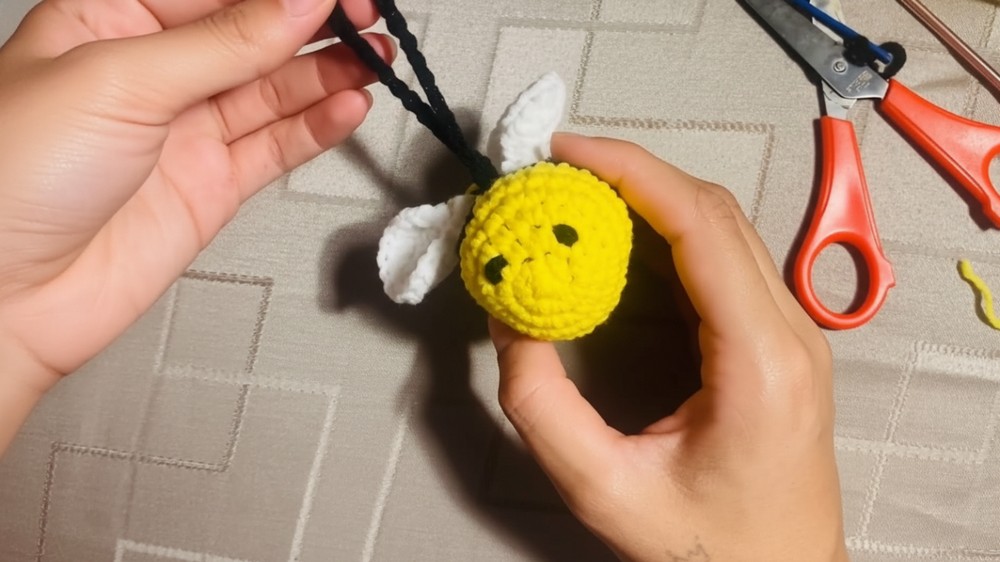
2: Creating Bee Wings
- Using white yarn, start with a magic ring.
- Chain 1 and make 10 Half Double Crochets (HDC) into the ring. Pull tight to close the ring.
- Slip stitch to the first HDC, fasten off, and leave a long tail for sewing.
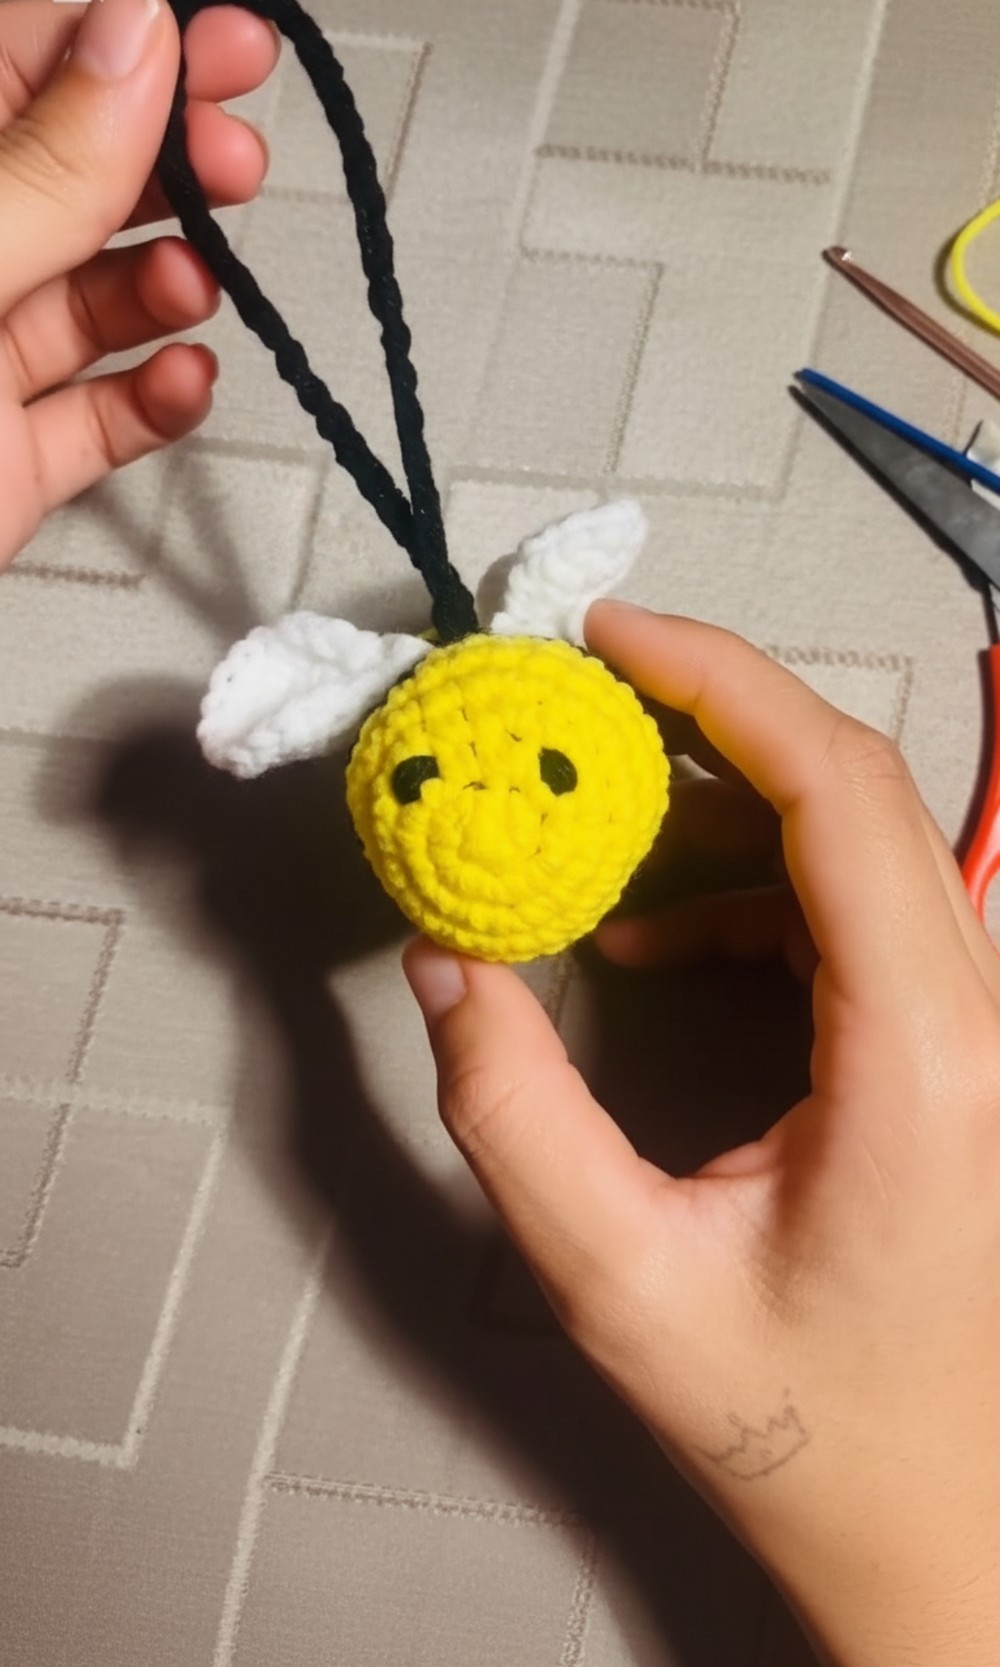
- Make two wings, and sew them to the top of the bee’s body with the tapestry needle. Ensure they are aligned and secure.
3: Adding the Face
- Using black yarn, embroider eyes on the front of the bee’s head. Position the eyes symmetrically, leaving a small gap between them.
- For a cute touch, add a small silken smile or blush with embroidery thread.
4: Assembling the Keychain
- Using black yarn, crochet a small loop at the top of the bee’s body by working 5-6 chain stitches.
- Attach the loop to a keychain ring securely.
Special Features
- Beginner-Friendly: Uses basic stitches like Single Crochet (SC), Slip Stitch (SS), and Half Double Crochet (HDC).
- Customizable: Adjust colors, size, or facial features as desired.
- Portable: The compact size makes this perfect for accessories like keychains or bag charms.
Difficulty Level
- Beginner to Intermediate: The project requires basic crochet skills, but switching colors and shaping may need a little practice for beginners.
Tutor’s Suggestions
- Use a stitch marker to easily identify the start and end of rounds, especially for beginners.
- Stuff the bee lightly to avoid it looking bulky but ensure it retains its shape.
- Use a tightly woven yarn for better stitch definition and a neat finish.
Uses
- Keychain Accessory: Attach to keys for a cute and functional detail.
- Bag Charm: Perfect as an accessory for handbags or backpacks.
- Gift Idea: Delight friends and family with handmade treasures.
- Decorative Element: Place it on a shelf or desk to brighten up your space.
Tip
When changing colors for the bee’s stripes, secure the loose yarn ends neatly inside the body to maintain a clean finish. This avoids any loose threads poking out later.
Conclusion
Your adorable crochet bee keychain is now complete! This tiny project is not only a fun and relaxing activity but also a great way to add personalized charm to your belongings. It also serves as a thoughtful handmade gift. With this pattern, you can experiment with different yarns and colors to give your bee a unique appearance.
Leave a Reply