

Dress up for sunny days with a free crochet halter top pattern that looks stylish keeps you cool and fits perfectly in your favorite colors.
Ever wondered how it feels to wear something bright and handmade that shows off your style? A crochet halter top pattern lets you create a lovely top that ties around your neck and makes you feel cool on sunny days. Its soft yarn and pretty stitches turn simple thread into a cheerful piece you can wear to a picnic in the park or a walk at the beach. This top fits everyone and can be made in any color you like, so you always look your best.
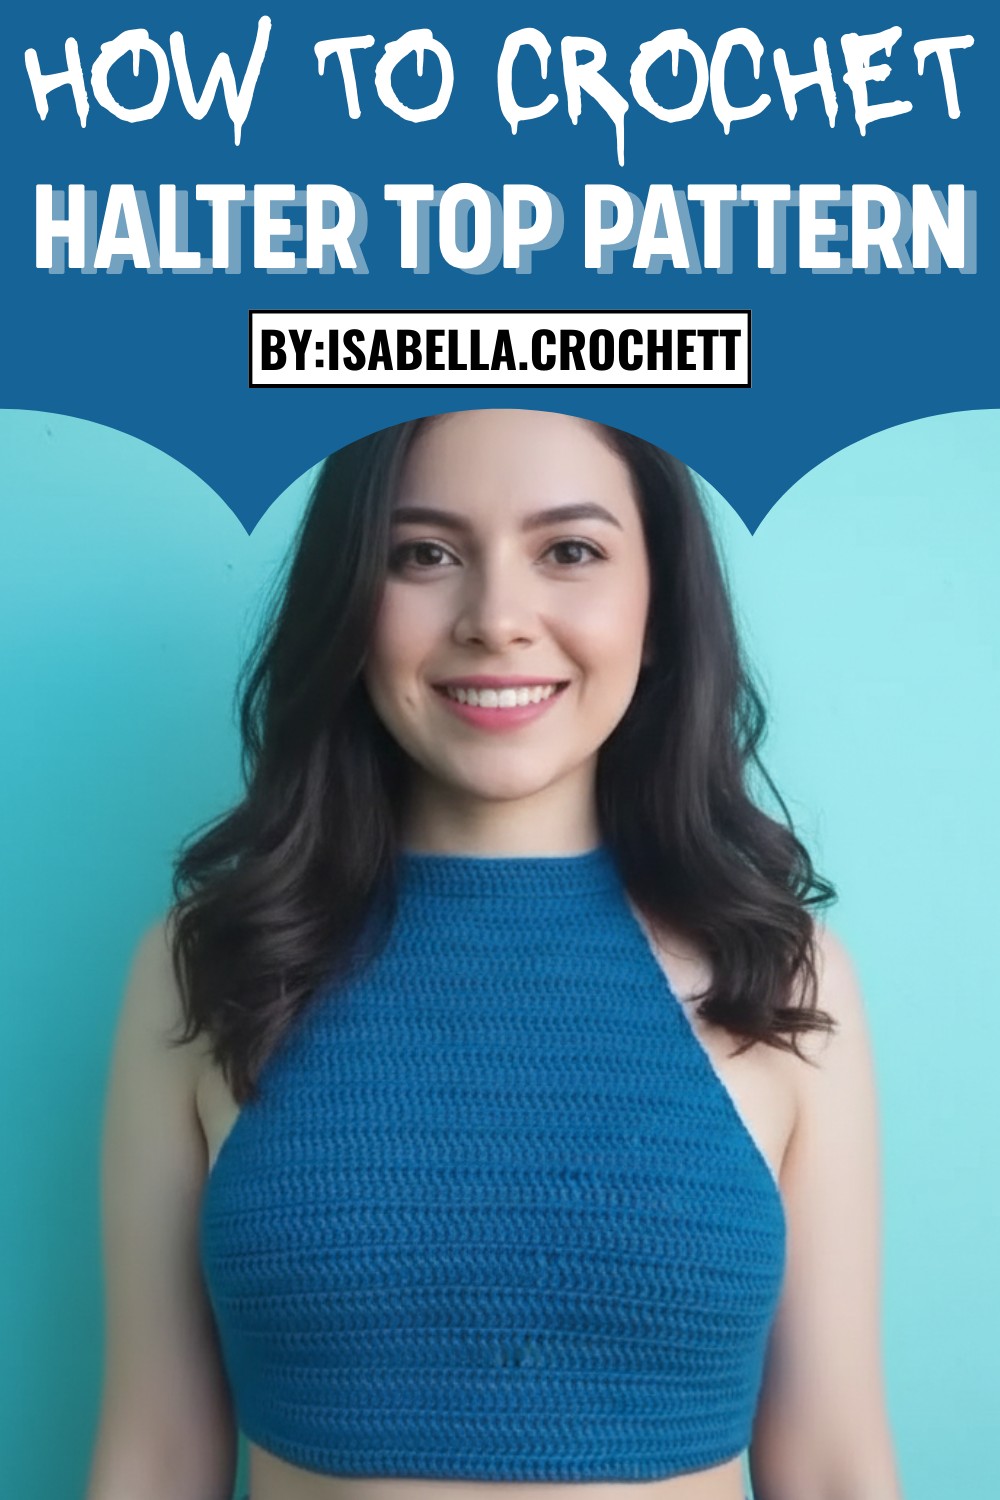
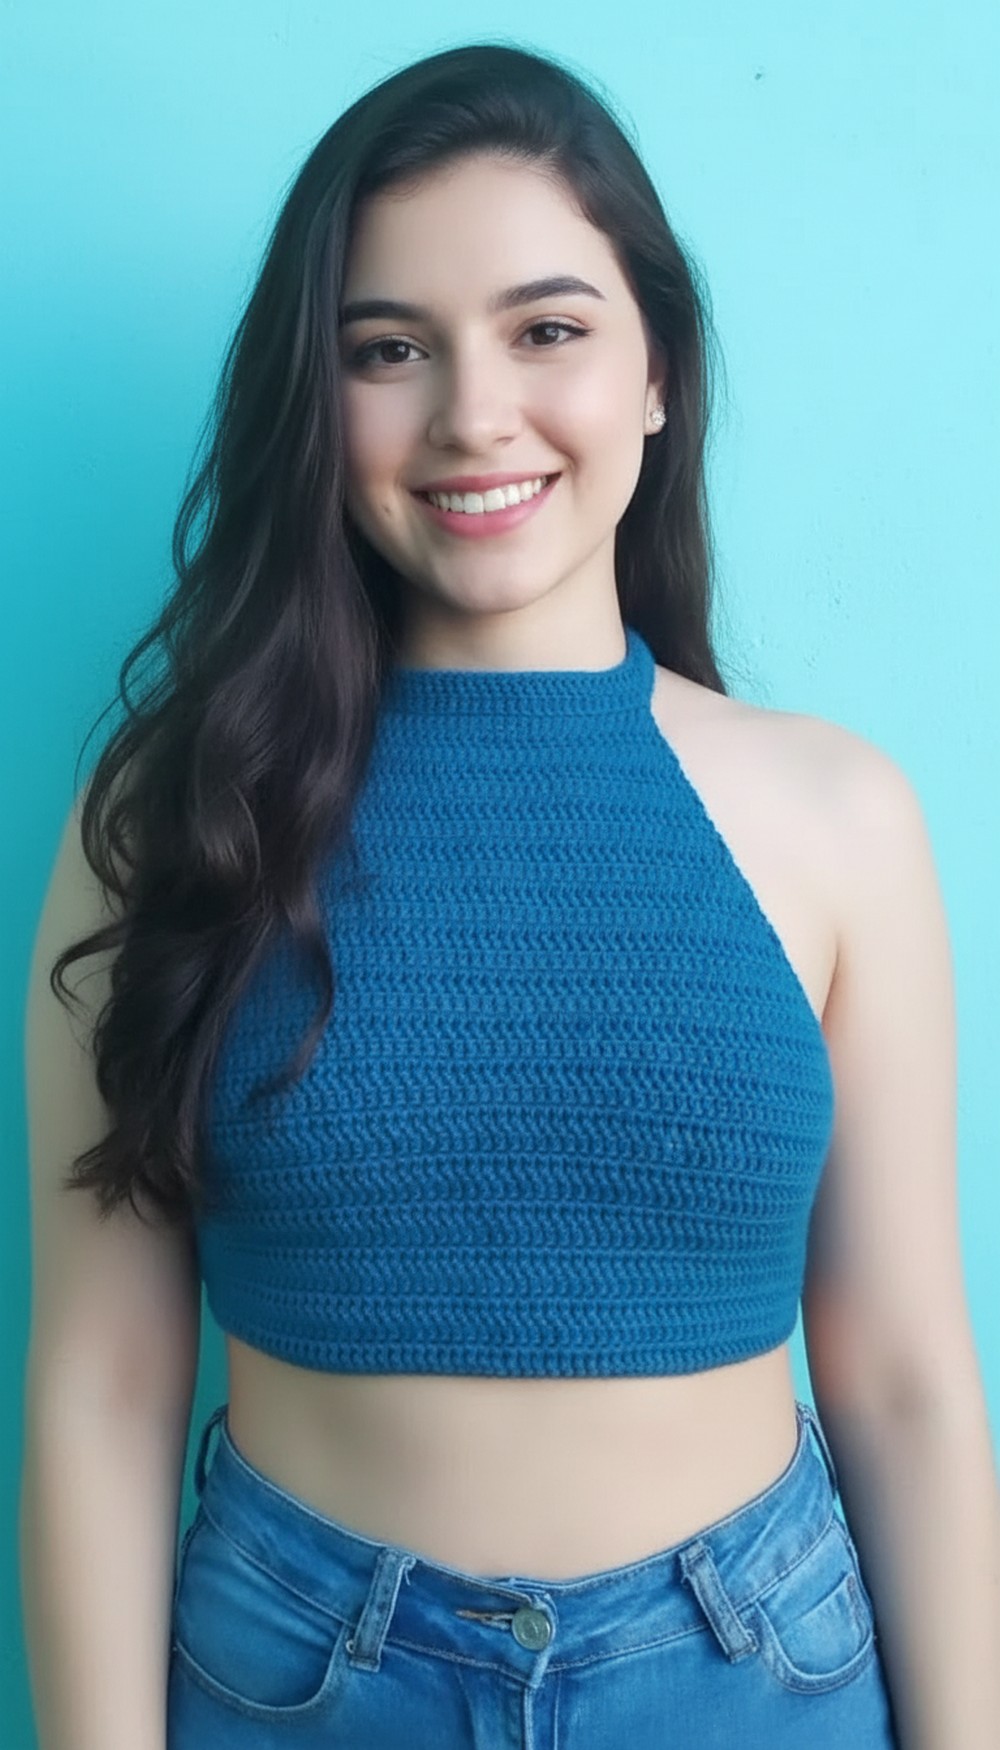
Luxe Free Crochet Halter Top Pattern to Elevate Your Summer Wardrobe
It feels gentle on your skin and keeps you comfortable when the weather is warm. The open design looks fancy and helps your skin breathe easily. Adding beads or little fringes can make it even more special. When you make and wear this top, you show your love for creativity and bring a smile to everyone’s face, including your own.
Easy Crochet Halter Top Pattern
Materials
- Yarn: Cotton or acrylic, DK/light worsted weight (sample uses "Granny" brand in "chalkboard" color, but any yarn of similar weight works)
- Hook: 2.0 mm or 3.0 mm (use size recommended on your yarn label)
- Notions:
- Measuring tape
- Scissors
- 2 stitch markers (optional, for marking center points)
- Yarn needle (for weaving in ends)
Key Abbreviations (US Terms)
| Abbreviation | Meaning |
|---|---|
| ch | Chain |
| sl st | Slip stitch |
| sc | Single crochet |
| dc | Double crochet |
| st(s) | Stitch(es) |
| rep | Repeat |
| BLO | Back loop only |
| inc | Increase (2 or 3 dc in same st) |
Special Notes
- All increases are done at both edges unless otherwise indicated.
- The first row is the neck band (foundation), which will determine the fit around your neck.
- It is strongly recommended to use stitch markers for even increases and to keep track of measurements.
- All measurements below are approximate; always check fit as you work.
Pattern
1. Neck Chain (Foundation)
- Slip knot; ch enough to reach around your neck snugly.
- Sample size: For a 36 cm (14") neck, this was about 90–100 ch (Check with your yarn/gauge; stretch chain slightly for measurement).
- Check length: Lay chain flat and measure with measuring tape – it should be taut, not loose.
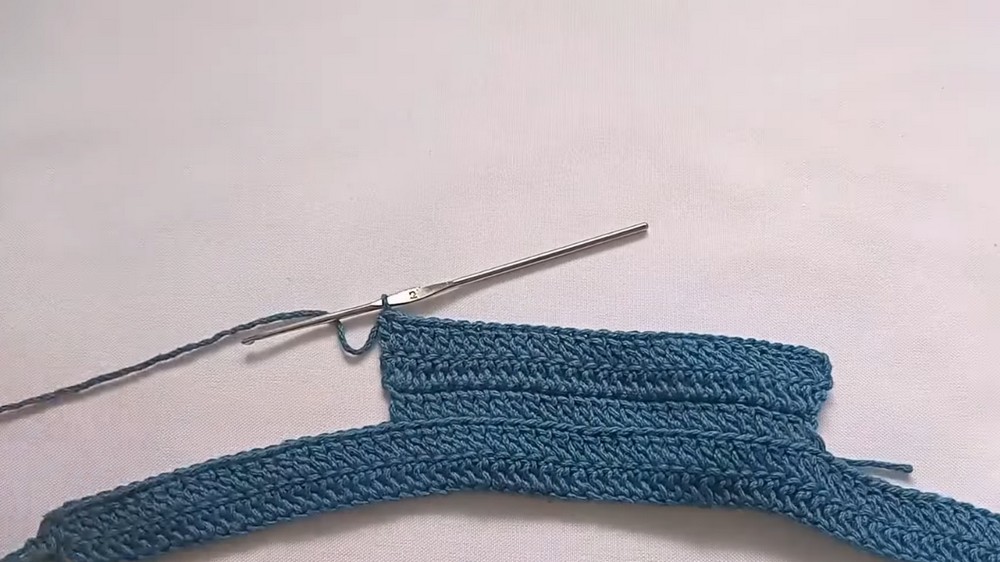
2. Top Band Row
- Ch 2 more (for turning dc).
- Row 1:
- Dc in 3rd ch from hook (both chs for a neat edge if desired, or in back bump), dc in each ch across to end.
- The turning chains count as your first dc.
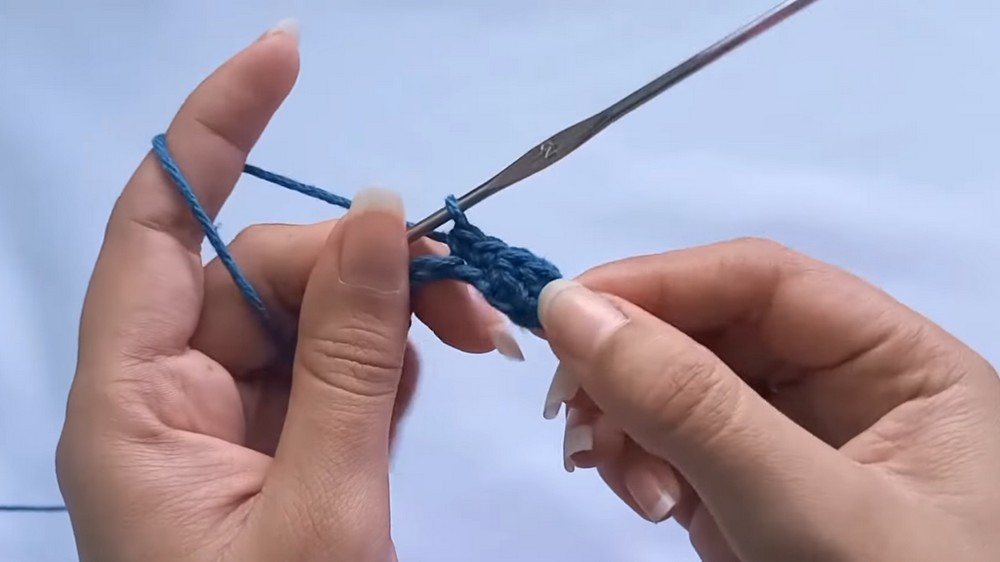
3. Rows for Chest Band
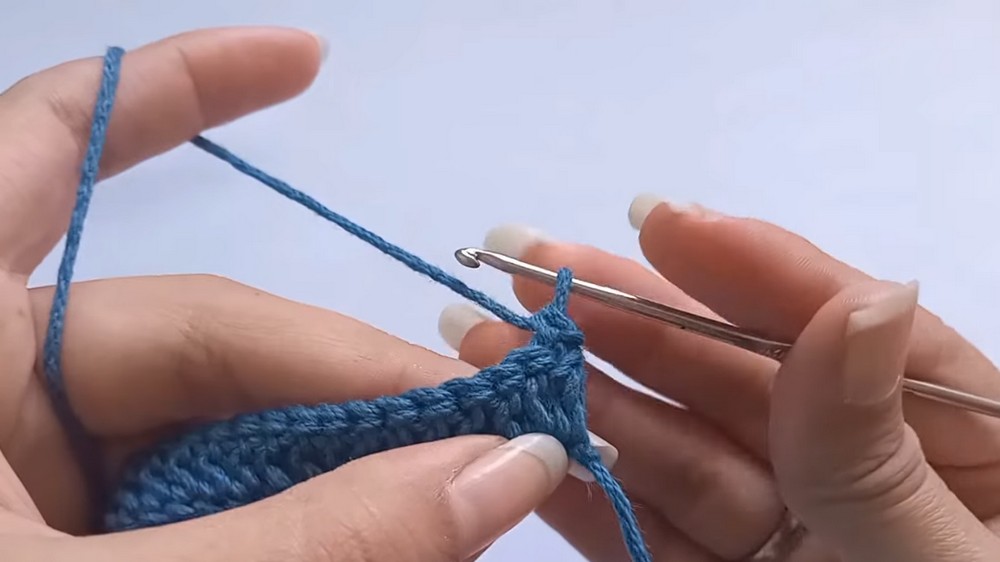
- For each row, ch 2, turn, dc in each st to end.
- Tip for neat corners: Instead of starting the next row with turning ch, turn and insert hook directly into first st for a sc, then pick up the rest. This prevents side gaps in the corners.
- Work 2–4 rows (depending on width desired for the band around your neck).
4. Add Neck Ties
(Make two, one at each end of the neck band)
- At one end:
- Sl st across 2 sts toward the band’s center.
- Ch 80 (or desired length for neck tie, approx. 40–50 cm).
- Sl st back along the chain to base.
- Fasten off.
- Repeat at the other end.
5. Positioning for Triangle Body
Measure and mark your chest band:
- Fold chest band in thirds.
- Mark a center section with stitch markers:
- XS/S: ~10–11 cm
- M: ~12–13 cm
- L: ~13–14 cm
- XL: ~15–16 cm
This marked segment is where the main body (triangle) begins.
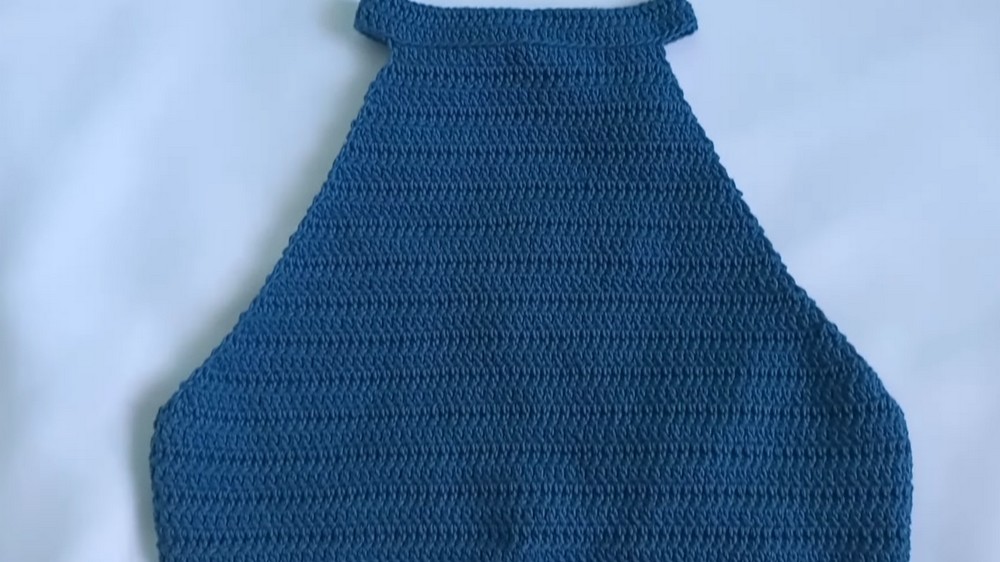
6. Crochet the Body (Triangle Panel)
Foundation Row:
- Attach yarn at one marker (removing marker).
- Work in BACK LOOP ONLY (BLO) for first row:
- Ch 2, dc in same st and each st to next marker.
- Fasten off or continue.
Body Rows (with increases):
- For each row, ch 2, turn.
- Increase row:
- Inc (2 dc) in first st, dc across, inc (2 dc) in last st.
- Repeat rows with increases at each end:
- Every row increases by 2 dc.
- Continue until panel is long enough to cover bust and starts to reach underbust.
(Bust Widening Adjustment):
- If after several rows your work does not cover your bust width adequately:
- Switch to inc 3 dc in first and/or last st at corners for 1–2 rows.
- Alternate regular (2 dc) and fast (3 dc) increase rows as needed for shape and fullness.
- Return to regular increases when width is sufficient.
- Continue until coverage reaches under the bust (and optionally underbust/back).
7. Straight Rows (Back Panel, No Increases, Optional)
- If you want the top to come further below your bust or wrap around your back:
- Work straight rows (ch 2, turn, dc evenly across, NO increases) to desired length.
8. Add Back Ties
- At the end of your panel, ch 130 (or desired length; about 50–60 cm).
- Sl st back along the chain to base.
- Fasten off.
- At the other end, repeat for second back tie.
9. Finishing
- Using sc or sl st, add a row of finishing (optional) at lower edge for structure.
- Hide all ends with yarn needle inside the top.
- Block or gently steam your top as desired.
Sizing Reference
| Size | Center Panel Width | Side of Band (approx.) |
|---|---|---|
| XS/S | 10–11 cm | 13–14 cm (band) |
| M | 12–13 cm | 14–15 cm |
| L | 13–14 cm | 15–16 cm |
| XL | 15–16 cm | 17+ cm |
Measure your body for best fit!
Conclusion
You have now crafted a fully adjustable, easy halter top. With simple increases and ties, it’s ideal to customize for any body and style. Try in two colors or stripes, or add an extra lace border for a unique touch!
Pattern Corrections
- For bust not covered, increase using 3 dc at corners for a few rows, then resume regular increases.
- For gaping corners, use alternative turning (no ch, just turn and begin with sc as explained).
- Always measure on your body for the best fit before finalizing ties.
Tips
- Always start body panel on the right side for a seamless look.
- All ties can be made longer/shorter by adding/removing chains.
- Make sure slip knots and ends are tightly woven for durability.
- For best wear and shape, gently block your finished top.
- Try a different yarn fiber (bamboo, linen, mixes) for varying drape and style.


Leave a Reply