

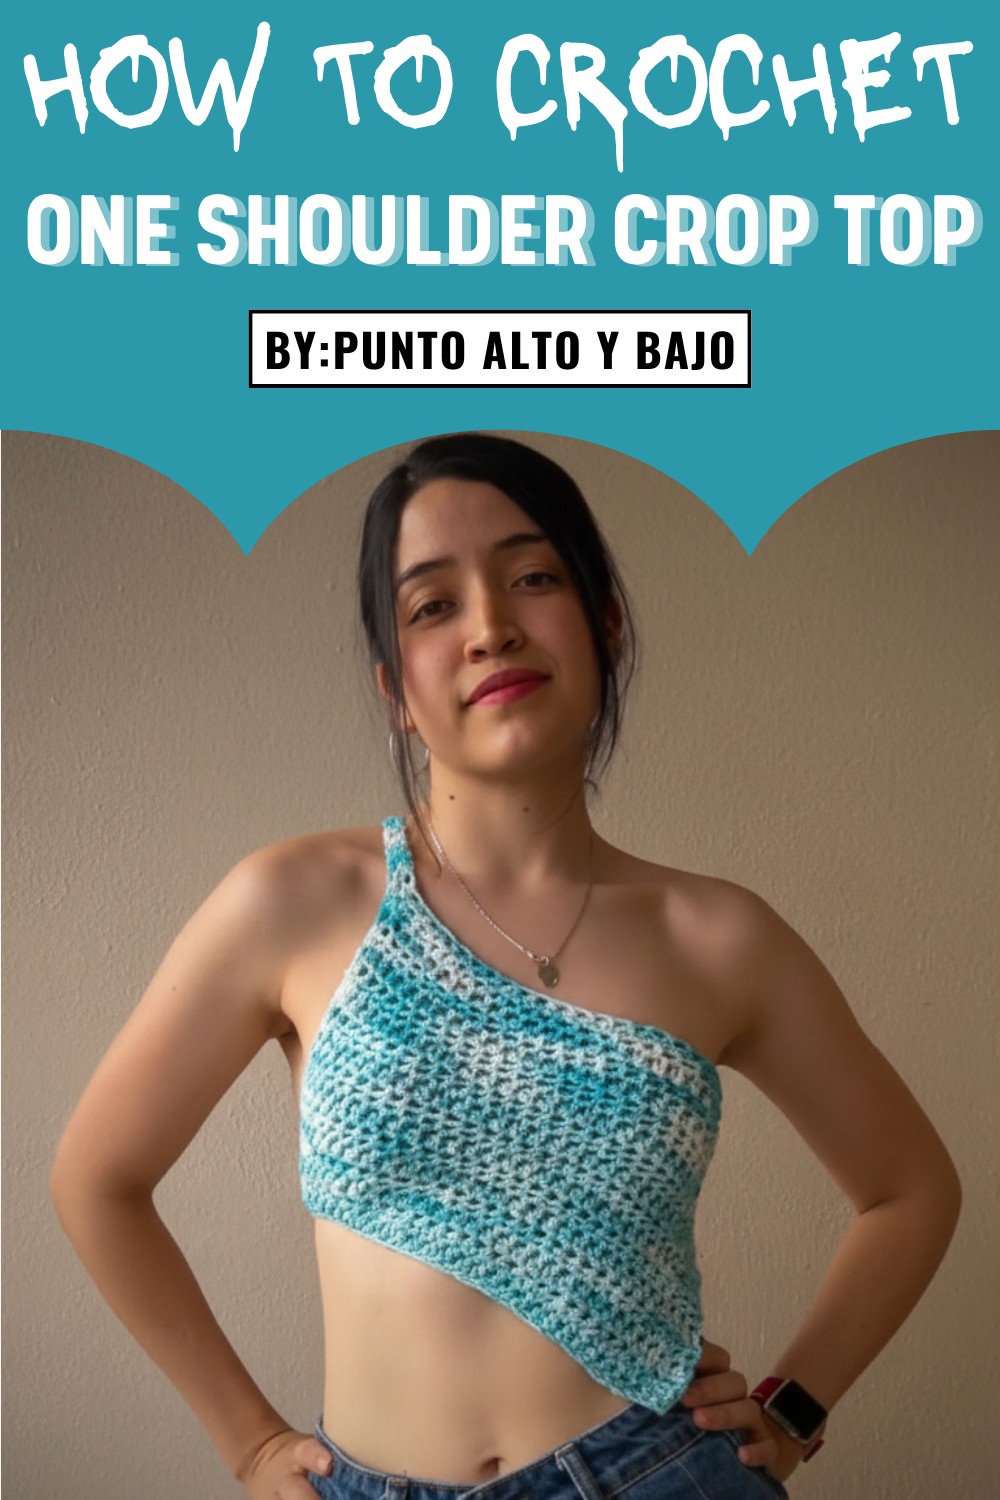
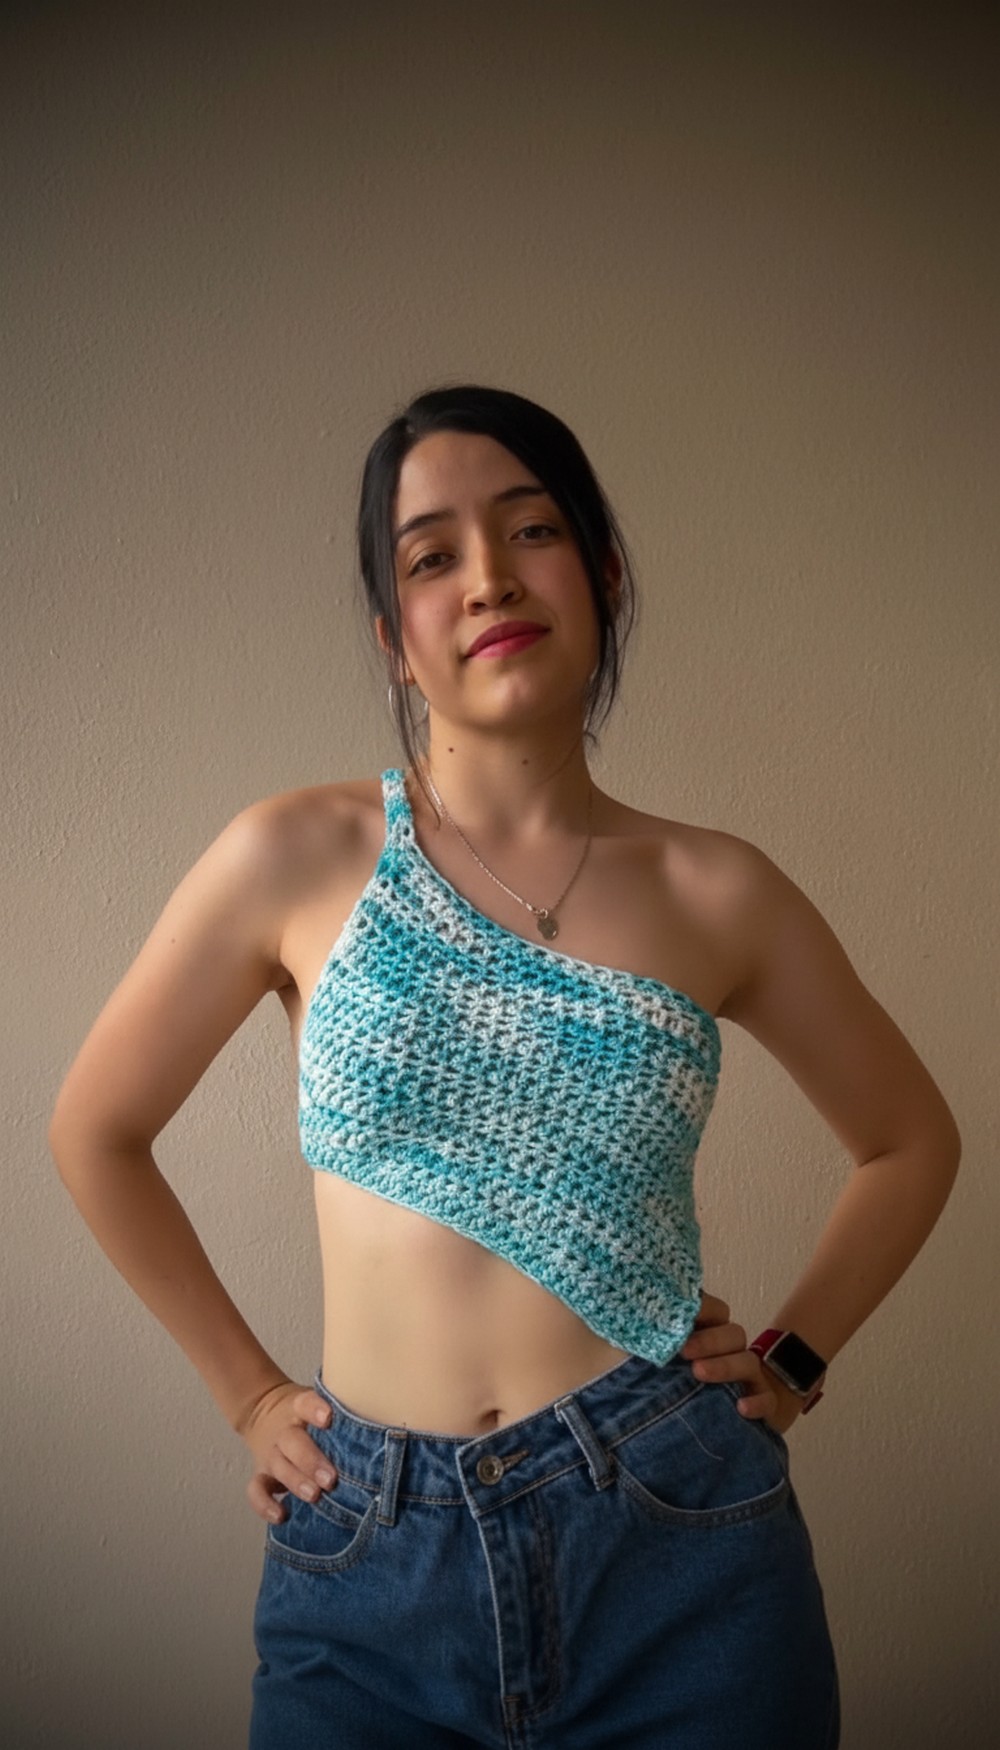
Style your summer wardrobe with this crochet one-shoulder crop top, perfect for casual outings, beach days, or festivals, combining comfort and trend effortlessly.
Warm summer days and breezy evenings call for something stylish, lightweight, and handmade to add a personal touch to your wardrobe. A crochet one-shoulder crop top pattern offers the perfect blend of fashion and functionality, creating a statement piece that's both trendy and versatile. Whether you're heading to the beach, attending a music festival, or dressing up for a casual outing, this eye-catching design elevates any outfit.
Free Crochet One-Shoulder Crop Top for Festival Looks
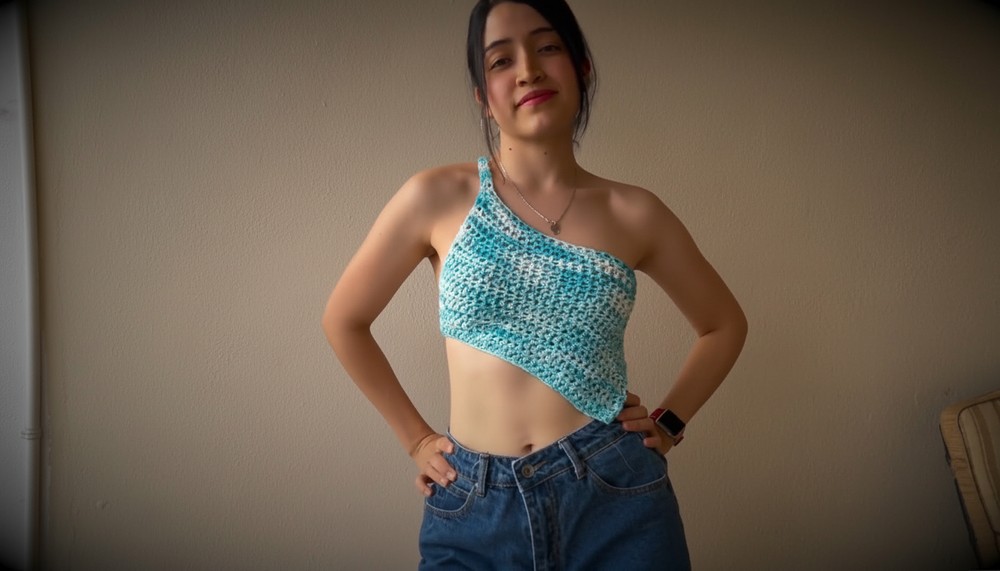
Pair it effortlessly with high-waisted jeans, a flowy maxi skirt, or even shorts for a chic yet relaxed vibe. Beyond its aesthetic appeal, crocheting your own crop top is a rewarding way to express creativity, improve crochet skills, and tailor-make something that fits you perfectly. Experience the joy of making a wardrobe essential that is not only unique but also complements your style effortlessly.
Crochet One-Shoulder Crop Top Pattern
Skill Level
Beginner to Intermediate.
This project involves basic crochet techniques like chains, half double crochet, slip stitch, and simple straps.
Finished Size
- Front Panel: Approx. 21 cm (height) by 36 cm (width) after stretching the fabric slightly.
- Shoulder Strap: 60 cm long.
- Back Straps: Each strap measures 40 cm.
- Adjustable Design: The back ties allow easy adjustment to fit snugly.
Gauge
Gauge is not critical for this pattern, but the following estimate is provided:
Half Double Crochet:
- 10 stitches = 10 cm (4 inches) with double-yarn and 8mm hook.
Materials
- Yarn:
- 100% cotton yarn with a thickness of approximately 2 mm.
- Approx. 85 grams required for size small.
- Hook Sizes:
- 8mm crochet hook: Used for the main panel.
- 4mm crochet hook: Used for the straps (optional).
- Scissors: For trimming yarn.
- Measuring Tape: To accurately check dimensions.
- Button (optional): For securing back ties.
- Darning Needle: For weaving in ends.
Customization Ideas
- Length: Add or subtract rows to customize the height of the top.
- Width: Adjust the initial chain count to fit width requirements. Ensure the chains stretch slightly as tops are usually fitted.
- Edging: Add decorative border designs, such as scallops, waves, or picot edges.
- Personal Touch: Use colored yarn for stripes or unique designs on the panel.
Pattern Instructions
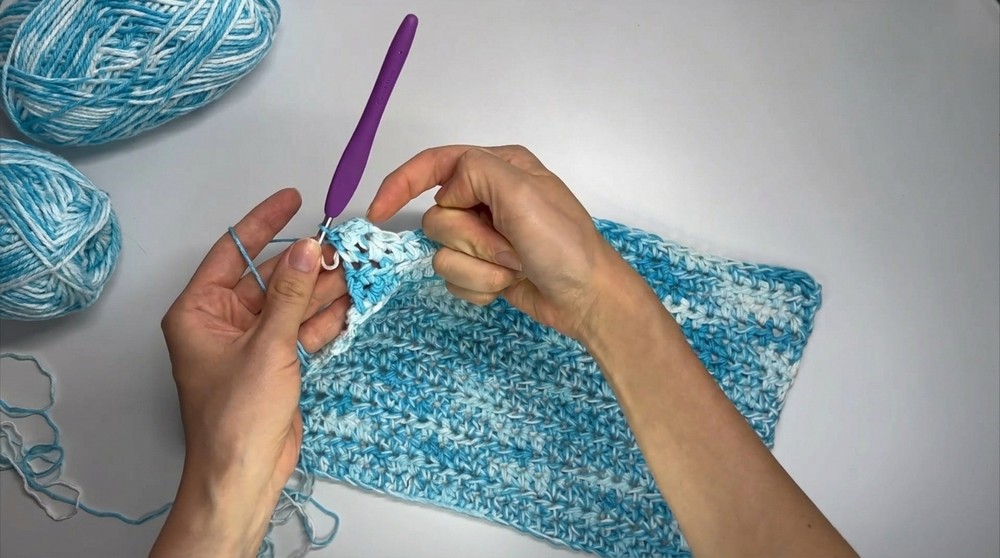
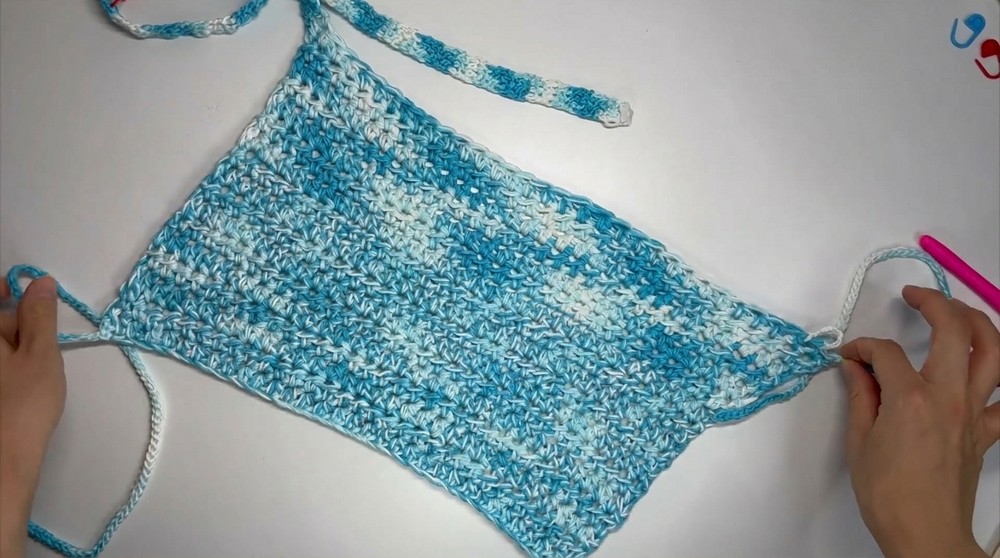
Step 1: Front Panel
The front panel is a simple rectangle worked in half double crochet stitches.
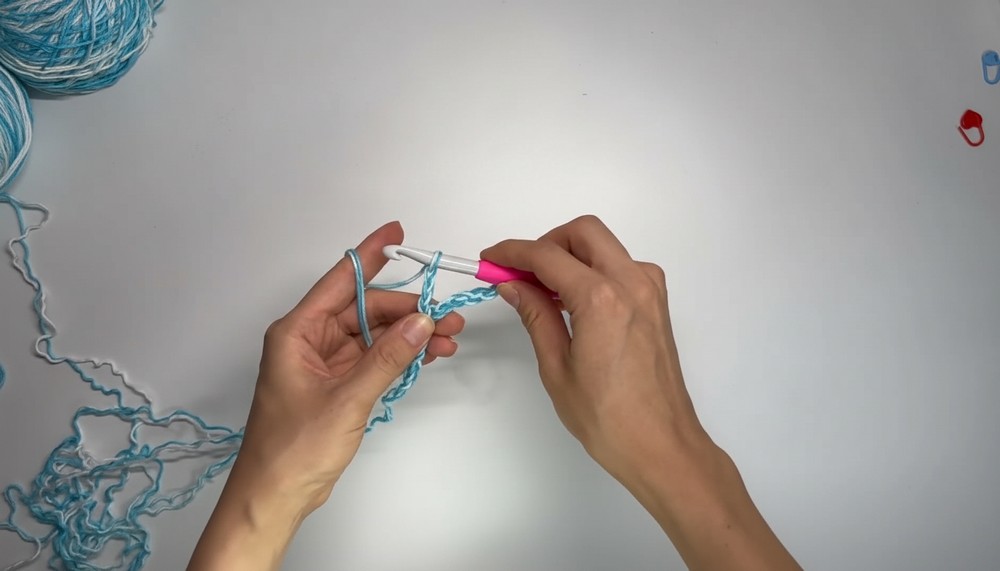
Foundation Chain:
- Create a slipknot and place it on your hook.
- Chain 32: This number is adjustable; it represents the width of the top. Measure across your bust from one shoulder to the opposite side (approximately 30–33 cm). Be sure to stretch the chains slightly while measuring.
Row 1: Half Double Crochet Across
- Chain 1 (does not count as a stitch) to begin the row.
- Half Double Crochet in Second Chain From Hook:
- Yo, insert the hook into the second chain from the hook.
- Yo again and pull up a loop (3 loops on hook).
- Yo, pull through all 3 loops.
- Continue working 1 hdc into each chain across.
- Total: 32 hdc stitches.
- Turn the work.

Row 2: Continuing the Pattern
- Chain 1 (does not count as a stitch) to begin.
- Hdc in the First Stitch: Insert the hook into the first stitch and complete a hdc.
- Repeat hdc in each stitch across.
- Turn the work.
Row 3–17:
- Continue working rows of hdc, maintaining the stitch count in each row.
- Total Length: Approximately 21 cm (17 rows).
- Fasten off when complete.
Step 2: Shoulder Strap
- Switch to the 4mm crochet hook (optional for thinner straps).
- Attach yarn to one of the top corners of the front panel.
- Work 3 hdc across the corner:
- Insert hook into the corner, work 1 hdc.
- Work 1 hdc in the middle, and 1 hdc on the opposite side of the corner.
- Turn the work:
- Ch 1, hdc in each stitch across (3 stitches).
Rows for Shoulder Strap (Ensure Length is 60 cm):
- Repeat the pattern of ch 1, 3 hdc per row, turning after each row.
- Continue until the strap measures 60 cm.
Step 3: Back Straps
- Attach yarn to the opposite corner of the top panel.
- Chain 40: This will create the length of one back strap.
- Work sl st into each chain for a sturdy strap.
- Attach the strap securely to the top edge with a sl st.
- Repeat for the other corner to create the second strap.
Step 4: Button and Closure
- Attach a button to the end of one strap using thread or yarn.
- Buttonhole:
- Chain 8, then sl st back into the top edge of the panel to form a loop for the buttonhole.
- This allows the strap to pass through for easy adjustment.
Step 5: Final Touches
- Weave in any loose ends using a darning needle.
- Stretch the top slightly to ensure proper fit and comfort.
Conclusion
Congratulations! You’ve completed your Adjustable One-Shoulder Crochet Top. This lightweight and customizable design is perfect for warm weather or layering. The adjustable back ties ensure a snug fit for all body types while providing flexibility in wear.
Important Remarks
- Accurate Measuring: Stretch foundation chains slightly before measuring to avoid an overly loose fit.
- Tension: Maintain consistent tension for uniform stitches throughout the project.
Tips
- Experiment With Yarn: Try alternating colors or using mixed fibers for a unique touch.
- Maintain Strap Width: If straps feel too thick, use fewer stitches or a smaller hook size.
- Decorative Add-Ons: Consider adding beads, fringe, or embroidery to elevate the design.


Leave a Reply