

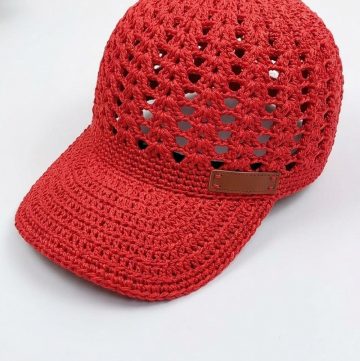
Imagine you, twirling under the sun, decked out in the chicest, Crochet Floppy Sun Hat all crocheted by you! It’s not just any hat; it's like your sunny day sidekick, ready to dance through fields or lounge by the sea, keeping those rays at bay while you look effortlessly cool.
Crochet Floppy Sun Hat

Materials Needed:
- Scissors
- Darning, weaving, or tapestry needle
- Stitch marker (alternative: paper clip, safety pin, or yarn of a different color)
- 100% cotton yarn, medium (4) weight. Two balls/cakes suggested, but start with one.
- 5mm (US size H) crochet hook
Hat Body:

Start with a Magic Circle:
- Wrap yarn around two fingers, creating an X on top, secure with third finger.
- Insert hook under first loop, over the second, hook yarn, and pull through.
- Chain 3 (counts as first half double crochet).
Round 1:
- Within the magic circle, make 11 half double crochets. Including the chain 3, you should have 12 stitches total.
- Pull the tail to close the circle.
Round 2:
- Increase by making 2 half double crochets in each stitch around, total 24 stitches.
- Use a stitch marker to note the end of the round.

After Round 3:
- Follow a 2, 1 pattern (2 half double crochets in the first stitch, 1 in the next), repeat around.
Rounds 4-8:
- Continue increasing each round by increasing the number of single half double crochets between increases (e.g., 2, 3; then 2, 4; etc., up to 2, 7 for Round 8).
Rounds 9-18:
- Work one half double crochet in each stitch around for 10 rounds. The piece will start curving to form the hat's body.
Hat Brim:

Prep Rounds (Adjustable for Size):
- If a larger size is needed, continue increasing rounds, adding more single crochets between increases.
Transition to Brim:
- Start brim rounds by doing a flat braid technique where you slip stitch in between stitches. This prepares to level out for the brim.

Brim Rounds:
- Begin with increasing rounds (similar to the body), but now focus on extending outward for the brim.
- Alternate between rounds of increase and rounds of single crochets, increasing the number of single crochets between increases for a gradual flare.
Switch to Contrasting Color(optional):
- For a colorful brim, switch yarn colors as you reach the brim rounds, attaching new yarn with a slip stitch.

Final Brim Rounds:
- Finish with several rounds that adjust the brim's flare and finalize the hat's shape.
- Consider ending on a special stitch pattern for a finished edge.
Fasten Off and Weave in Ends:
- Secure the yarn, cut leaving a small tail, and use your needle to weave in any loose ends for a neat finish.


Leave a Reply