

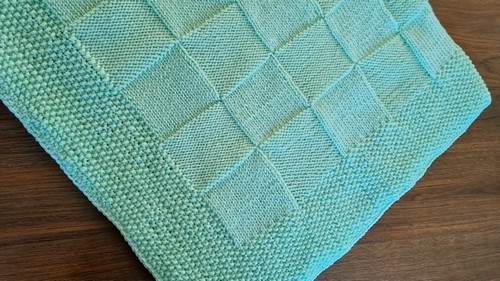
Snuggle up with the joy of a handmade knit baby blanket, perfect for wrapping your little one in warmth. This cozy pattern lets you knit up a charming blanket featuring delightful squares that seem to pop, giving a quilted look that's both classic and fresh.
Knit Baby Blanket Pattern
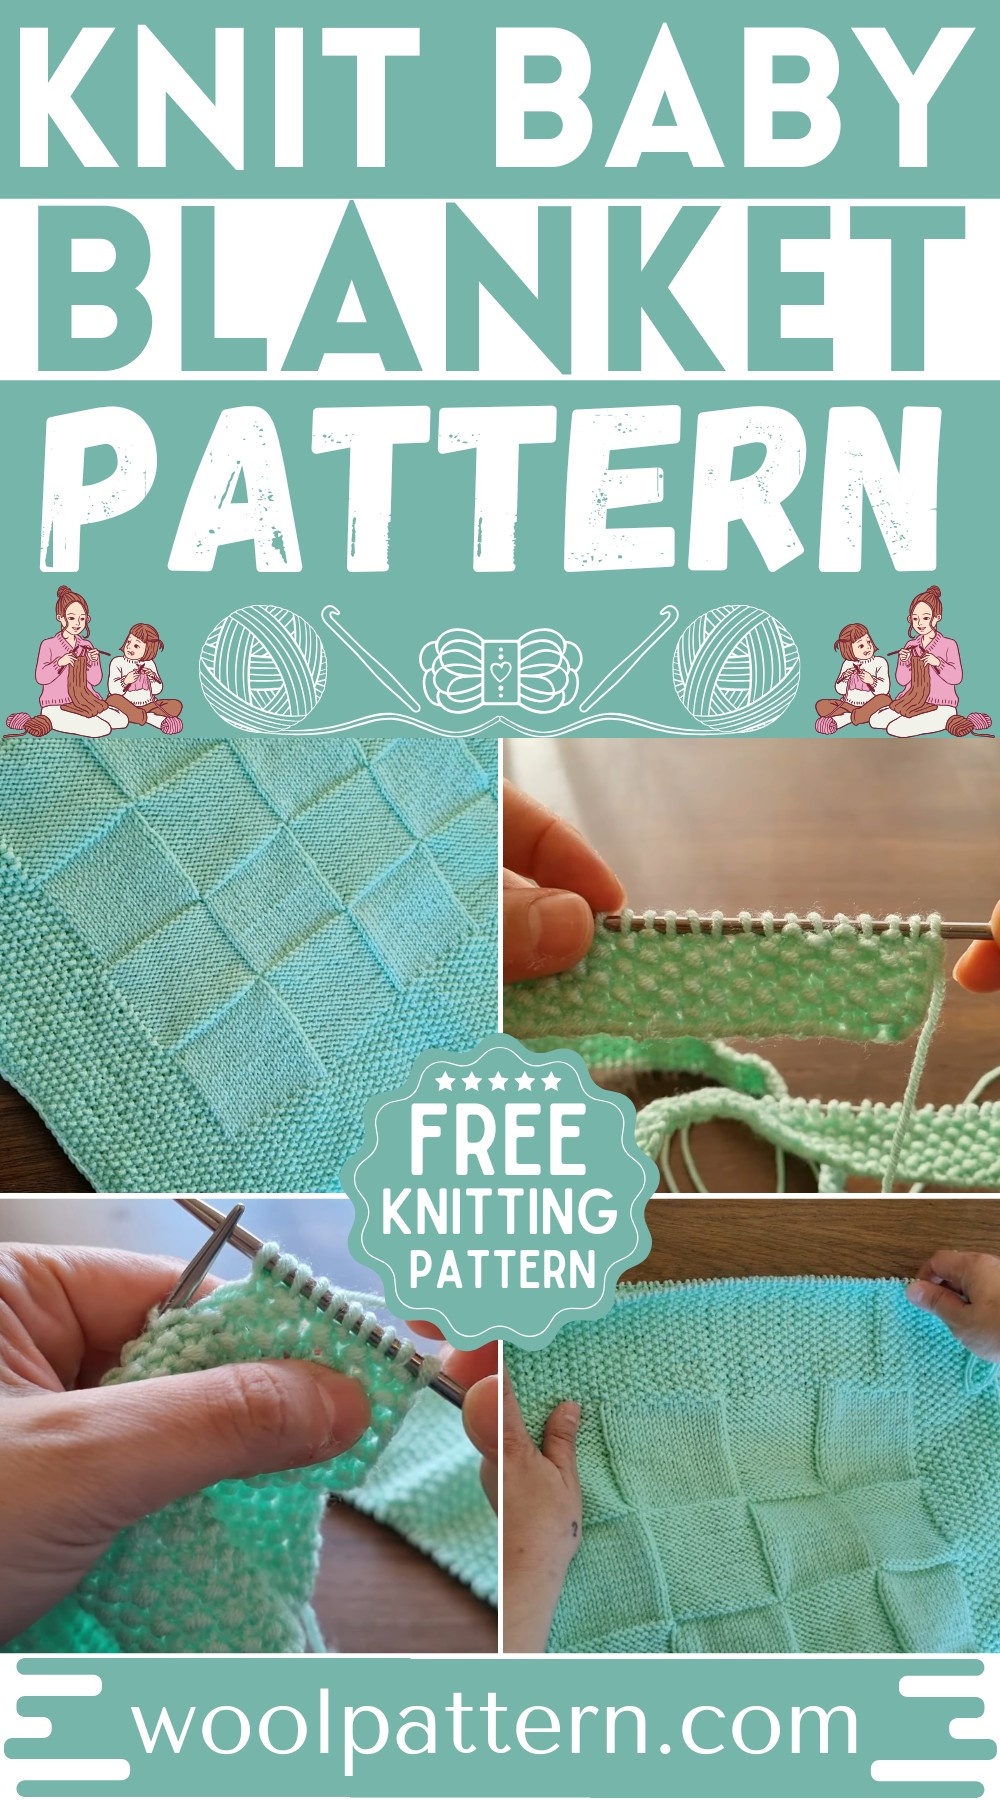
Whether you're a knitting newbie or a seasoned pro, you'll find this project simple, satisfying, and just the right mix of fun and soothing. It's a heartfelt gift for a baby shower, a sweet addition to your nursery, or a special keepsake to be cherished for years to come.
Materials Needed:
- Approximately 450 grams of anti-pilling acrylic yarn (100 grams/250 meters per skein; 6 skeins recommended, 4.5 used in the project)
- A 4.0 mm circular knitting needle (size may range from 3.5 mm to 4.5 mm depending on preference)
- A 2.1 mm crochet hook for the borders
- Basic knitting and crochet skills required include: seed stitch, purl stitch, knit stitch, casting on, casting off, and single crochet stitch (optional for edging)
Blanket Pattern:
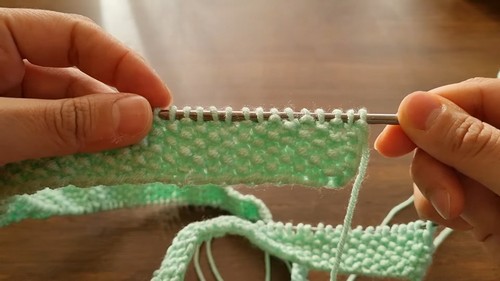
Creating the Bottom Edge: Using a circular needle, cast on 180 loops. Begin the bottom border with a seed stitch.
Seed Stitch Tip: For a seed stitch, alternate between purl and knit stitches. If the current stitch is a knit, purl it in the next row, and vice versa.
Main Body with Squares:
- Start with 15 seed stitches for the right border.
- Alternate between 15 purl stitches and 15 knit stitches to form square patterns across the width of the blanket.
- Finish the row with 15 seed stitches for the left border.
- Repeat this pattern, aiming for each square to be about 8 cm by 8 cm. Adjust the rows to maintain the square appearance.
Spotting and Fixing Mistakes:
Be vigilant for transitions between seed stitch and squares to avoid errors.
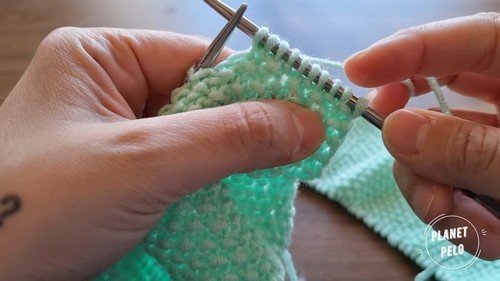
Progressing Through the Blanket:
Developing Squares:
- Continue the established pattern for several rows, maintaining the balance between purl and knit sections to form the square visuals.
- Always ensure the transition between the different stitch patterns is correct (especially when moving from seed stitch borders to purl or knit squares).
Introducing Pattern Changes:
- After a few rows, you might want to change the square pattern (e.g., from a purl square to a knit square and vice versa).
- Ensure accurate counting and be attentive during these pattern transitions to maintain the intended design.
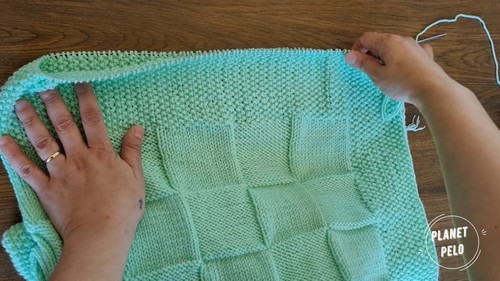
Finishing Touches:
Upper Border:
- After completing the desired length of squares, finish with an upper border of seed stitch similar to the beginning.
Casting Off:
- Cast off in pattern, carefully knitting or purling two stitches together and transferring the stitch back to the left needle as you go.
Crocheting Edges:
- With a crochet hook, work single crochet stitches around the blanket's edge for a neat finish. In corners, make sure to add three single crochet stitches to maintain a square corner.
Final Steps:
- Secure and weave in all loose ends.
Notes:
- Adjustments in the blanket's dimensions can be made by altering the number of stitches and rows per square.
- Always measure your work as you go to maintain uniform square sizes.
- Cast on tutorial for beginners and a detailed seed stitch guide are available on the creator's channel if additional help is needed.


Leave a Reply