

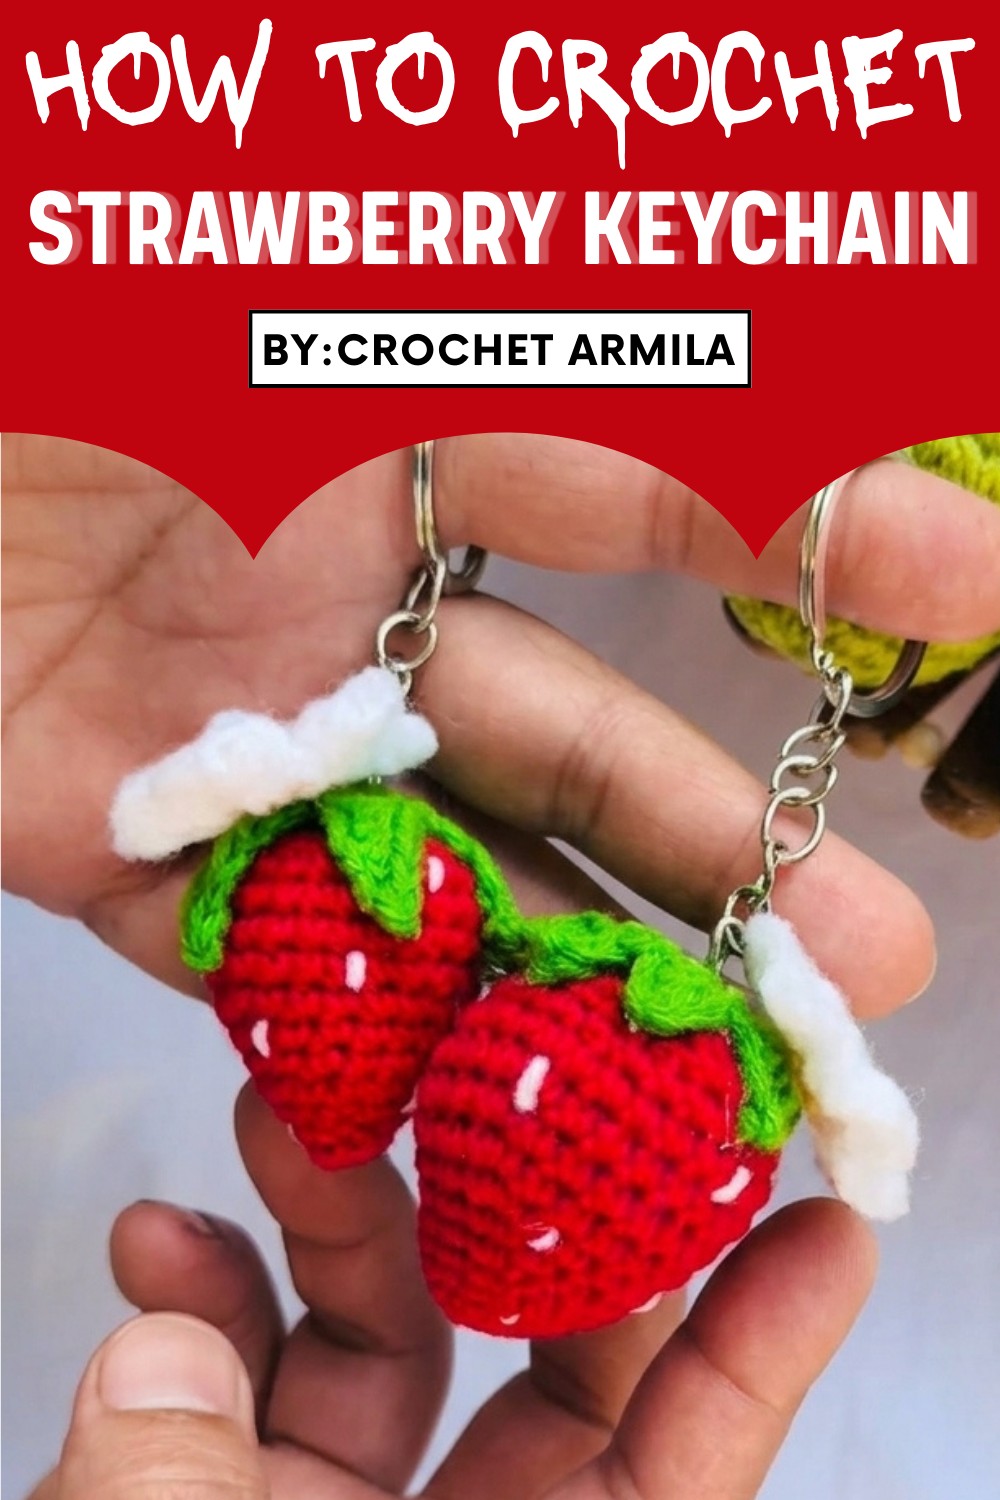
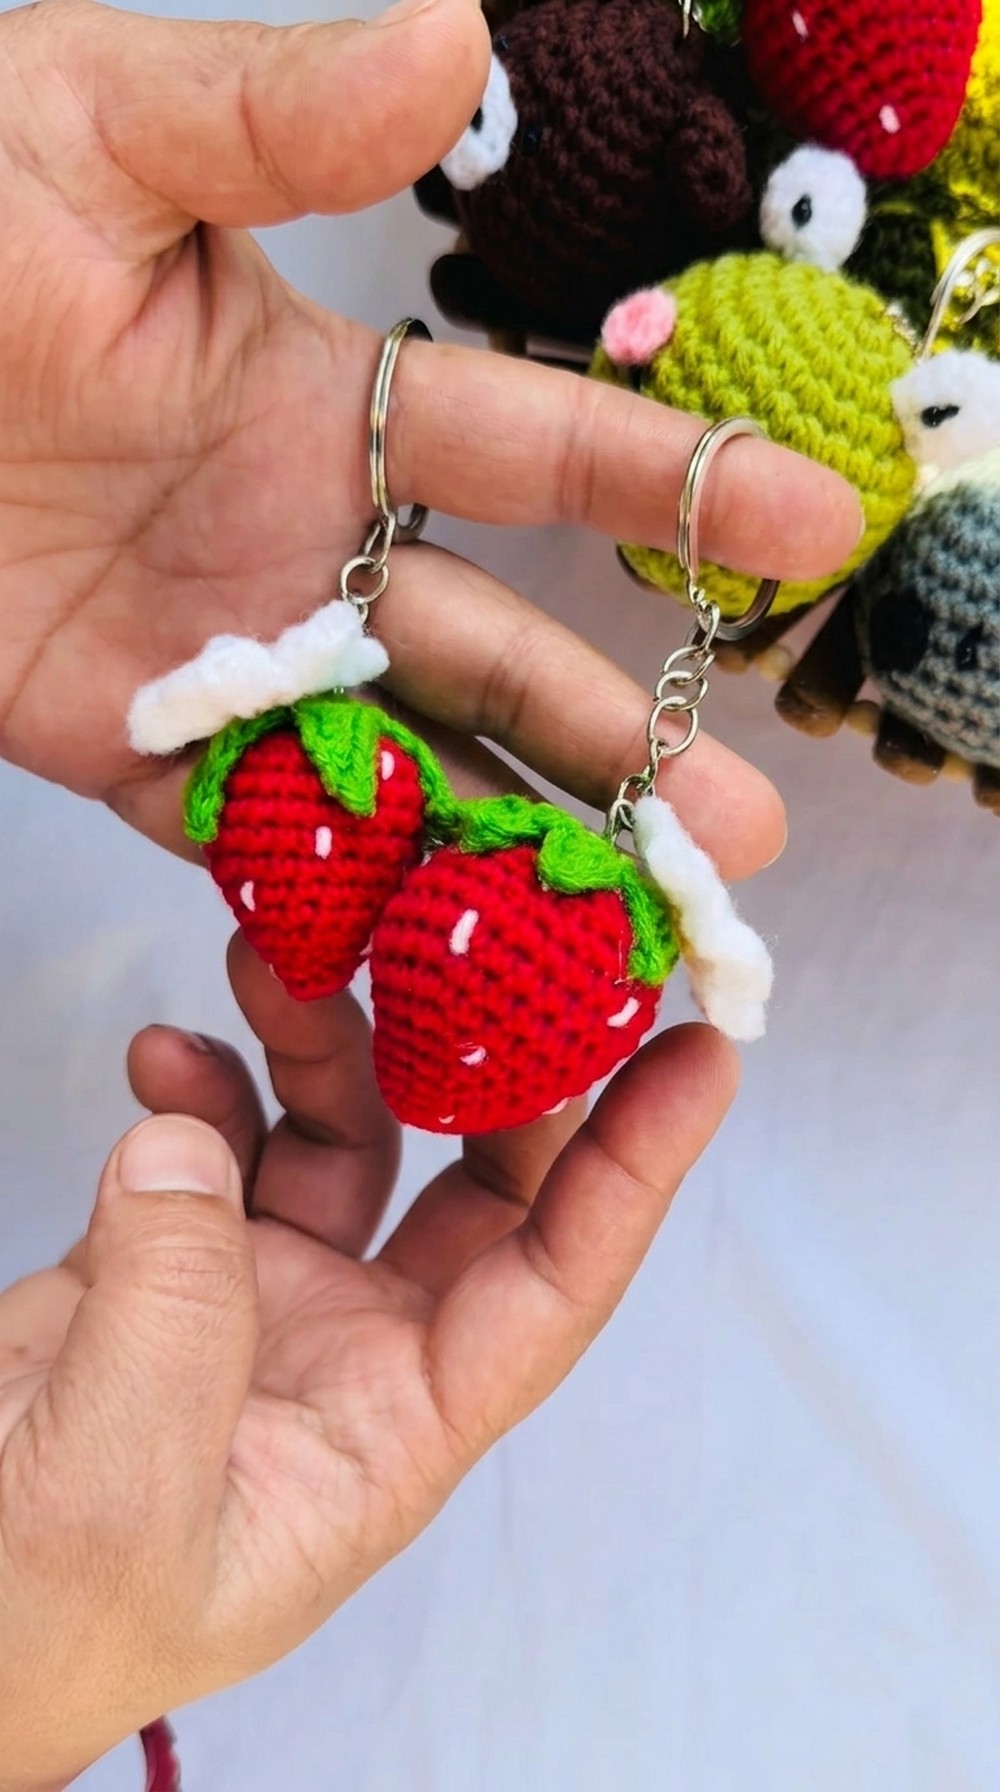
Bite into cuteness with this Free Crochet Strawberry Keychain Pattern that creates a sweet, playful charm perfect for keys, bags, or gifting loved ones.
Who wouldn’t smile at a tiny strawberry hanging from a bag or keys? The Free Crochet Strawberry Keychain Pattern shows how to make a cute handmade charm that is soft, bright, and full of playful charm. This keychain usually has a cheerful red body, tiny yellow “seeds,” and a little green top, giving it a fun yet realistic look. The smooth yarn and neat crochet stitches make it feel soft to touch and give it a polished handmade appearance.
Free Crochet Strawberry Keychain Pattern to Decorate Accessories
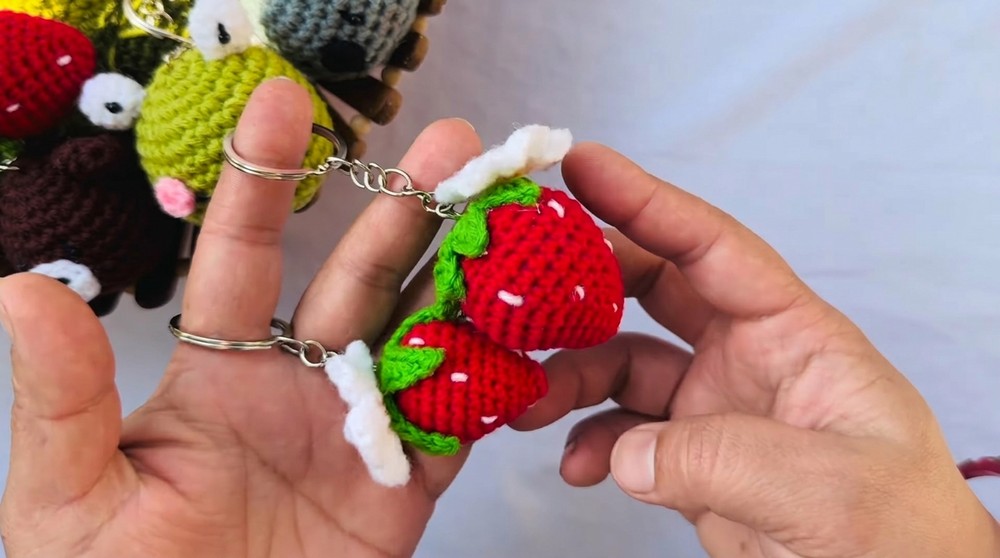
Its lightweight design makes it easy to carry everywhere, and it can also decorate bags, pencil cases, or even be a small gift for someone special. The pattern follows simple, clear steps, making it perfect for beginners who want to try a fun project. By mixing yarn colors or adjusting the size, each strawberry can look unique, sweet, or playful. In the end, this crochet strawberry keychain is a tiny handmade piece full of joy, creativity, and charm.
Crochet Strawberry Keyring Pattern
Materials List:
- Yarn:
- Main Body (Strawberry): Red yarn (cotton or acrylic, medium weight)
- Leaf/Top: Green yarn (cotton or acrylic, medium weight)
- Seeds (Optional): White yarn or embroidery thread
- Hook Size:
- 1.25 mm crochet hook
- Additional Supplies:
- Fiberfill stuffing
- Scissors
- Tapestry needle
- Stitch markers
- Keyring
- Hot glue gun (optional, for attaching the leaf to the strawberry)
Skill Level:
Intermediate to Advanced
Key Abbreviations (US Terminology):
- ch: Chain
- sc: Single Crochet
- st(s): Stitch(es)
- sl st: Slip Stitch
- inc: Increase (2 sc in the same st)
- dec: Decrease (sc2tog - single crochet two together)
- hdc: Half Double Crochet
Special Notes:
- Work in the round: The strawberry and its components are made with continuous rounds. Use a stitch marker to mark the first stitch of each round.
- Stuffing: Add fiberfill before fully closing the strawberry.
- Gauge: Stitch tension should be firm to prevent fiberfill from showing.
- Customization: You may adjust the size of the strawberry by using a different hook size or yarn weight.
Pattern Instructions:
Strawberry Body:
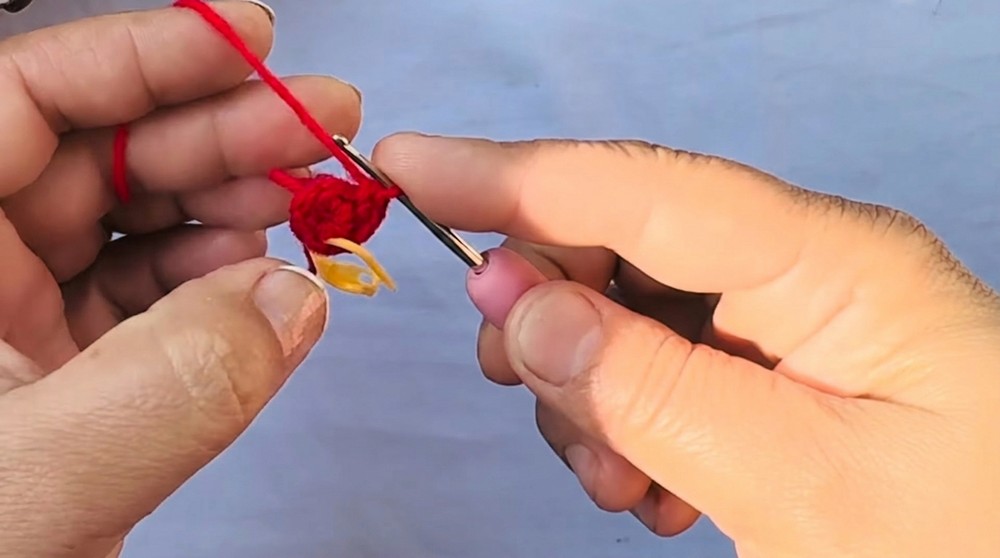
Round 1: Magic Circle Foundation
- Create a magic circle.
- Crochet 6 sc into the magic circle.
- Pull the tail to tighten the circle.
- Place a stitch marker in the first stitch.
(6 sts)
Round 2: Increase Round
- [2 sc in each st] around.
(12 sts)
Round 3: Increase
- [1 sc, inc] repeat around.
(18 sts)
Round 4: Increase
- [2 sc, inc] repeat around.
(24 sts)
Round 5: Increase
- [3 sc, inc] repeat around.
(30 sts)
Round 6-9: Build the Height
- Work 1 sc in each st around.
(30 sts for 4 rounds)
Round 10: Begin Decreasing
- [3 sc, dec] repeat around.
(24 sts)
Round 11: Decrease
- [2 sc, dec] repeat around.
(18 sts)
Round 12: Decrease
- [1 sc, dec] repeat around.
(12 sts)
Round 13: Final Decrease
- [dec] repeat around.
(6 sts)
- Stuff the strawberry with fiberfill firmly.
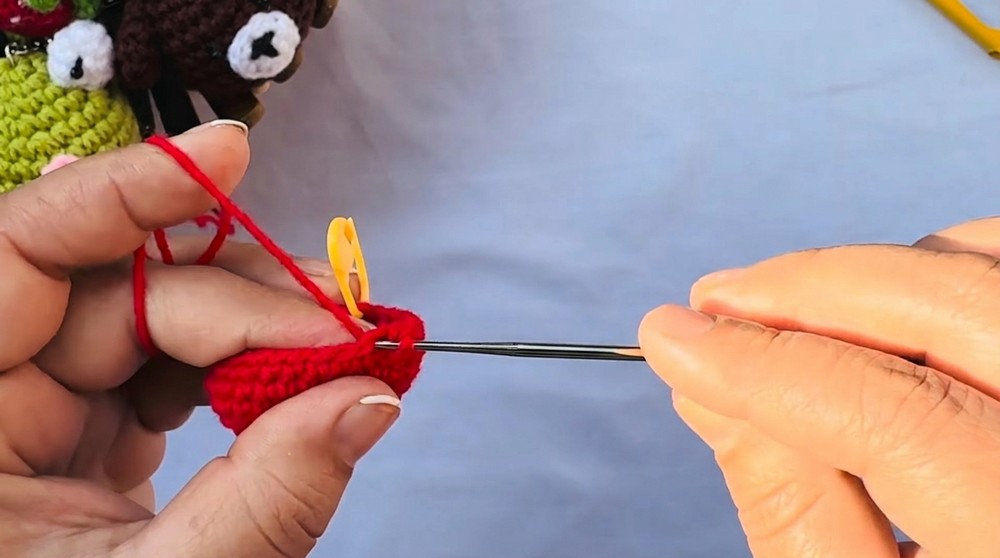
- Close the top:
- Use a tapestry needle to weave through the front loops of the last 6 stitches, pull tight to close.
- Secure and weave in the ends.

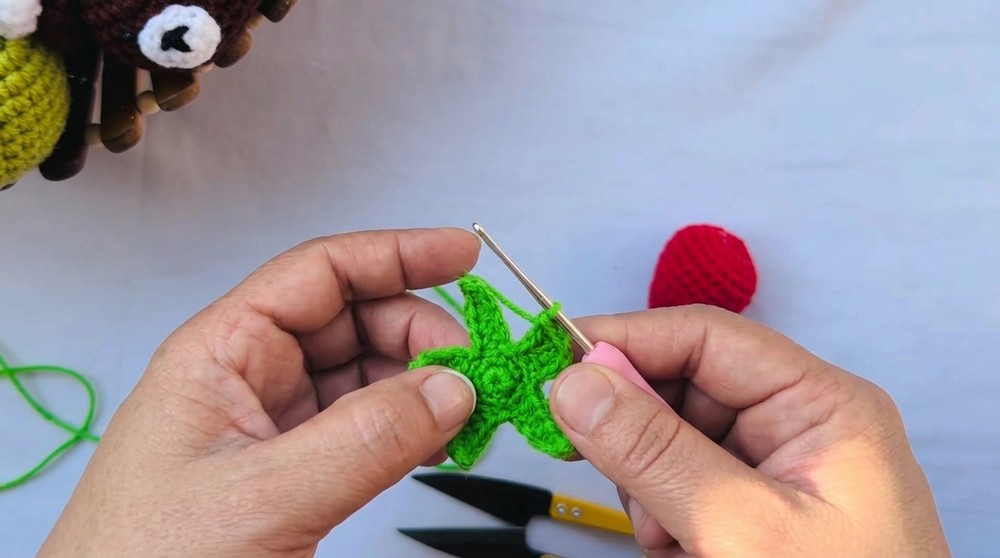
Strawberry Leaf/Top:
Round 1: Magic Circle Foundation
- Create a magic circle.
- Crochet 5 sc into the magic circle.
- Pull the tail tight to close.
(5 sts)
Round 2: Increase
- [2 sc in each st] around.
(10 sts)
Leaf Points:
- Row 1:
- Ch 6.
- Starting from the 2nd ch from the hook: Work the following stitches:
- 1 sc, 1 hdc, 1 dc, 1 hdc, 1 sc.
- Sl st into the same base st on the round.
- Repeat the above steps for each remaining stitch in the round to create 5 points.
Finishing the Leaf:
- Fasten off and leave a long tail for sewing.
Assembling the Strawberry:
- Attach the Leaf to the Strawberry:
- Use a hot glue gun or sew the leaf onto the top of the strawberry with a tapestry needle.
- Embroider the Seeds (Optional):
- With white yarn or thread, embroider small stitches evenly across the strawberry.
- Add the Keyring:
- Attach the keyring to the top of the strawberry using a strong jump ring or thread.
Finishing Touches:
- Check all ends are secured.
- Adjust the shape of the strawberry by squishing it gently into place.
- Ensure all attachments (keyring, leaf) are securely fastened.
Conclusion:
Congratulations! Your 3D crochet strawberry keyring is complete. This adorable and functional project makes for a great gift or a charming accessory for bags and keys.
Pattern Corrections and Tips:
- Consistent Stitching: Ensure consistent tension to avoid uneven shaping.
- Stuffing Tip: Use fiberfill sparingly and distribute it evenly.
- Embroidery Tip: Space the seeds evenly for a realistic look.
- Ring Attachment: For a professional finish, ensure the jump ring or thread loops are tight.
Leave a Reply