

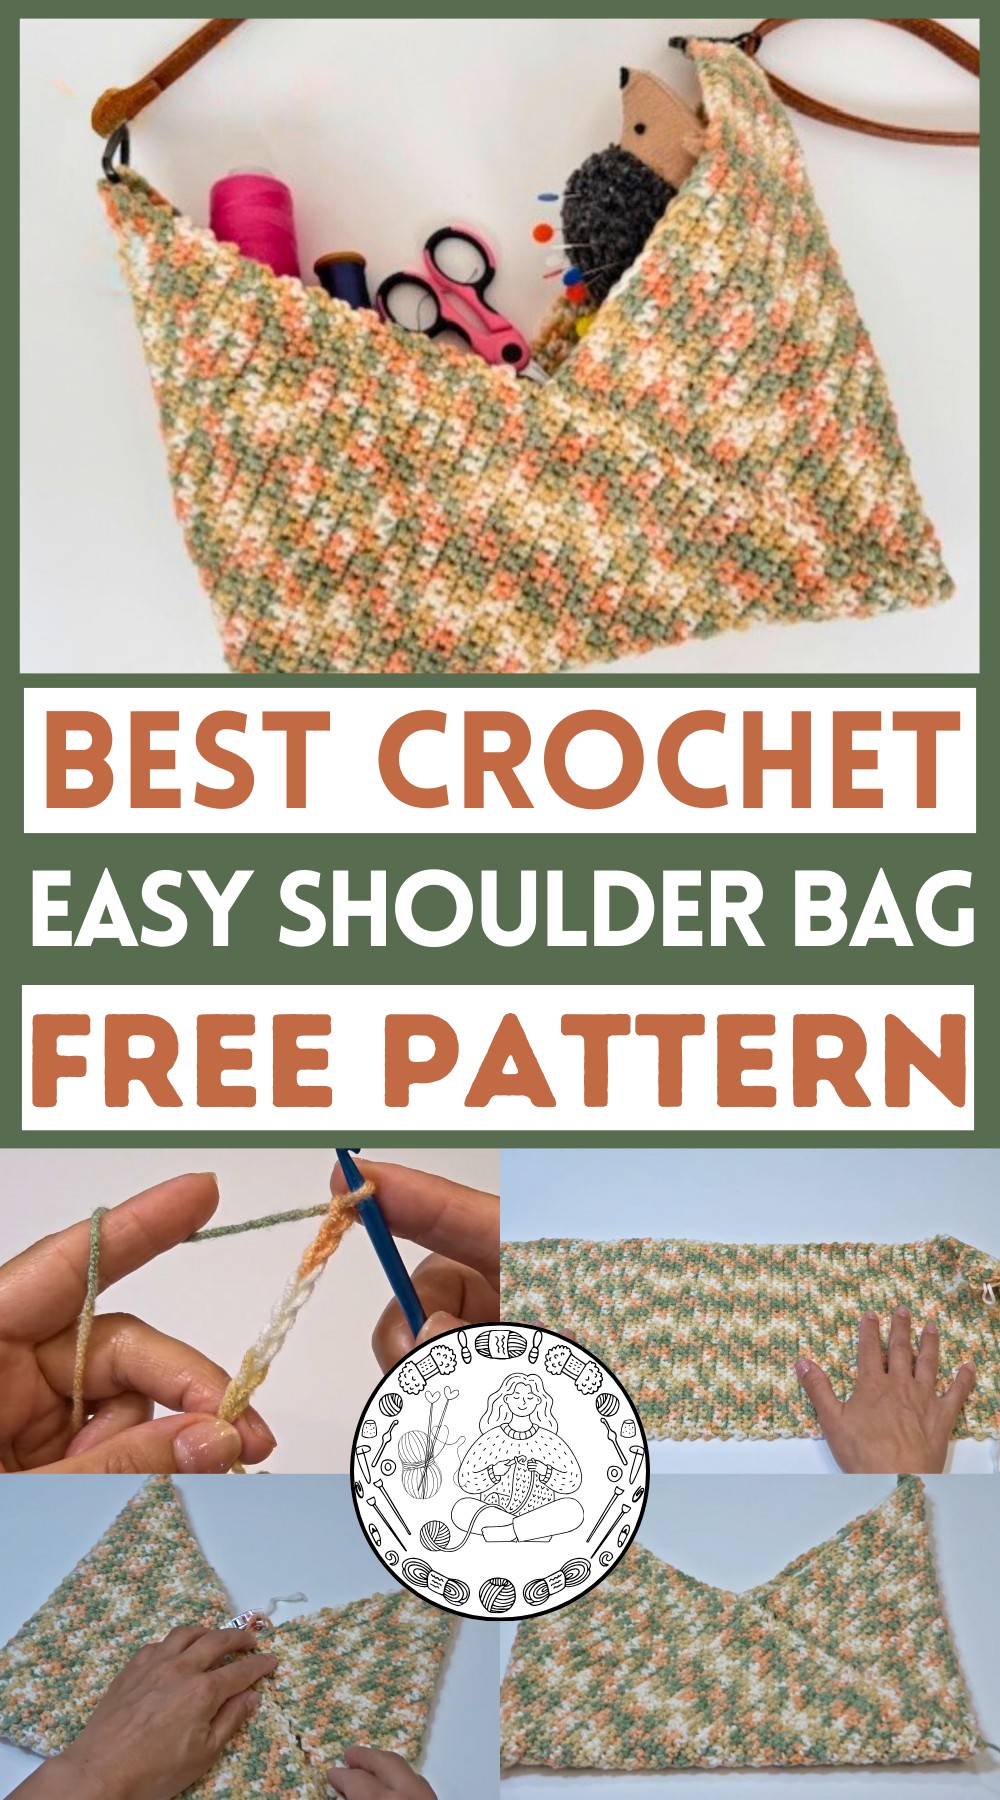
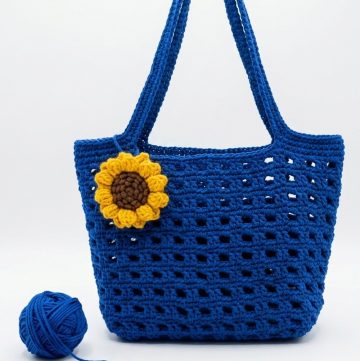
Hold style and practicality with this Free Crochet Shoulder Bag Pattern, perfect for daily essentials, errands, or casual outings with a handmade touch.
Handmade accessories have long added a personal touch to everyday life, turning ordinary items into practical statements of style. Shoulder bags, in particular, combine functionality and fashion, offering a convenient way to carry essentials while reflecting individual taste. They are perfect for daily use, errands, work, or casual outings, providing a blend of comfort, organization, and aesthetic appeal that enhances any outfit.
How to Crochet Shoulder Bag Pattern That Combines Comfort & Calm
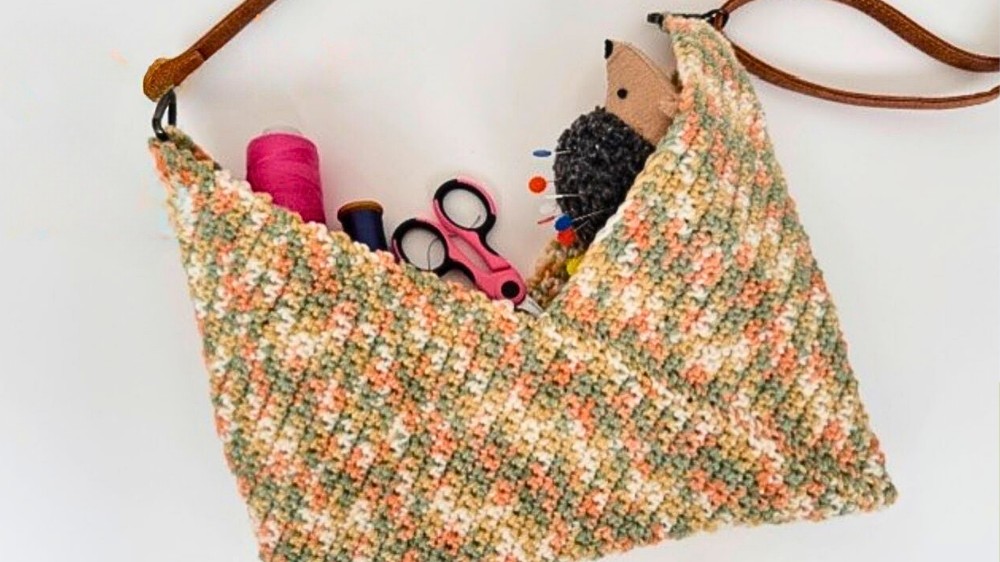
This crochet project brings together versatility and charm in a lightweight, durable form. Beyond being a functional bag, it offers room for essentials such as a wallet, phone, keys, and small personal items, making it ideal for commuting, shopping, or casual outings. Its adjustable strap ensures comfort for various body types, while the soft, textured body adds visual interest and a handcrafted touch.
The body is shaped gradually, with attention to details such as edging and straps that enhance both appearance and durability. Once completed, the bag is easy to carry and maintain, offering both style and practicality. This Free Crochet Shoulder Bag pattern provides a rewarding hands-on experience while resulting in a beautiful, functional accessory that combines charm, utility, and the satisfaction of handmade craftsmanship.
Special Features of the Shoulder Bag
- Adjustable Size: The design allows you to customize the size of the bag to suit your preferences.
- Simple Stitch Pattern: The bag is made with single crochet stitches, creating a clean, minimalist texture.
- Fold and Sew Construction: The unique folding design creates the bag shape with minimal effort.
- Versatile Straps: You can either crochet your own strap or use an existing one.
- Beginner Friendly: The project uses straightforward techniques, making it accessible for crochet beginners.
Level of Difficulty
- Beginner-Friendly: The pattern exclusively uses single crochet stitches, which are ideal for crochet beginners. However, some basic sewing is required for assembling the bag.
Materials Needed
- Worsted Weight Yarn (#4): Acrylic yarn was used in the tutorial, but any yarn type can be used.
- 5 mm Crochet Hook: Adjust the hook size based on your yarn type.
- Scissors for cutting yarn.
- Tapestry Needle for sewing and weaving in yarn tails.
- Stitch Markers (Optional): To hold the bag pieces in place during assembly.
- Existing Strap (Optional): You can use an existing strap or crochet your own.
Step-by-Step Instructions
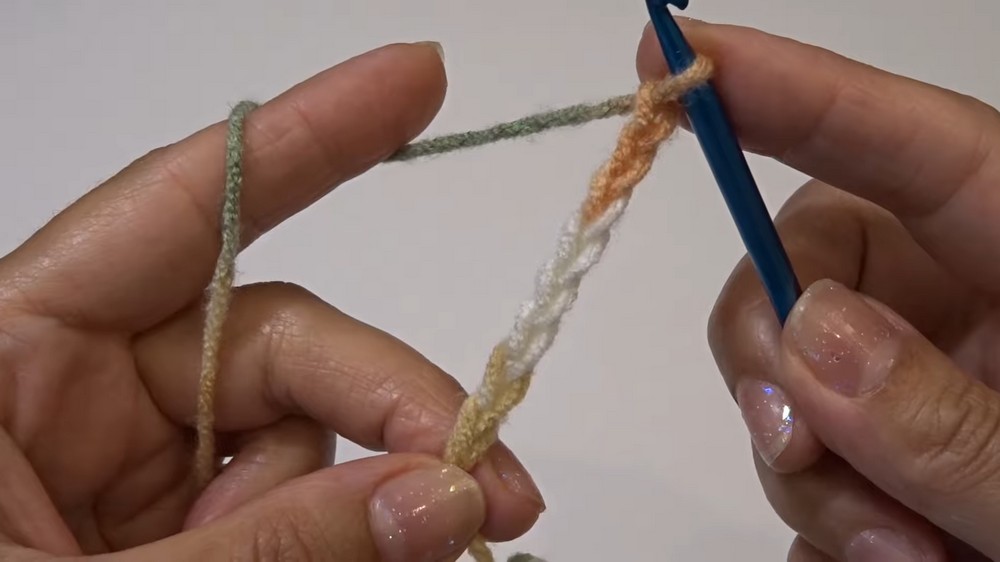
1: Create the Base of the Bag (Starting Foundation Chain and Rows)
- Start with a Slip Knot: Make a slip knot and chain 31 stitches (or adjust to your preferred size). Note: Use an odd number of stitches for sizing.
- Row 1:
- Work a single crochet (SC) into the second chain from the hook.
- Continue working one single crochet in each chain across.
- At the end of the row, you should have 30 stitches.
- Row 2:
- Chain 1 and turn your work.
- Crochet one single crochet in each stitch across, beginning in the first stitch. Repeat for 90 rows (or your desired length).
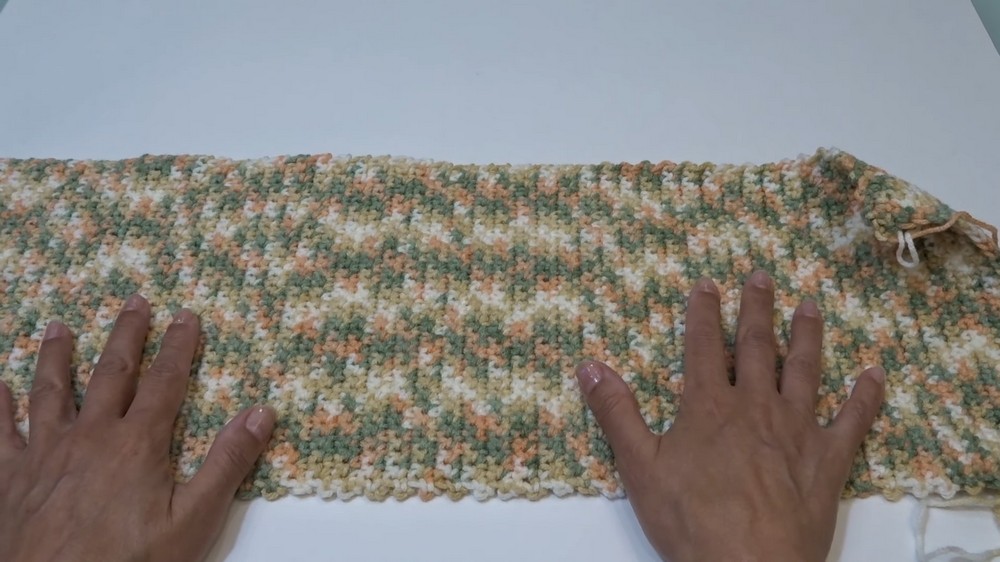
2: Complete the Bag Body
- Create a total of 104 rows of single crochet.
- Measure the Fabric: Once completed, the fabric should measure approximately 8.5 inches wide and 24.5 inches long.
- Fasten Off: Chain 1, cut the yarn, and pull it through the loop to secure.
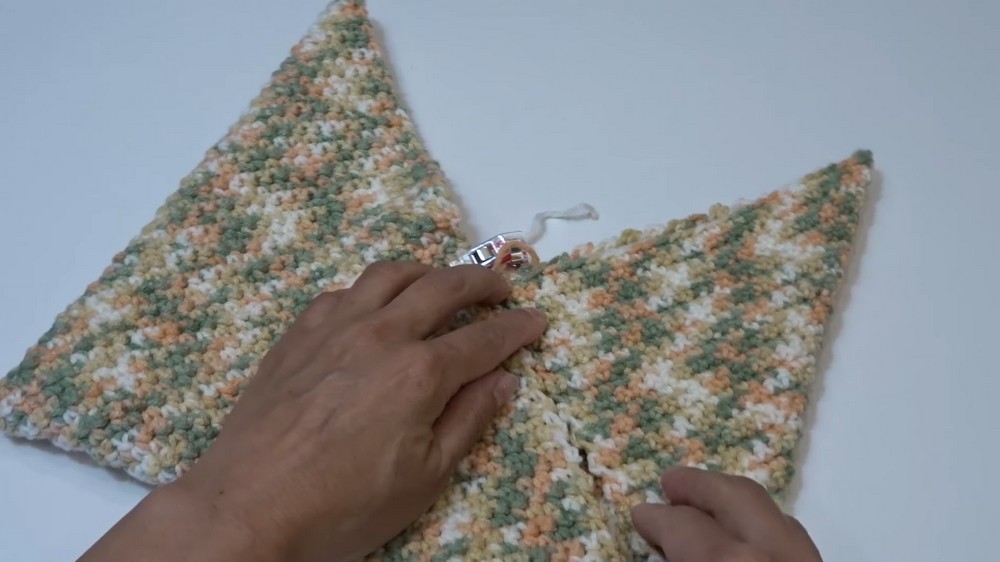
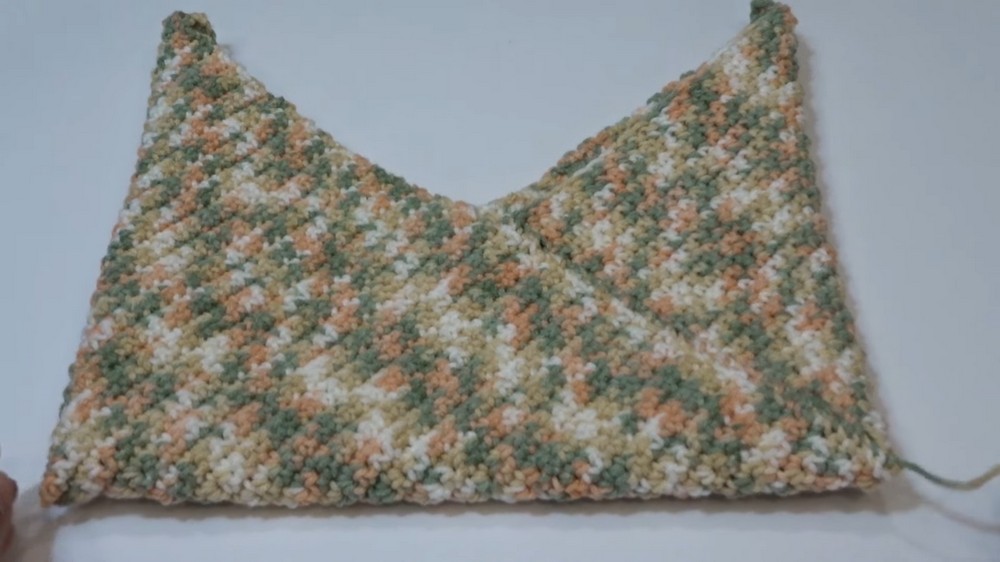
3: Fold the Bag
- First Fold: Create a right triangle by folding one side of the fabric upwards. Align the edges and add a stitch marker to hold it in place.
- Second Fold: Fold the opposite side in the opposite direction, bringing the edge to the base of the previous fold. Stitch markers can help ensure alignment.
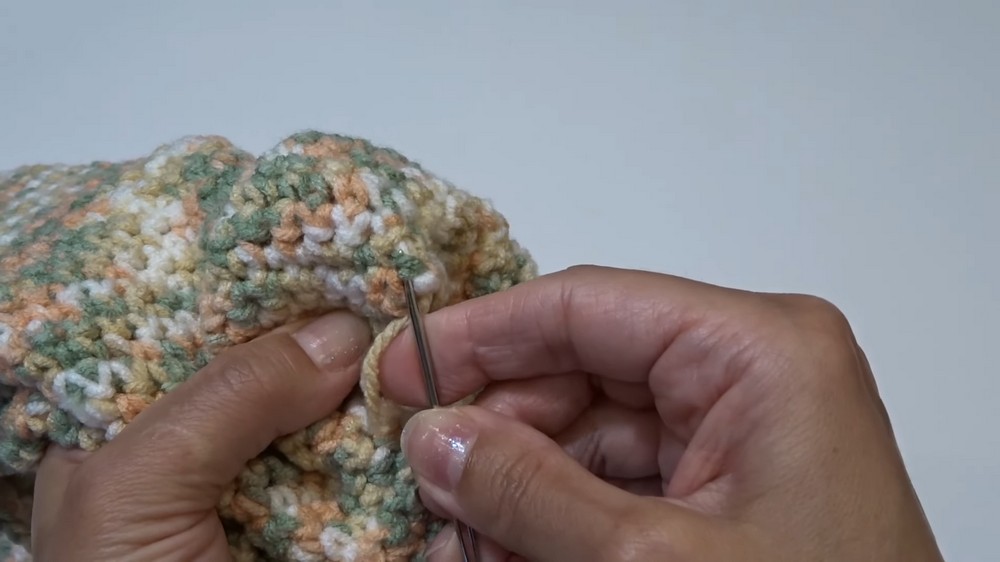
4: Assemble the Bag (Sewing or Slip Stitching)
- Use your tapestry needle to sew the folds together:
- Whip stitch the edges of the folded sections together, working from the bottom to the top.
- If preferred, you can use a slip stitch method with your crochet hook instead of sewing.
- Repeat on the opposite side of the bag.
- Once finished, the basic bag shape is complete.
5: Add the Strap
- Use an Existing Strap (Recommended): Attach the strap to the corners of the bag with stitching or hardware.
- Crochet a Strap (Optional):
- Chain 7 stitches for width.
- Work one single crochet per stitch row until the strap reaches your desired length.
- Sew the strap to the bag’s corners.
6: Finishing Touches
- Weave in Yarn Tails: Use a tapestry needle to hide all loose ends.
- Optional Add-Ons: You can add flaps, buttons, or additional embellishments to the bag’s design.
Tutor’s Suggestions
- Adjustable Foundation Chain: To make the bag larger or smaller, adjust the chain length at the start and ensure it’s an odd number plus one.
- Use Contrasting Yarn Colors: Experiment with different yarn colors for the strap, bag body, or edges for a more vibrant look.
- Crochet Straps for a Complete Handmade Look: If you’re a beginner, use a pre-made strap to avoid extra work, but crocheting your own builds your skills.
- Align Carefully During Assembly: Use stitch markers to keep edges aligned during folding and sewing.
Uses of the Crochet Shoulder Bag
- Daily Use: Perfect for carrying lightweight items such as wallets, phones, or small accessories.
- Gifts: Customized with different colors or added embellishments, it makes a thoughtful handmade gift.
- Craft Markets: This simple bag design is easy and fast to make, making it a great product to sell at craft fairs or online.
- Eco-Friendly Alternative: A reusable bag for small shopping trips.
Conclusion
The Easy Crochet Shoulder Bag is a beginner-friendly project with endless customization options. Its clean design, versatility, and functionality make it an ideal project for crafters looking to create practical, handmade accessories. Whether you use it for yourself or as a gift, this bag is sure to be a stylish choice.
Final Tip
Block Your Finished Bag for a Polished Look: Once completed, block the bag by dampening it slightly and laying it flat to dry. This helps even out its shape, ensuring the edges are smooth and straight.


Leave a Reply