

Festive spirit fills your home as your little one slips into a cozy Crochet Christmas Baby Cardigan Pattern perfect for winter celebrations.
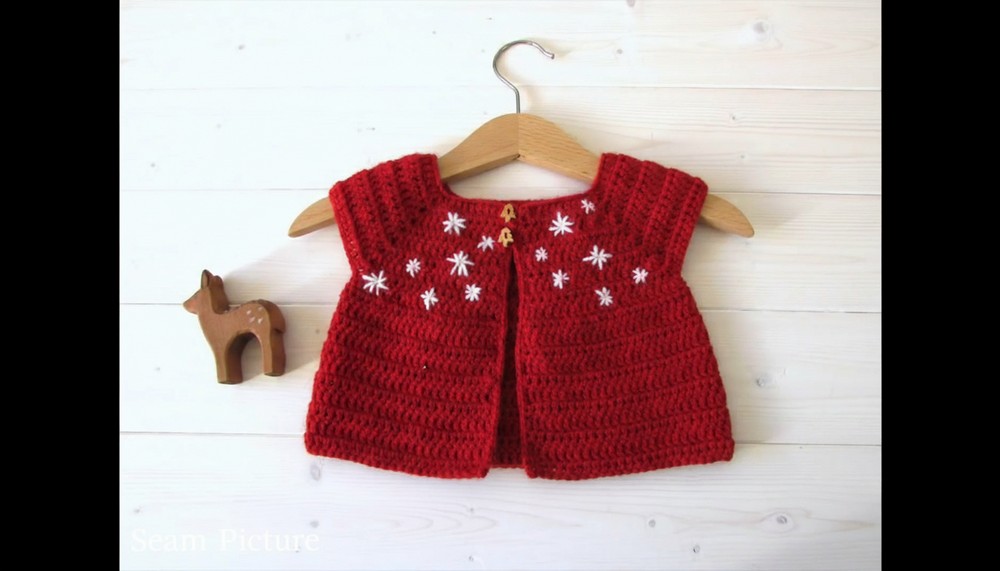
A cozy little sweater with bright reds snowy whites and tiny festive decorations brings warmth and happiness to any baby’s holiday season. Everyone loves how soft it feels on gentle skin and how its cute design makes any baby look even more charming. With the help of a crochet Christmas baby cardigan pattern you can use just yarn and a hook to make a snug layer for winter days.
Free Crochet Christmas Baby Cardigan Pattern for Festive Fun
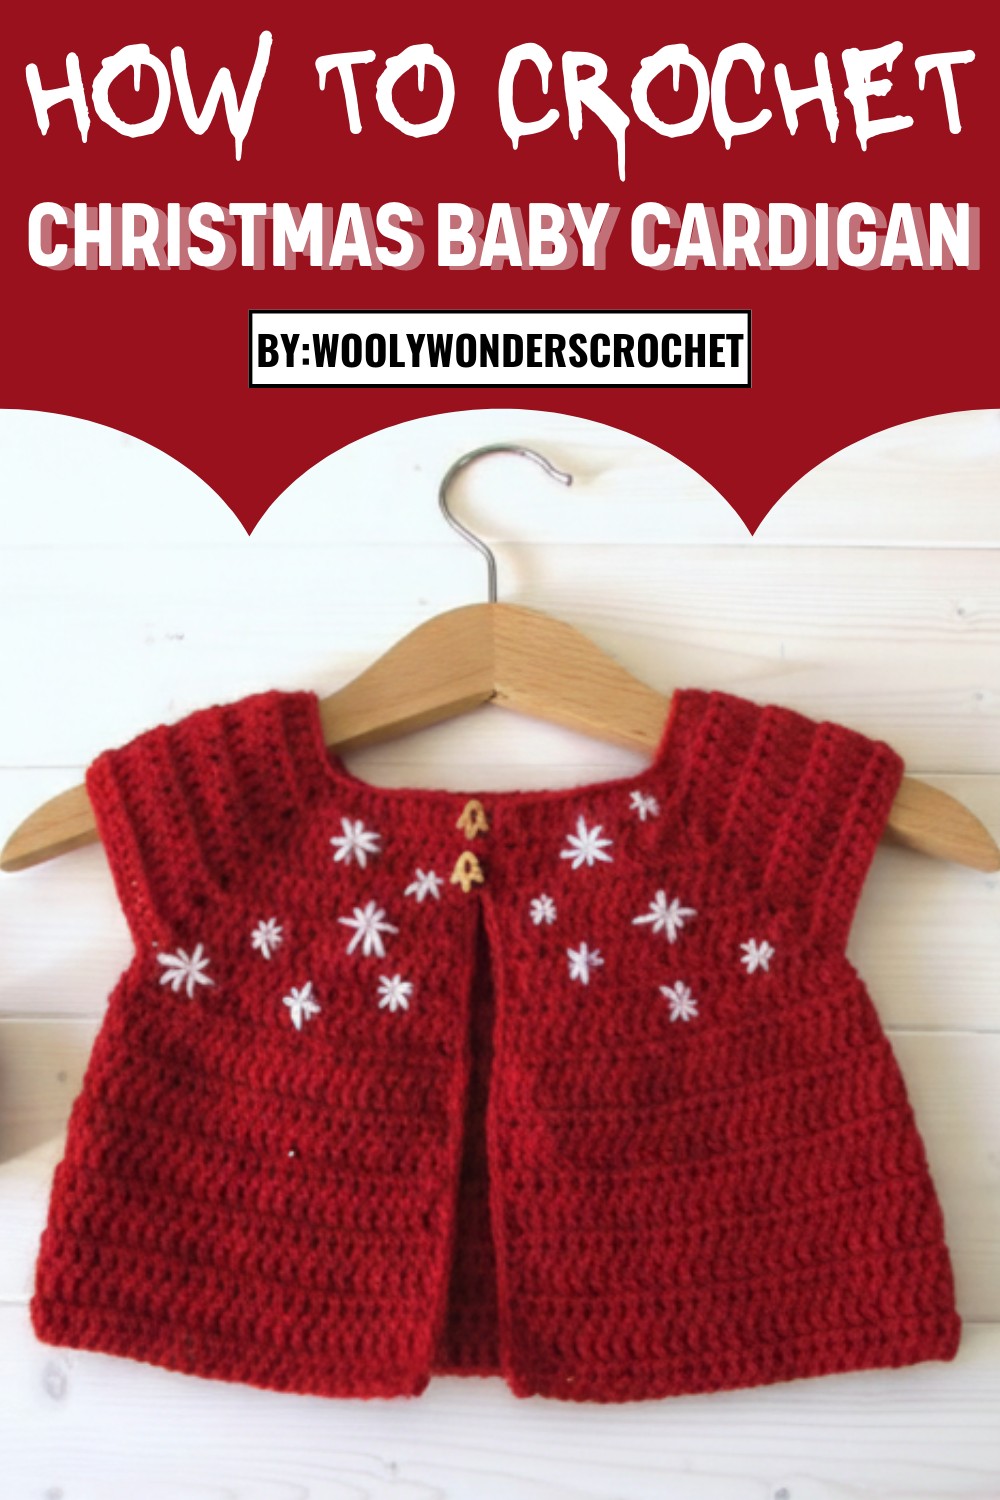
Each button and sleeve adds to the special holiday look giving memories that last for many years. This cardigan fits easily over baby clothes and keeps little ones comfortable during family gatherings or when opening gifts by the tree. You can choose favorite colors and add tiny touches like stars or zigzag pattern to make every cardigan unique. Wearing this cardigan makes holiday time extra memorable and fills every heart with festive joy.
Crochet Christmas Cardigan Pattern
Materials
- Yarn: Worsted weight or DK (sample in festive colors). Adjust amount for desired size—see original description for size requirements.
- Hook: Size appropriate for yarn (commonly 4.0 mm or 4.5 mm)
- Scissors
- Measuring tape
- Stitch markers (optional)
- Yarn needle (for weaving ends and embroidering snowflakes)
- Contrasting yarn: White or cream for snowflake/star embroidery
Key Abbreviations (US Terms)
- ch = chain
- dc = double crochet
- sc = single crochet
- sl st = slip stitch
- rep = repeat
- st(s) = stitch(es)
- sp = space
Special Notes
- Cardigan is constructed in one piece (yoke and body) using corners to shape for raglan/square yoke.
- To make a different size, refer to original content for chain count and section distribution.
- Snowflake/Star decoration is added by embroidery after crocheting is complete.
Step-by-Step Pattern
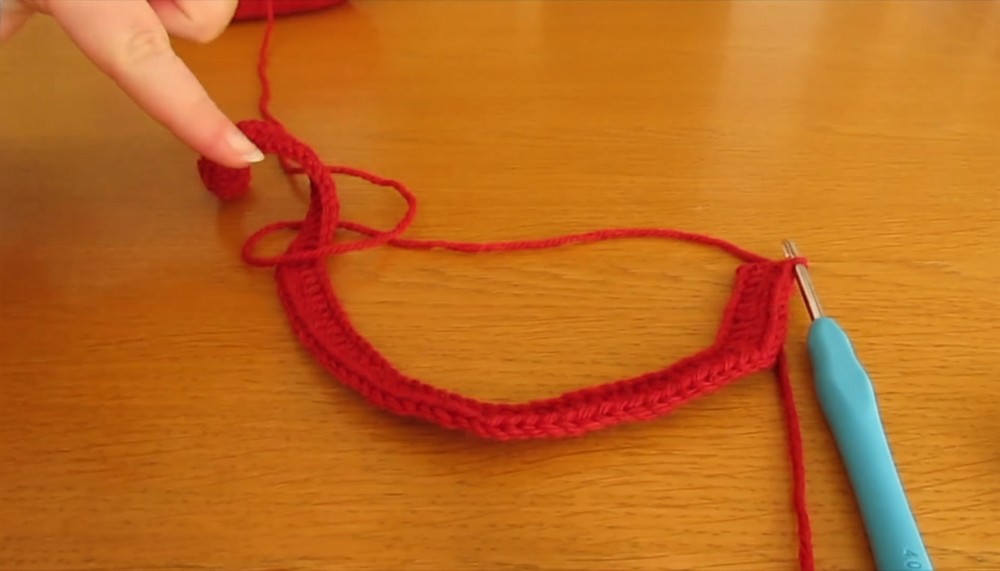
1. Foundation Chain
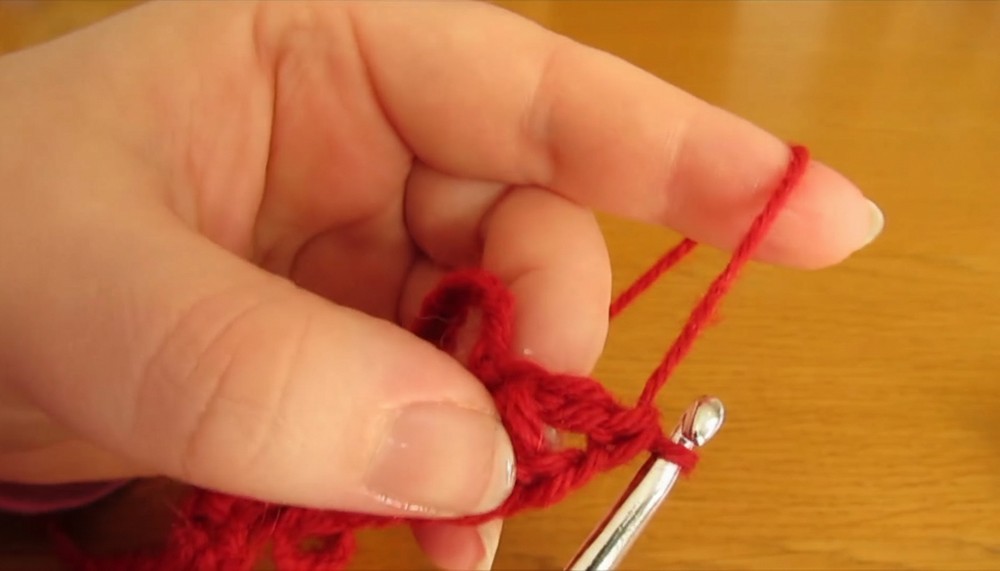
- Make a slip knot.
- Ch 73 (for S/M sample size; see original for other sizes).
2. Round 1 (Yoke/Set-Up)
- Dc in 2nd ch from hook (first dc).
- Dc in each of next 9 ch (10 dc total).
- Corner: In next ch, dc, ch 1, dc all in same ch.
- Dc in each of next 14 ch.
- Corner: In next ch, dc, ch 1, dc all in same ch.
- Dc in each of next 20 ch.
- Corner: In next ch, dc, ch 1, dc all in same ch.
- Dc in each of next 14 ch.
- Corner: In next ch, dc, ch 1, dc all in same ch.
- Dc in each of last 10 ch.
At the end of this round, there will be sections:
- 10 dc (front left)
- 14 dc (arm left)
- 20 dc (back)
- 14 dc (arm right)
- 10 dc (front right)
Corners are worked as dc, ch 1, dc.
3. Round 2 (Increasing at Corners)
- Ch 1, turn (does not count as stitch).
- Dc in each st to first ch-1 space (corner).
- In ch-1 space: dc, ch 1, dc (corner).
- Continue: dc in each st to next ch-1 space.
- Repeat corners (dc, ch 1, dc in ch-1 space) and dc across between corners.
- Finish row with dc in each st to end.
4. Rounds 3–8 (Yoke Expansion)
- Repeat Round 2 (Ch 1, turn, dc in each st, corners as dc, ch 1, dc) for 6 more rounds (rounds 3 through 8).
- At the end of round 8, your section counts should be:
- Short section: 18 dc
- Next section: 30 dc
- Center: 36 dc
- Next section: 30 dc
- Last: 18 dc
- Always check counts to ensure accuracy.
5. Round 9 (Divide for Body and Armholes)
- Ch 1, turn.
- Dc in first 5 sts.
- In next st: 2 dc (increase).
- Repeat Pattern: Dc in next 5 sts, 2 dc in next st until first ch-1 space.
- In ch-1 space: dc (body only).
- Skip all armhole sts (do not crochet across them).
- Next ch-1 space: dc.
- Continue across back: dc in next 5 sts, 2 dc in next st pattern up to next ch-1 space.
- In ch-1 space: dc (body only).
- Skip all armhole sts.
- Next ch-1 space: dc.
- Finish front: dc in next 5 sts, 2 dc in next st to end.
- You should finish with 88 dc.
6. Round 10 (Body Expansion)
- Ch 1, turn.
- Dc in next 7 sts.
- In next st: 2 dc.
- Repeat: Dc in 7 sts, 2 dc in next st, all around.
- You should finish with 99 dc.
7. Rounds 11 Onward (Body Lengthening)
- Ch 1, turn (does not count as stitch).
- Dc in each stitch across.
- Repeat as many times as desired for cardigan length (typically 5–8 more rounds).
- Always maintain 99 dc in each round.
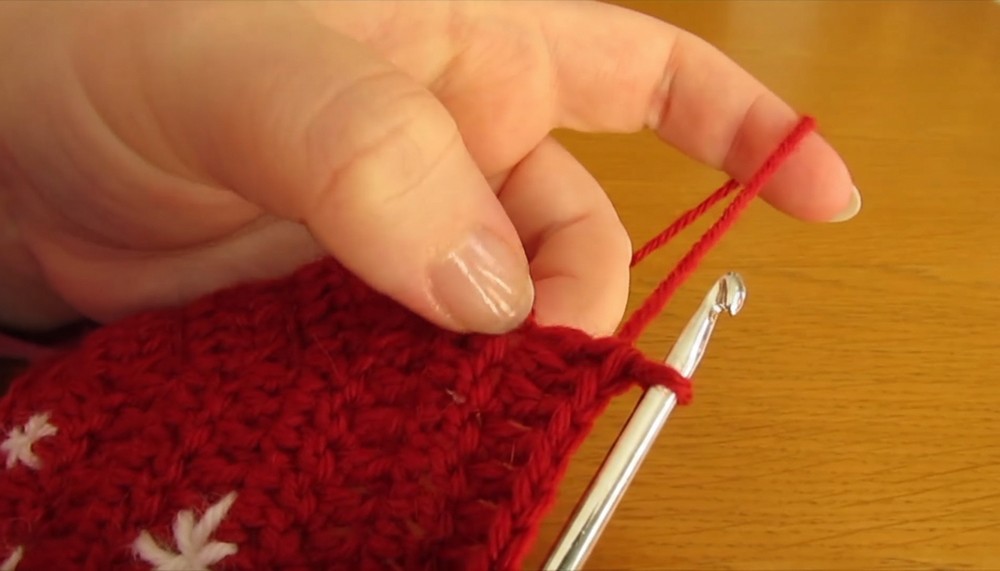
8. Finishing
- Fasten off.
- Weave in all ends.
- Block as needed.
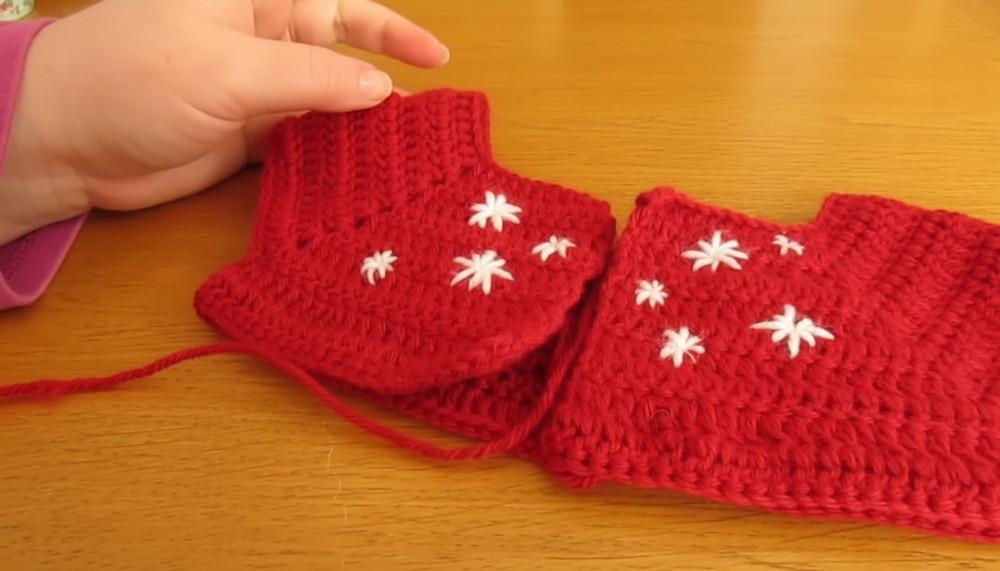
Snowflake / Star Embroidery (Optional)
Materials: Yarn needle, contrasting yarn (white or cream)
- Thread yarn needle with yarn.
- Decide placement of star/snowflake.
- Insert needle from back to front at center stitch.
- Create first spoke: go up one stitch above, insert needle, pull yarn through, return to center.
- Create opposite spoke: go down one stitch, pull yarn through, return to center.
- Create horizontal spokes—go across one or two stitches to right, return to center, then to left, return to center.
- Create diagonal spokes as desired.
- Fasten ends, weave in.
Variations: For smaller or larger stars, adjust stitch distances for spokes.
Pattern Correction & Tips
- Pattern Correction: Check stitch counts at end of yoke rounds (Round 8) and after separation (Round 10) for accuracy.
- Adjust base chain and stitch distribution per size. See original description for size-specific instructions.
- Tip: For neat edges, always ch 1 and turn at start of each round; never count ch 1 as a stitch.
- Embroidery is free form—experiment with star sizes and placement for a festive look.
- Use stitch markers to mark corners throughout yoke rounds to help track increases.
Conclusion
This charming crochet Christmas cardigan uses simple stitches and strategic increases to create a festive, cozy garment. The pattern is worked in one piece with clear section shaping and can be adjusted for any size. Add decorative embroidered snowflakes or stars for seasonal flair. Suitable for beginners ready for a slightly larger project, with lots of personalization options.
Tip:
Use contrasting yarns for festive effect and experiment with snowflake placement. Measure as you go and enjoy creating a holiday favorite.


Leave a Reply