

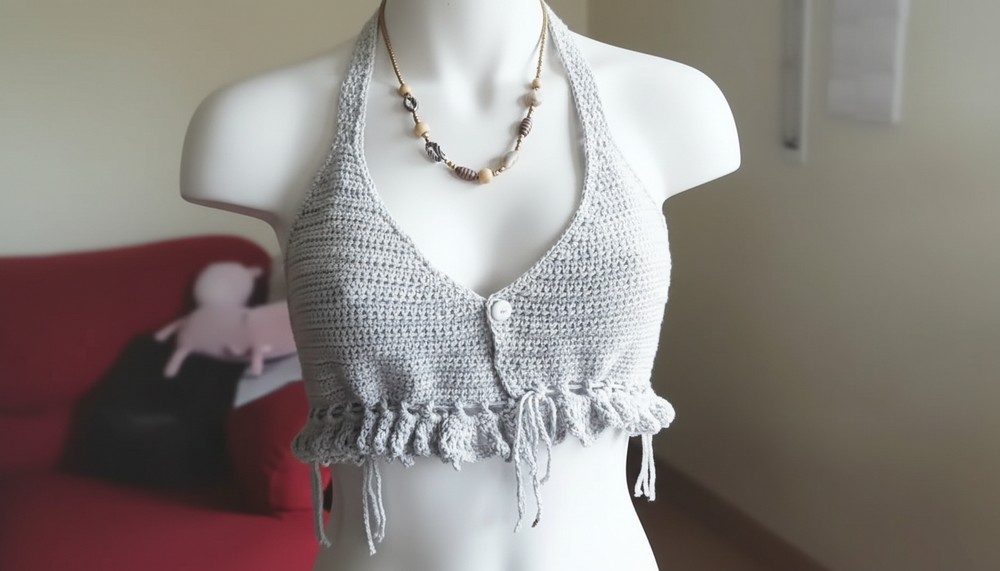
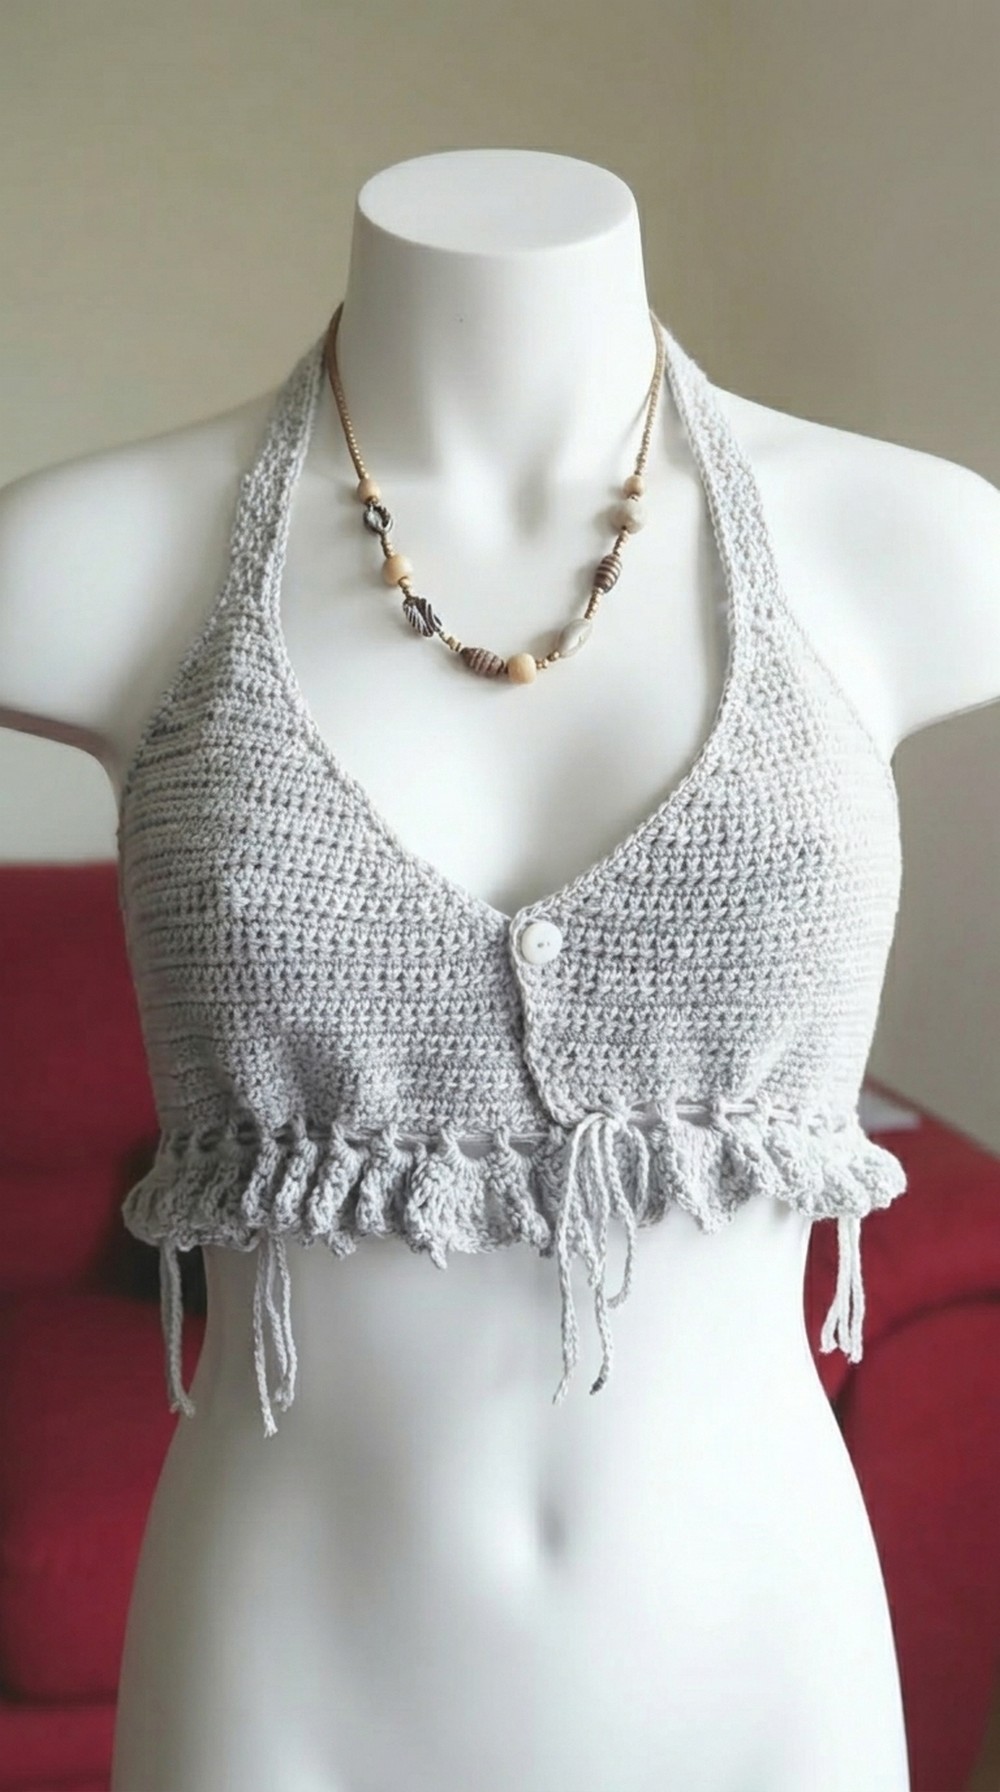
Radiate effortless charm in this free crochet halter top pattern perfect for sunny days beach adventures and relaxing moments with friends.
Think of a top that makes you feel cool and happy and easy all day. With ties that go around your neck and an open back, the look is simple but very pretty. Using the Crochet Halter Top pattern, you make a piece that shows off bright colors, shapes, or even cute designs, so you can pick what fits you best. It is perfect for hot sunny days, a trip to the park, or fun gatherings with friends.
Free Crochet Halter Top Pattern: Step-by-Step Guide

The fit is comfortable, not too loose or too tight, and the soft yarn feels nice against your skin. People love how it can be dressed up with a skirt or kept casual with shorts. This pattern is made to help you create something special and personal, giving you something to feel proud of every time you wear it.
Easy Crochet Halter Top Pattern
Materials
- Yarn: 100g cotton (natural fiber) or alternative smooth DK/light worsted yarn of your choice
- Hook: 3.5 mm (or as recommended for the yarn)
- Notions:
- Measuring tape
- Stitch markers
- Scissors
- Optional: Yarn needle for sewing in ends
Abbreviations (US Terms)
| Abbreviation | Definition |
|---|---|
| ch | Chain |
| sc | Single crochet |
| hdc | Half double crochet |
| dc | Double crochet |
| sl st | Slip stitch |
| st(s) | Stitch(es) |
| rep | Repeat |
| sp | Space |
Special Notes
- The pattern is sized for an M cup. For other sizes, adjust the number of rounds and stitches as indicated.
- Each cup and its strap are worked in one directional piece.
- The lacy border uses picot and fan techniques.
- All increases happen at beginning and end of rows unless otherwise stated.
- For a cleaner finish, use stitch markers on last stitches of rows.
Pattern
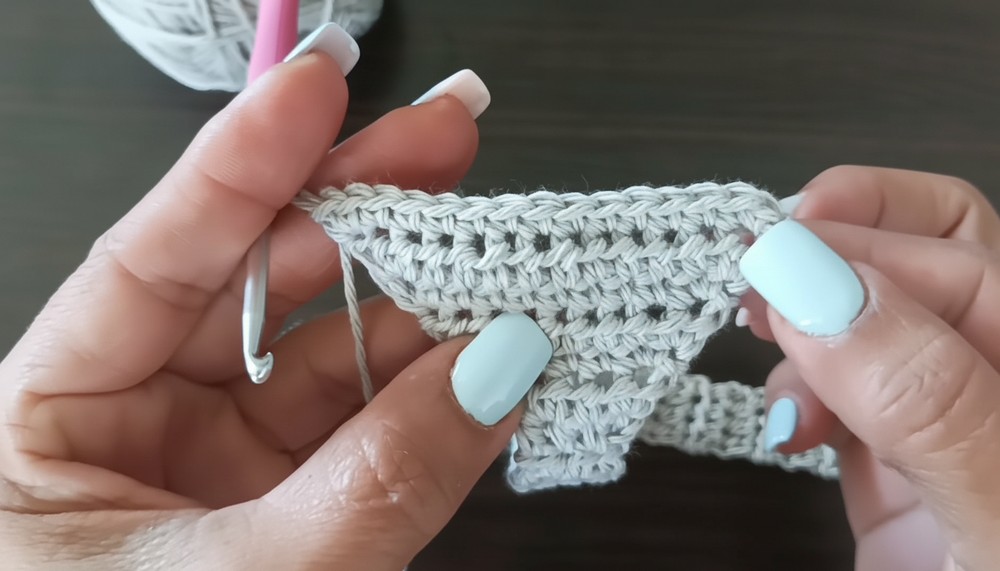
1. CUP STRAP (Make 2)
- Begin Strap:
- Make a slipknot. Ch 2.
- Row 1: Work 3 hdc into the ring/circle formed; ch 2, turn.
- Row 2: (Counts as 1 hdc at the edge.) Hdc in each st across (4 hdc). Ch 2, turn.
- Continue Strap:
- Rep Row 2 until you reach your preferred strap length.
- Sample: 46 rows for 45 cm (roughly 18 inches).
- Fasten off first strap; for the second strap/cup work continues below.

2. CUP (Joined to Second Strap)
Each cup is worked from end of strap and widened with increases:
- Setup: At the end of the strap, ch 2, turn.
- Row 1: 2 hdc into first st, 1 hdc across each st to last st, 2 hdc in last st (total 6 hdc for first inc row).
- Row 2: Ch 1, turn, 2 sc in first st, sc in each st to last st, 2 sc in last st.
- Alternate Row Types:
- Odd rows: Ch 2, turn, 2 hdc in first st, hdc in each st across to last, 2 hdc in last st.
- Even rows: Ch 1, turn, 2 sc in first st, sc in each st across to last, 2 sc in last st.
- Repeat: Alternate rows as above, increasing in first and last stitch of every row, until you’ve completed 22 rows with increases (for size M, more/less as explained below).
- No-Increase Rows:
- Once desired cup width is reached (approx. 21 cm across), continue even (no increases) for 6 more rows, alternating hdc and sc (total 28 rows for size M).
- Adjusting Size:
- For smaller sizes: do 20 inc rows; for larger, do 24 or as needed (add 2 inc rows per size shift).
- Adjust the final number of even rows similarly to complete the cup height.
- Repeat: Make both cups identically.
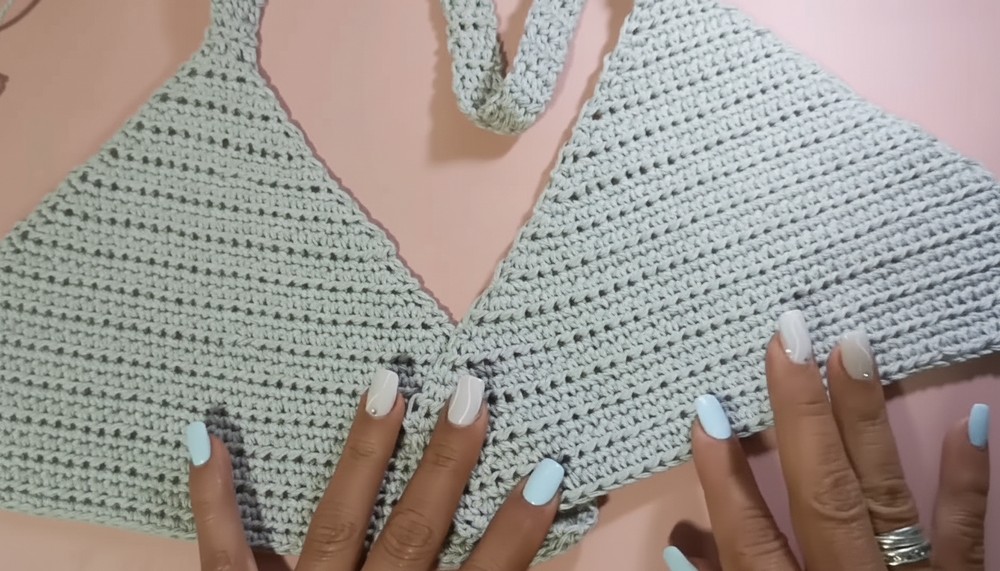
3. JOIN CUPS & CREATE BACK STRAP
- Place both cups, wrong sides facing out.
- From the last st of the second cup, ch enough to reach the opposite cup for the back band.
- Sample size M: 72 chains (approx. 42 cm).
- For larger/smaller sizes, add/subtract 2 ch per size step.
- Sl st to the matching side of the other cup to join.
- Fasten off.
- Join yarn at the other end of the joined cup, and repeat: ch same number of sts for the second back strap and join.
4. BODY BAND
Working from one joined cup edge:
- Attach yarn with slipknot to one corner/st.
- Round 1 (HDc band): Ch 2, hdc in each st and in each starting chain of the back band, continue around the bottom edge of both cups and across the back chains. Sl st to join. Fasten off.
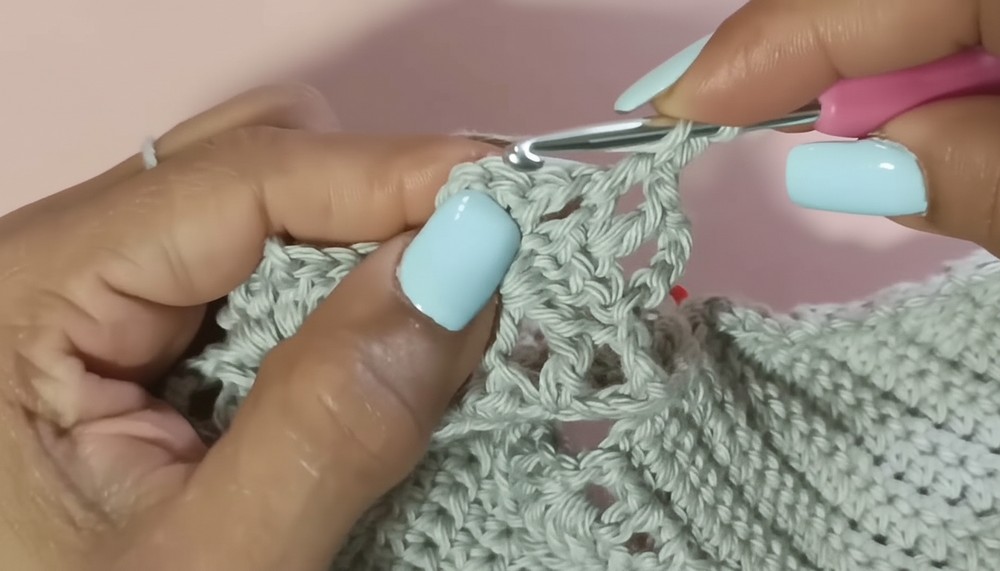
5. LACE/FAN EDGING
Work all the way around the bralette, including cup edges and back:
- Fan/Picot Set-up:
- Begin at a side seam. Ch 3 (counts as dc), dc twice more in same sp.
- [dc, dc, ch 2, 3 dc] in each marked square/space (fan group).
- Sl st into the next dc/space at the base to anchor fans. Move to next square/sp; sl st.
- Continue around edge:
- Repeat [ch 3, 3 dc, ch 2, 3 dc] in next space; secure with sl st at base.
- Continue to end of round. Join with a sl st to starting ch.
6. PICOT EDGE ROW
This round is worked over the top edge and fans for a delicate finish:
- Ch 1, sc in next st/sp, sc in next sp/dc, sc in next sp,
- Picot: When reaching the V or center of a fan, sc, ch 3, sl st in first ch ("picot"), sc in same sp.
- Continue with sc along edge; repeat picot in fan center spaces.
- At end, sl st to first sc and fasten off.
Conclusion
You have completed a lovely, comfortable crochet bralette/top using very basic stitches and a beautiful decorative edging. The adjustable ties and open, lacy border make for a flattering and comfortable fit.
Pattern Corrections
- Ensure all increases are worked in both the first and last stitch of each row until cup width is reached.
- Adjust strap and band length to fit your individual body.
- If your edges curl, block the finished piece gently.
Tips
- Use stitch markers to track last st of each row until familiar.
- For a seamless look, crochet over yarn tails to hide as you go.
- Block the finished top for the best fit and drape.
- Try with a contrasting border for a unique touch.
- Cotton yarn is ideal for breathability and comfort.


Leave a Reply