

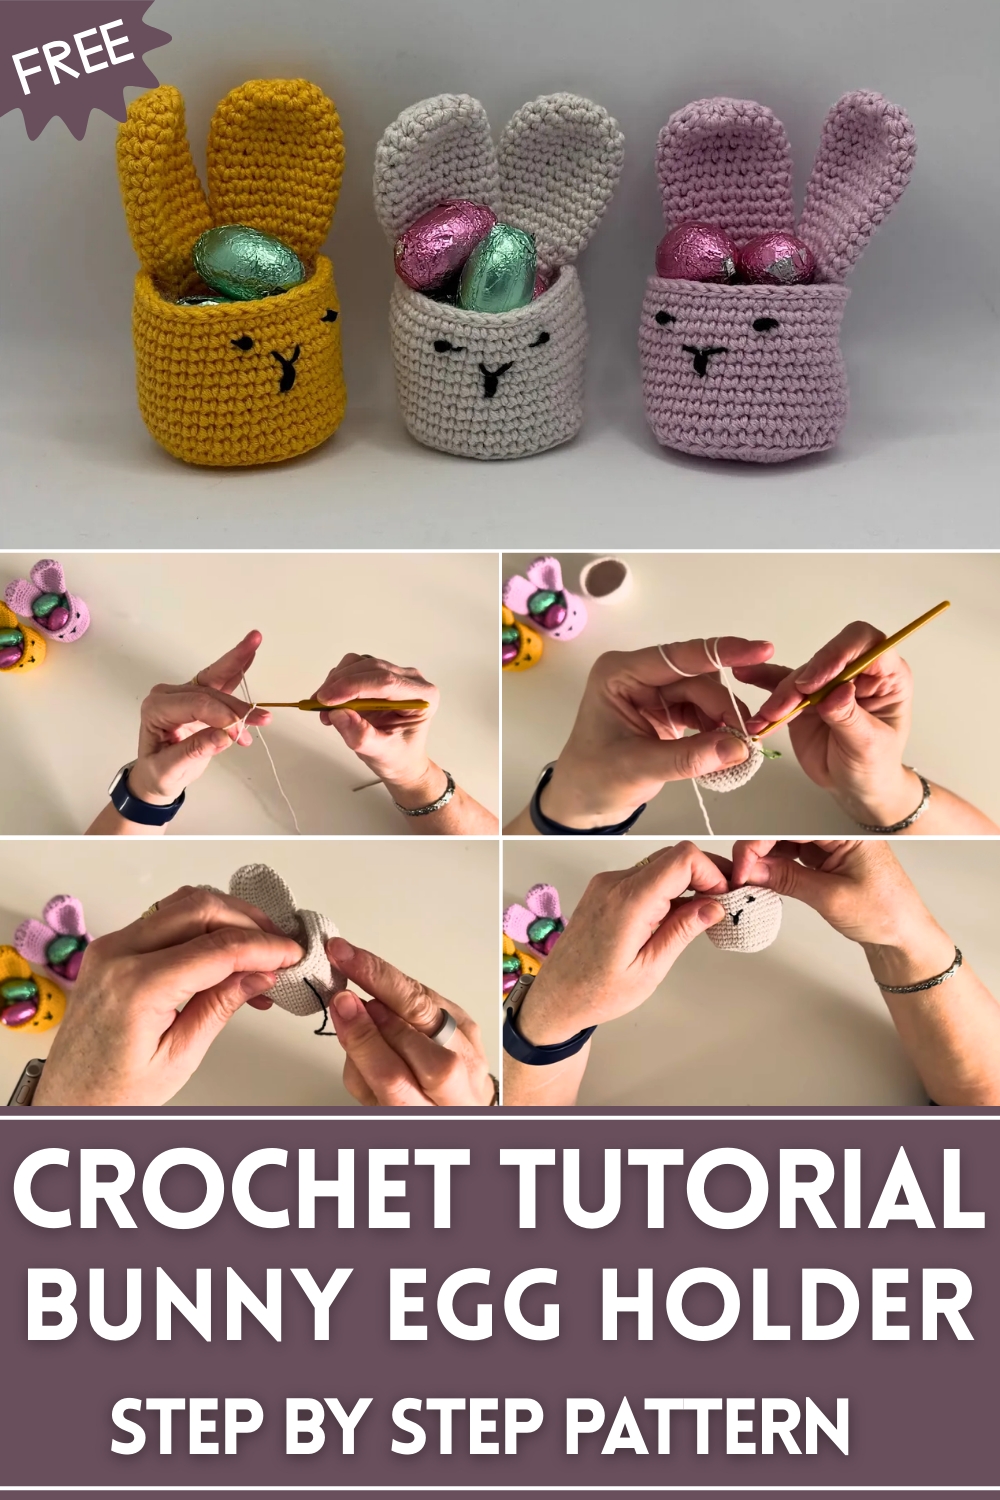
Cheerful Easter vibes come alive with the Free Crochet Bunny Egg Holder Pattern, that's cute, cozy, and reusable décor for festive family gatherings
Easter traditions often center around small, whimsical touches that bring delight to gatherings and celebrations. The Free Crochet Bunny Egg Holder pattern captures that playful spirit, transforming ordinary table settings into charming displays that both children and adults can enjoy. Its soft yarn and cheerful bunny details make it an appealing addition to breakfast tables, festive brunches, or seasonal décor, offering a handcrafted element that stands out among everyday dishes.
Cute Crochet Bunny Egg Holder Pattern That Kids Will Love
Lightweight yet sturdy, each holder cradles eggs securely, making it practical for serving while doubling as a decorative accent. Parents and hosts appreciate how it adds an interactive element to holiday meals, encouraging children to engage with the table arrangement and sparking smiles with its cute, playful appearance. The simple, modular construction allows for quick assembly, letting crocheters produce multiple holders to line a table or give as thoughtful, reusable gifts.
Beyond serving its functional purpose, the Free Crochet Bunny Egg Holder pattern adds a lasting touch of charm to Easter celebrations. Its cheerful presence can be reused year after year, bringing a sense of continuity and warmth to family traditions. Combining practicality, festive appeal, and playful personality, this handmade accessory turns simple meals into memorable, heartwarming occasions for everyone gathered.
Special Features of This Project
- Uses Scrap Yarn: A minimal amount of wool is required, making it a great stash-busting project.
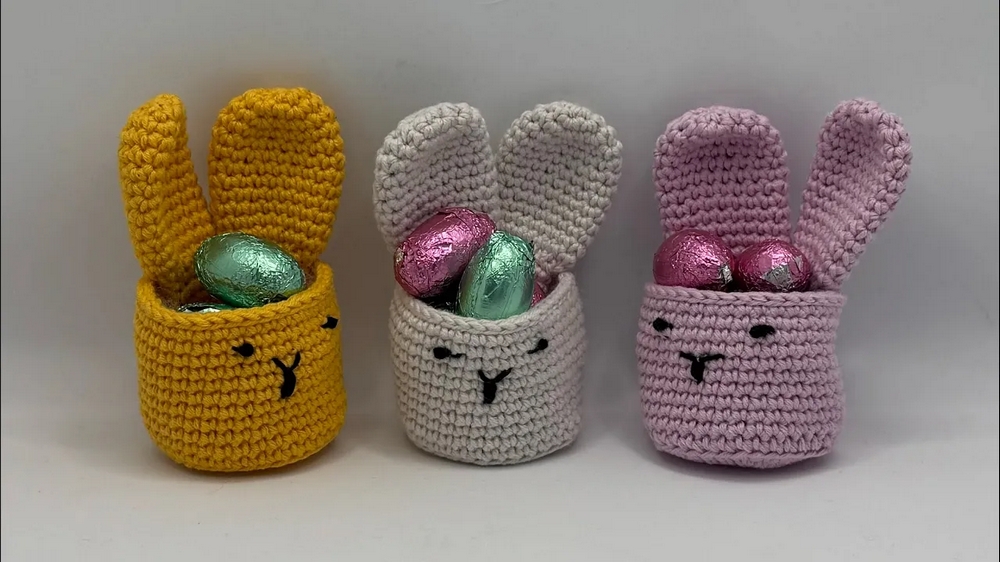
- Compact and Practical Design: The basket is small and sturdy, ideal for holding mini eggs or small treats.
- Beginner-Friendly Techniques: Includes basic stitches like single crochet, increases, decreases, and simple shaping techniques.
- 3D Bunny Features: Bunny ears and embroidered eyes give this project a playful, festive vibe.
Level of Difficulty
This project is suitable for beginners. The skills required include:
- Making a magic circle to start the base.
- Working in continuous rounds using single crochet.
- Basic increases and decreases.
- Simple embroidery for adding a face and other details.
While the tutorial is beginner-friendly, attention to detail is important when shaping the ears and creating facial features to ensure symmetry.
Materials Needed
- Yarn (Scrap Yarn is Ideal):
- Cream or tan (for the basket body).
- Black (for the facial features).
- Crochet Hook: 2.5mm hook.
- Needle: For sewing the ears to the basket and embroidering features.
- Stitch Marker: To mark the start of each row when working in rounds.
- Scissors: For trimming yarn ends.
Step-by-Step Instructions
Part 1: Making the Basket Base
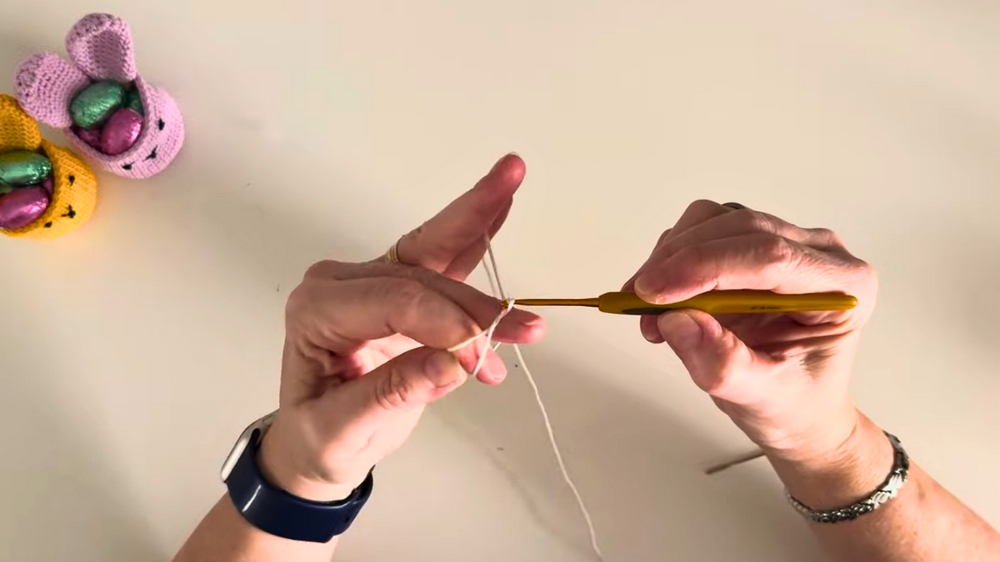
- Start with a Magic Circle:
- Wrap the yarn around your fingers to form a cross.
- Insert your hook under the first loop, pull the second loop through, and chain one.
- Crochet 6 single crochets (SC) into the circle. Pull the tail to close the loop.
- Round 2 - Increase Round:
- Crochet 2 SC into each stitch around to make 12 stitches. Move your stitch marker to track the beginning of the round.
- Round 3:
- Crochet 1 SC in the first stitch, followed by 2 SC in the next stitch (increase).
- Repeat this pattern (1 SC, 1 increase) around to make 18 stitches.
- Round 4:
- Crochet 1 SC into the next 2 stitches, followed by an increase (2 SC in the next stitch).
- Repeat this pattern (2 SC, 1 increase) to finish the round with 24 stitches.
- Round 5:
- Crochet 1 SC into the next 3 stitches, followed by an increase.
- Repeat this pattern (3 SC, 1 increase) around to make 30 stitches.
- Round 6:
- Increase one last time by crocheting 1 SC into the next 4 stitches, followed by an increase.
- Continue around for a total of 36 stitches.
Part 2: Building the Basket’s Body
- Row 7 - Back Loop Only Row:
- Crochet 1 SC into the back loops only of each stitch around. This creates a little ridge that helps the basket sit upright.
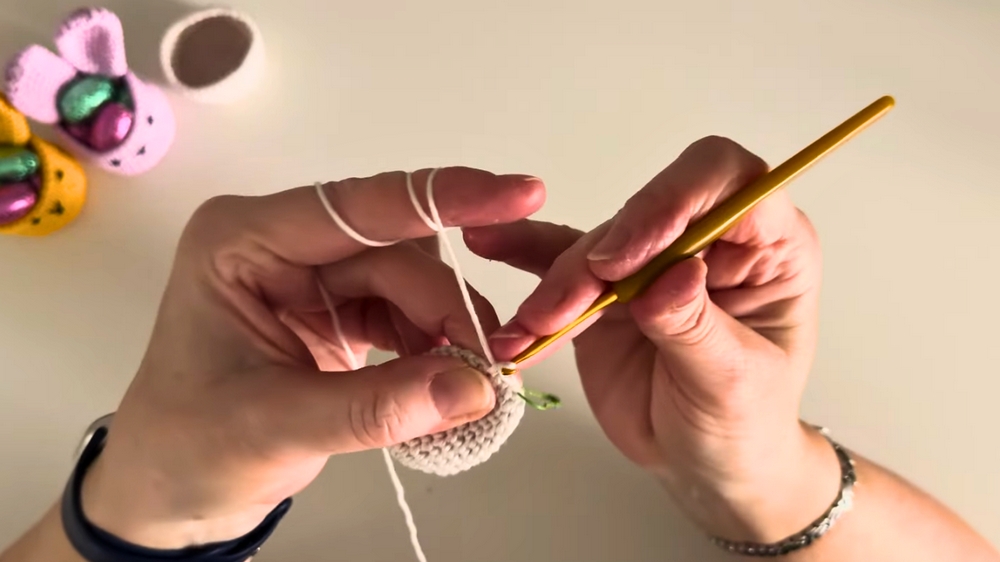
- Rows 8–17:
- Crochet 1 SC into both loops of each stitch for the next 10 rows to build up the basket walls.
- Remove and replace your stitch marker at the end of each round to track your work.
- Row 18 - Slip Stitch Border:
- Crochet 1 slip stitch into each stitch around. This creates a neat, raised edge at the top of the basket.
- Finish off with an invisible join: Skip the final stitch, pull the yarn tail through, and weave in the ends with a needle to create a seamless finish.
Part 3: Creating the Bunny Ears
- Start with a Magic Circle:
- Crochet 6 SC into the magic circle, pull the loop tight, and secure with a stitch marker.
- Round 2 - Increase Round:
- Crochet 2 SC into each stitch around to reach 12 stitches.
- Round 3:
- Crochet 1 SC into the first stitch, followed by 2 SC in the next stitch (increase).
- Repeat the pattern to reach 18 stitches.
- Rounds 4–13:
- Crochet 1 SC into each stitch around for 10 rows. The ear will gradually flatten into its intended shape.
- Row 14 - Decrease Row:
- Decrease by working 1 invisible decrease: Insert your hook into the front loops of the next 2 stitches, yarn over, and pull through both loops, then complete the SC. Repeat around to reduce stitches from 18 to 9.
- Rows 15–17:
- Crochet 1 SC into each stitch for 3 more rows.
- Leave a long tail at the end to sew the ear onto the basket.
- Make the Second Ear: Repeat the steps above to create a matching second ear.
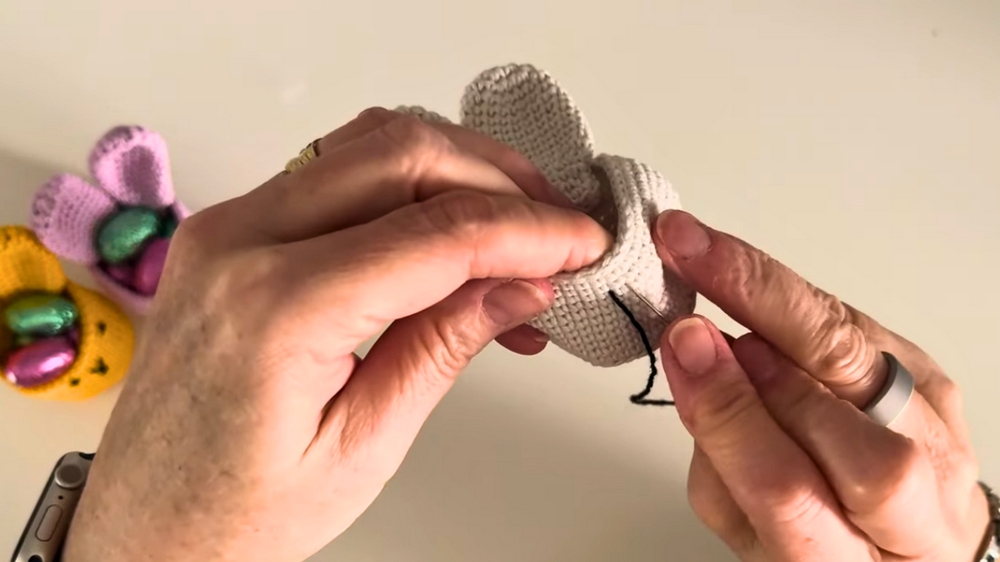
Part 4: Attaching the Ears to the Basket
- Thread the yarn tail of each ear onto a needle.
- Position the ears on the basket (centered or to your preference), and sew them securely by weaving the yarn tail through the base of the ear and the basket.
- Hide any loose ends by weaving them into the basket’s stitches.
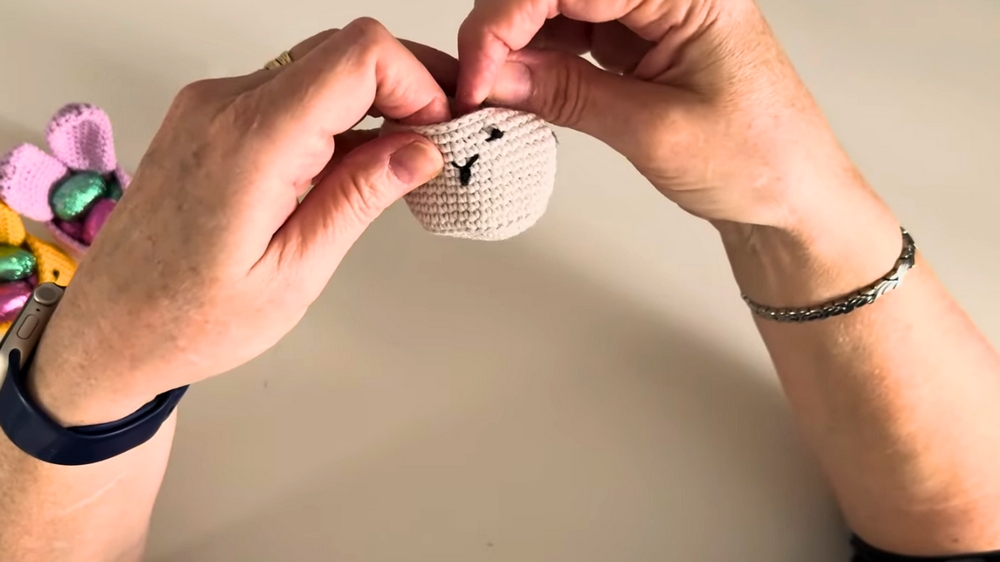
Part 5: Adding Facial Features to the Basket
- Use a small piece of black yarn for the eyes and nose.
- Embroidering Eyes:
- Place the eyes evenly on either side of the basket and use a French knot to create small black eye dots. Wrap the yarn around the needle 5 times before inserting it back into the same stitch.
- Embroidering the Nose:
- Create a short vertical line in the middle of the basket, directly below the eyes.
- Embroidering Whiskers:
- Add two small curved lines alongside the nose using simple straight stitches.
- Finish by securing and hiding all yarn ends inside the basket.
Tutor’s Suggestions
- Use Cottons: The tutor recommends using cotton yarn for this project since it holds its shape better than acrylic.
- Stitch Markers: If you don’t have a stitch marker, substitute with a safety pin or small piece of yarn to track your work.
- Invisible Finish: To ensure a professional look, take the time to finish off seamlessly when completing the slip stitch border.
- Experiment with Size: Add extra rows to the basket or ears to make a taller or larger version if desired.
Uses for the Easter Bunny Basket
- Mini Egg Holder: Perfect for small Easter treats like mini eggs or chocolate.
- Gift Presentation: Use as a unique and adorable packaging for small gifts.
- Home Décor: Add a festive touch to Easter displays or centerpieces.
- Kid’s Craft: A fun and simple activity for kids during the Easter season.
Final Tip
To create more variety, experiment with adding different colors to the ears, basket, or facial features. You could even crochet additional embellishments, like flowers or bows, to customize each basket!
Conclusion
This Easter basket with bunny ears is an easy and fun project suitable for beginners. With minimal materials and simple techniques, it’s a quick way to add some festive charm to your holiday. Whether you use it as a decoration or to hold treats, this basket is certain to bring smiles this Easter season.


Leave a Reply