

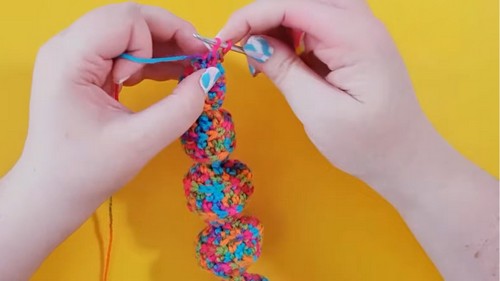
Let's make a Crochet Fidget Slug, a charming project perfect for both beginners and seasoned crochet enthusiasts. This project brings together simple steps and soft yarn to fashion a delightful, squishy companion that doubles as a stress reliever.
Handmade Crochet Fidget Slug
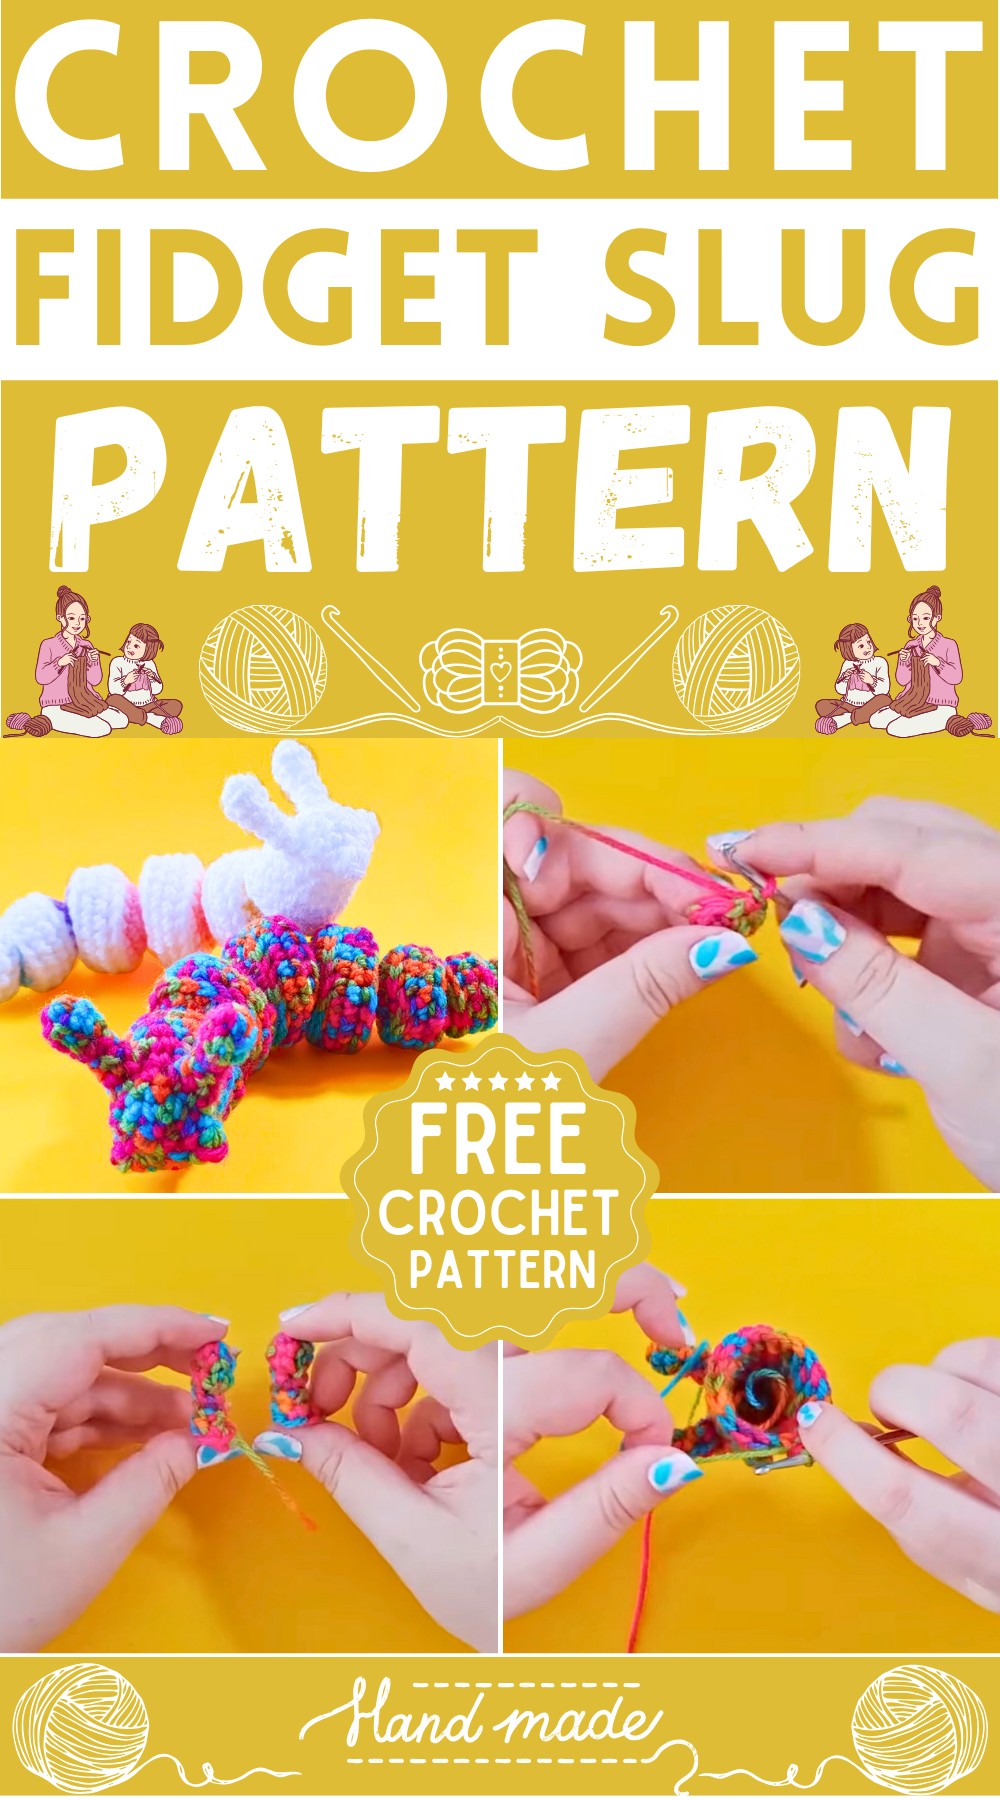
Materials Needed:
- DK or 8 ply yarn (variegated colors suggested for an interesting pattern)
- 3.5 mm crochet hook (go down a size from the recommended label)
- Stuffing material
- Scissors
- Darning needle (for final assembly)
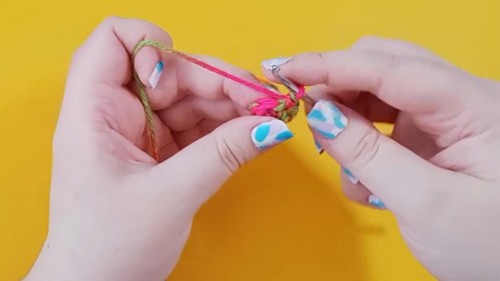
Eyeball Stalks (make 2):
- Start with a magic ring of 6.
- Work 6 single crochets around.
- Perform 2 repeats of: 1 single crochet followed by a decrease.
- Work 3 rows of 4 single crochet each for a total of 12 stitches.
- Tuck any spare tails inside the eyeball stalk.
Slug Body:
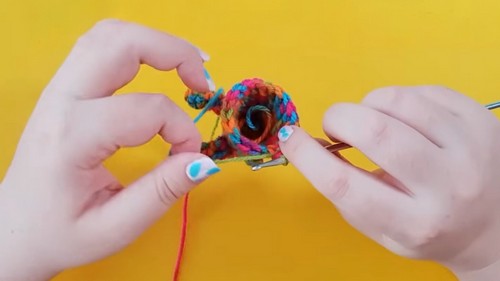
Head Segment:
- Begin with a magic ring of 6.
- Work 6 increases around to double the stitch count to 12.
- Create chin whiskers by working 6 single crochets, a 3 double crochet cluster (bobble), 3 single crochets across the bottom, another 3 double crochet cluster, and 1 single crochet to finish the round.
- Start round four by attaching the eyeball stalks. Insert your hook into the base of an eyeball stalk, then into the next stitch on the head, and work a single crochet combining these two pieces. Do this for two sets of loops on each eyeball stalk.
- Complete round four by working single crochets around the head until the stalks are fully attached.
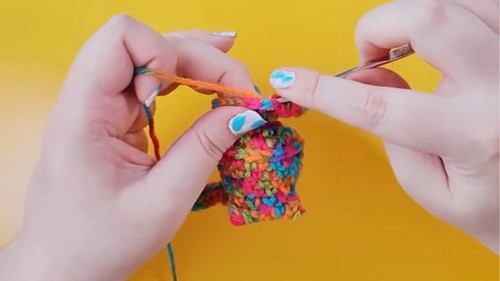
- Finish the head segment by working rows of single crochet, increasing and decreasing as needed, and apply back post single crochet for the rim.

- Get down to the narrowest point by single crocheting three together and decreasing until you have 6 stitches left. Lightly stuff the head.
Body Segments (repeat for each segment):
- Start with front post single crochet and increase as instructed to expand the round.
- Work rows of single crochet with increases to widen the section.
- Apply back post single crochet for the rim of each body segment.
- Decrease the rounds as needed and lightly stuff each segment as you go.
- When you reach the tail segment, narrow it down to 6 stitches.
Final Tail Segment:
- Start with 6 front post single crochets, followed by 6 single crochets.
- Perform decreases to close up the tail.
- Finish off and leave a long tail for sewing.
Finishing Off:
- Use the long tail thread to thread through all the pieces tightly, giving the slug an articulated and wiggly shape.
- Secure the thread by stitching and hiding the end inside the head.
- Give your slug a test wiggle to ensure adequate articulation.
Leave a Reply