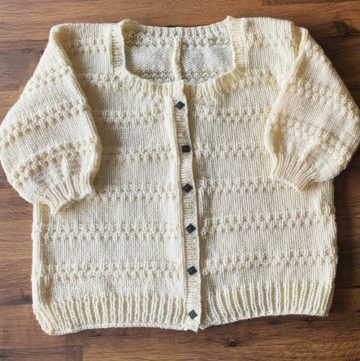
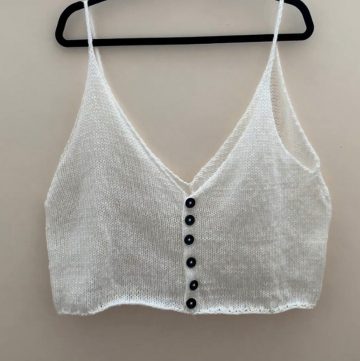
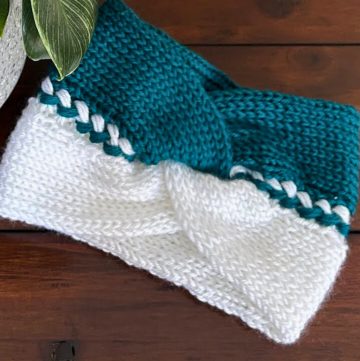
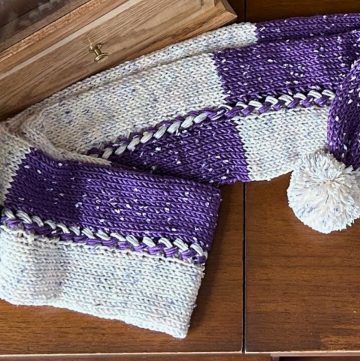
This Knit Neck Warmer Pattern is absolutely wonderful! It's easy to follow and perfect for knitters of all levels. The pattern creates a cozy and stylish neck warmer that's just right for keeping warm during the colder months. Using basic knitting techniques, anyone can make this lovely accessory. It's so satisfying to see the project come together as you follow the simple steps.
Knit Neck Warmer Pattern

Materials Needed:
- Worsted weight yarn (e.g., 65% Superwash Merino, 35% Alpaca, 200g total)
- Circular needles, 4.5 mm in size
- Stitch marker
- Scissors
- Measuring tape
- Tapestry needle
Gauge:
- 17 stitches = 10 cm or 4 inches
Pattern Notes:
- This neck warmer is worked in the round as a tube, meaning there are no seams.
- The pattern is a simple two-row repeat, creating a 'classic' rib.
Instructions:

Cast On:
- Calculate the number of stitches to cast on by determining your gauge and desired circumference (ex: for a 60 cm circumference, you may calculate 100 stitches to cast on, adjusting to ensure the number is divisible by 4).
- Use the long-tail cast-on method, leaving a tail roughly three times the length of the needle for a secure bind off later.
Setup Row:
- Work this first row flat (not joined in the round):
- K2, P2. Repeat from * to * to the end of the row.
Joining in the Round:

Carefully pull the circular needle through so that stitches are on both needles and the working yarn is on the right.
- Place a stitch marker to indicate the beginning of the round.
- Join to begin working in the round, making sure that your stitches are not twisted.
Round 1:
- K2, P2. Repeat from * to * to the end of the round.
Round 2:
- Knit all stitches.
Repeat Pattern:
Continue alternating Round 1 and Round 2 until the neck warmer reaches the desired length.

Binding Off:
- Cut the yarn, leaving a tail that is three times the length of the neck warmer's circumference.
- Thread the tail through a tapestry needle and use it to bind off stitches using a needle bind-off method for a stretchy edge.
- Weave in the ends on the wrong side of the work.
Finishing:
- Soak the neck warmer in water and lay it out to dry flat to block for a professional finish.
Tips:
- Adjust your starting number of stitches so that it's divisible by four.
- Swap in a new skein of yarn as needed.
- Use the magic loop or traveling loop method if your circular needle cable is longer than your project circumference.
- Always slip the stitch marker as you complete each round to keep track of your starting point.
Remember, you can customize the length of your neck warmer by adding or decreasing rounds and can use any worsted weight yarn you have on hand that matches the gauge.
Enjoy your cozy, hand-knit neck warmer!


Leave a Reply