

Knit beanie hat is the perfect cozy accessory for chilly days. They're soft, stylish, and keep your head warm and snug. Whether you are out for a casual walk or meeting friends, a knit beanie is a wonderful addition to your outfit. They come in various colors and styles, allowing you to express your personal style while staying comfortable. Plus, they make a fun knitting project that can be completed in just an evening!
Knit Beanie Hat
Materials Needed:
- A knitting machine
- Yarn (finger weight recommended, 4 ply, 100% acrylic or 75% Merino wool and 25% nylon)
- Two to three sewing needles
- A hook
Preparation:
- Setup Your Machine: Ensure the row counter is on your left, the tension control in front of you, and the handwheel to your right.
- Yarn Guide: Make sure hook number one aligns with the yarn guide.
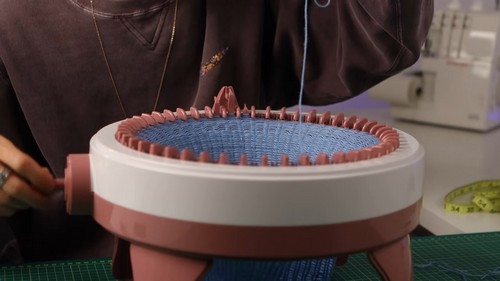
Threading the Machine:
- Use a 6 to 10-inch tail of yarn, threading it over and under the hooks, starting from right to left, to create the cast-on row.
- Set the tension control. For finger weight yarn, thread through all three holes for the tightest setting.
- Press the reset button on the row counter.
- Ensure the machine is in tube mode (T) for beanies.
Knitting:
Start Knitting:
- Ensure there's a sufficient loose yarn tail to avoid extra tension.
- Crank the handle clockwise, making sure to hold the machine steady with your other hand.
Monitoring Your Progress:
- Keep an eye on the tension and row counter to ensure smooth operation and accurate row count.
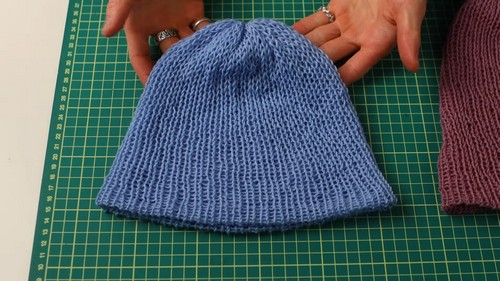
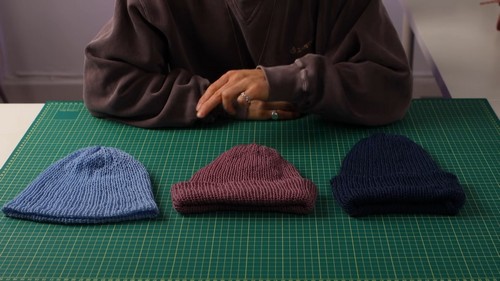
Deciding Beanie Length:
- Determine how many rows to knit based on desired beanie length. Examples provided were 100 rows for a tight beanie without a flap, 125 rows for an average size with a flap, and 150 rows for a larger size or deeper beanie with extra flap.
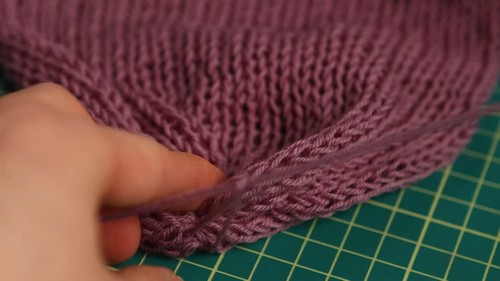
Finishing Your Beanie:
Casting Off:
- Once you reach the desired length, cut the yarn with enough length for casting off.
- Carefully remove the beanie from the machine, loop by loop, with a sewing needle threaded with the cut end of the yarn.
- Weave through all loops clockwise and pull to close, securing the end.
Cinching the Top:
- Cinch the top of the beanie by pulling the thread tightly and knot securely.
- Weave in any loose ends inside the beanie for a clean finish.
Additional Tips:
- Use pre-wound yarn balls for ease.
- Roll up the beanie as it grows to avoid it catching on the table.
- Keep the knitting tension even for best results.
- Check the row counter for accuracy periodically.
In about 20 to 30 minutes, you should have a freshly knitted beanie ready to wear. This approach simplifies the knitting process, making it accessible even to beginners.


Leave a Reply