

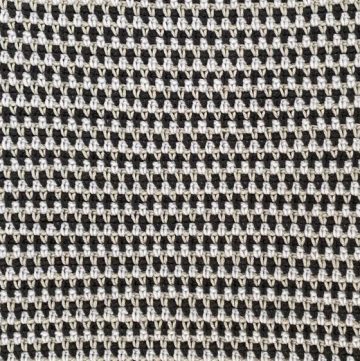
Here's a step-by-step pattern guide for creating the Herringbone Single Crochet stitch. This technique is known for its beautiful braided texture and can be particularly striking when worked with bulky, roving-style yarns or yarns with a good stitch definition.
Herringbone Single Crochet Tutorial
Materials Needed
- Yarn: Preferably bulky, roving style, or with good stitch definition
- Crochet Hook: 3.5 millimeters
Pattern Overview
The Herringbone Single Crochet stitch pattern is worked over two rows, alternating between the right and wrong sides. The distinctive texture is achieved through a process similar to reverse crocheting. This tutorial starts with creating a foundation chain.
Starting Your Project
Foundation Chain
- Start by creating a chain of 15 stitches.
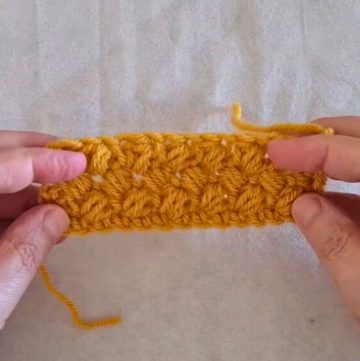
Row 1: Right Side
Initial Setup
- Begin by working single crochets into the back bumps of each chain from the foundation.
Herringbone Single Crochet on Right Side Rows
Step 1: Insert your hook through the left vertical strand of the stitch you just worked.

Step 2: Insert your hook into the next stitch without yarning over.

For Step 3: Yarn over and pull up a loop. Then, yarn over again and pull through all three loops on the hook.
- Repeat: Perform these three steps in each stitch across the row.


Transition to Row 2
Chain one, then turn your work to start crocheting the wrong side.

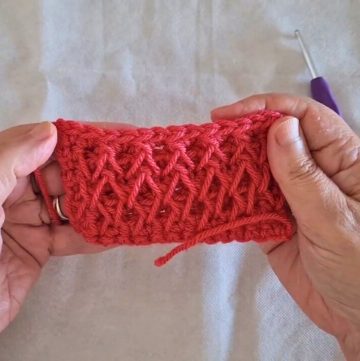
Row 2: Wrong Side
Initial Setup
- Start with one single crochet from back to front to establish the row.
Reverse Herringbone Single Crochet
- Step 1: Insert your hook through the left vertical strand of the stitch just worked on the previous row.
- Step 2: Insert the hook into the next stitch from the back to the front.
- Step 3: Yarn over and pull up a loop. Yarn over again and pull through all three loops on the hook.
- Repeat: Continue with these steps in each stitch across the row.
Proceeding Rows
- Row 3 (Right Side): Repeat the pattern established in Row 1. Begin with one single crochet, then proceed with the Herringbone Single Crochet across the entire row.
- Continuation: Alternate between the pattern for Row 2 and Row 3 for the wrong and right sides, respectively.

Leave a Reply