

Single Crochet Stitch holds a special place among all stitches we use in crocheting.
It's the most basic stitch, the simplest of all, and forms the foundation of many complex patterns.
It might seem small, but it's like a superhero in the crocheting world.
That's why we're dedicating an easy, step-by-step tutorial for you.
Whether you're an absolute beginner or a seasoned crocheter looking to improve your skills, we'll gently guide you through the process.
Remember, every great crocheting adventure starts with a single stitch!
So, let's begin your crocheting journey with this basic but simple and most important Single Crochet Stitch.
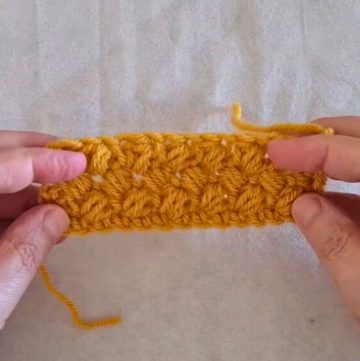
How To Crochet Single Stitch
Step 1

Inserting the Hook
- Position Your Hook: Insert your hook into the next hole to position it so you see three strands of yarn on the hook.
- Orient the Hook: Your hook should be in front of the working yarn, with the tip of the hook facing you.

Yarn Over (First Time)
- Initiate the Yarn Over: Bring the hook down below and behind the working yarn.
- Capture the Yarn: Ensure the hook is grabbing that yarn.

Pull Through to Create a Loop
- Pull Through the First Two Loops: Pull that yarn through the first two loops on your hook.
- Secure the New Loop: As you pull the working yarn through, push your hook towards your yarn hand to secure the new loop on your hook. You should now have two loops remaining on your hook.

Continued part of the previous step.

Yarn Over (Second Time)
- Repeat Yarn Over: With the hook still in front of the working yarn and the tip facing you, repeat the yarn over by bringing the hook down below and behind the working yarn.

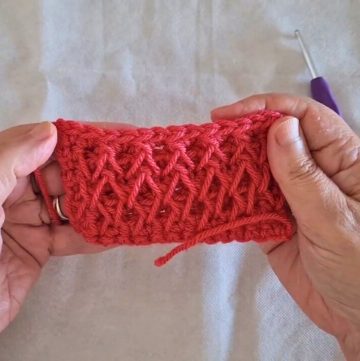
Completing the Stitch
- Pull Through Both Loops: Pull that yarn through both loops on the hook in a single motion.
- Finish the Stitch: You should now be left with only one loop on your hook, indicating completing a single crochet stitch.

Leave a Reply