

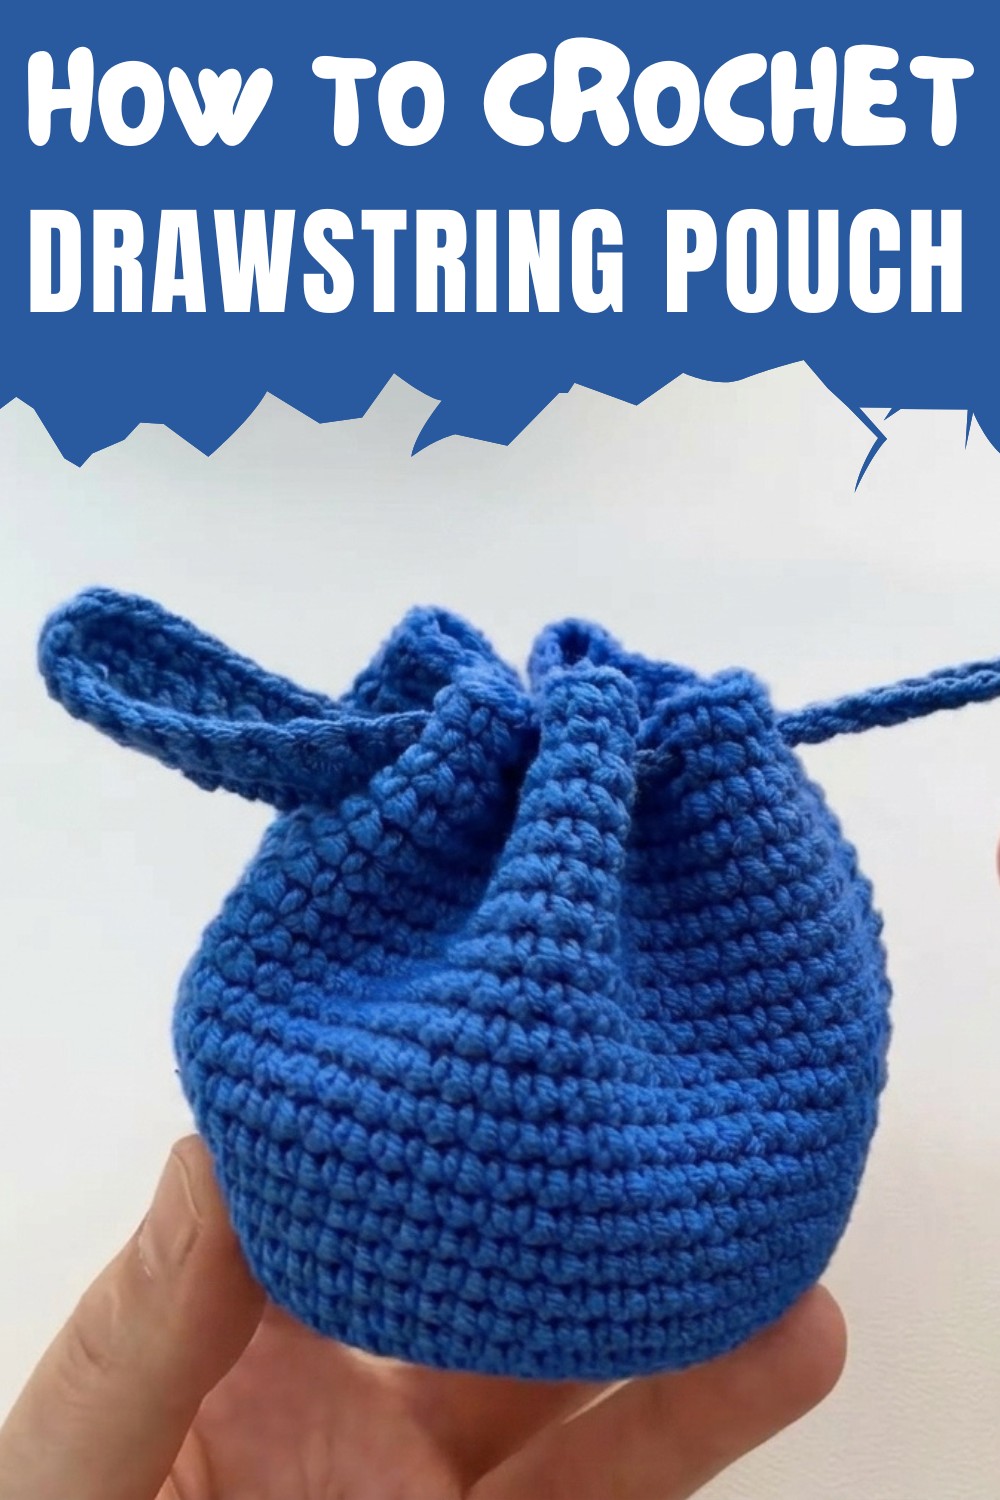
Spruce up your crochet game with this Free Crochet Drawstring Pouch Pattern, combining charm and utility in a compact accessory perfect for holding small treasures.
This crochet project is a perfect combination of beauty and practicality. The Free Crochet Drawstring Pouch pattern features a compact and elegant design, ideal for storing small items like coins, jewelry, or keepsakes. Beginning with a sturdy round base, the pouch gradually grows into a sleek and symmetrical shape, ensuring both durability and style. The drawstring closure is the highlight, as it adds convenience while enhancing the pouch’s aesthetic appeal.
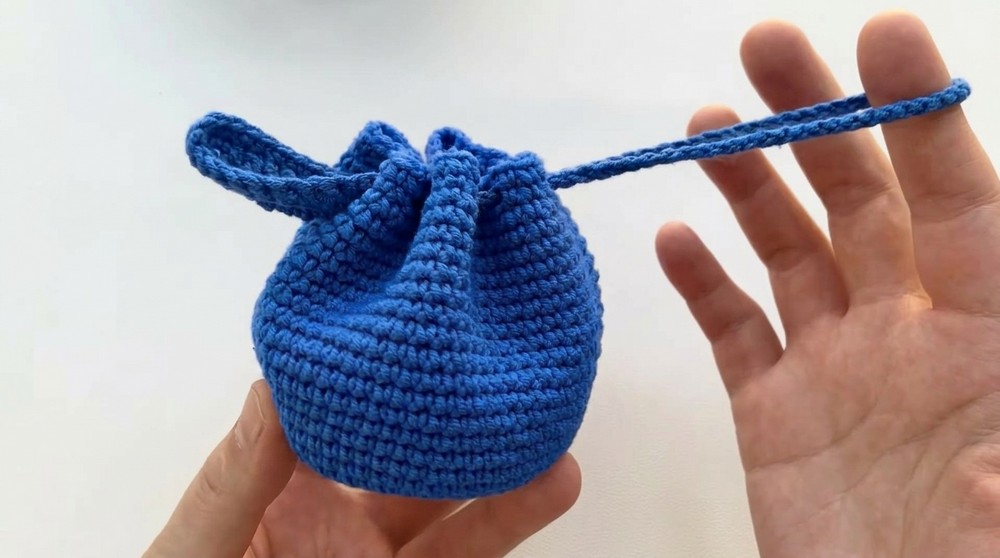
Unique Crochet Drawstring Pouch Pattern for Everyday Use
One of its standout features includes the intricate detailing, such as a decorative leaf pattern that gives the pouch a unique and eye-catching look. The stitching is designed to create a smooth and neat texture, making the final product visually appealing while easy to handle. Its size and design make it versatile, whether for daily use or as a thoughtful handmade gift for a loved one.
This pattern is simple to follow and produces a stunning result, making it suitable for all skill levels. With its charming appearance and functional design, this crochet pouch is not just an accessory—it’s a piece of art that is both useful and delightful to create.
Crochet Drawstring Pouch Pattern
Materials Needed
- Yarn: 4-ply cotton yarn (lightweight and strong for durability).
- Hook: 2.5mm crochet hook (adjust hook size to suit your tension and yarn).
- Optional: Tapestry needle (for weaving in ends), stitch markers (optional for marking rounds), and scissors.
Skill Level
- Intermediate to Advanced: This pattern requires a working knowledge of basic stitches, increases, and working in the round.
Key Abbreviations
(All terms are written in US crochet terminology):
- sc: Single crochet
- inc: Increase (work two single crochets into the same stitch)
- slst: Slip stitch
- ch: Chain
- st(s): Stitch(es)
- R: Round
- ( )×n: Repeat the sequence in parentheses n times
Special Notes
- The pouch is worked in continuous rounds for a seamless look. Use a stitch marker to keep track of the first stitch in each round, if needed.
- Pull the magic ring or starting loop tight after R1 to eliminate any hole in the bottom.
- Increases are distributed evenly across each round to maintain a circular shape.
- The leaf-shaped embellishment at the end is optional but adds a decorative touch.
Pattern Instructions
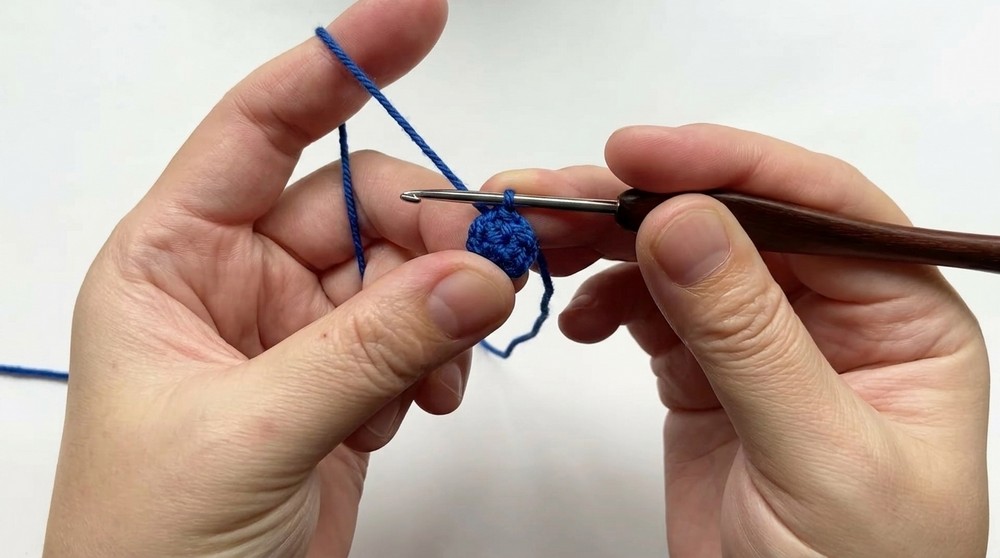
Base of the Pouch
Round 1 (R1):
- Create a magic ring (or start with a chain loop if preferred).
- Work 6 single crochet (sc) into the ring.
- Pull the yarn tail to tighten the loop.
- Slip stitch (slst) into the first stitch to join.
- Chain (ch) 1.
Round 2 (R2):
- Work 6 increases (inc) around (2 sc in each stitch).
- You should have 12 stitches at the end of this round.
- Slst to the first stitch and ch 1.
Round 3 (R3):
- Repeat (1 sc, inc) × 6 around.
- Total: 18 sts.
- Slst to the first stitch and ch 1.
Round 4 (R4):
- Repeat (1 sc, inc, 1 sc) × 6 around.
- Total: 24 sts.
- Slst to the first stitch and ch 1.
Round 5 (R5):
- Repeat (3 sc, inc) × 6 around.
- Total: 30 sts.
- Slst to the first stitch and ch 1.
Round 6 (R6):
- Repeat (2 sc, inc, 2 sc) × 6 around.
- Total: 36 sts.
- Slst to the first stitch and ch 1.
Round 7 (R7):
- Repeat (5 sc, inc) × 6 around.
- Total: 42 sts.
- Slst to the first stitch and ch 1.
Round 8 (R8):
- Repeat (3 sc, inc, 3 sc) × 6 around.
- Total: 48 sts.
Round 9 (R9):
- Repeat (7 sc, inc) × 6 around.
- Total: 54 sts.
- Slst to the first stitch and ch 1.
Round 10 (R10):
- Repeat (4 sc, inc, 4 sc) × 6 around.
- Total: 60 sts.
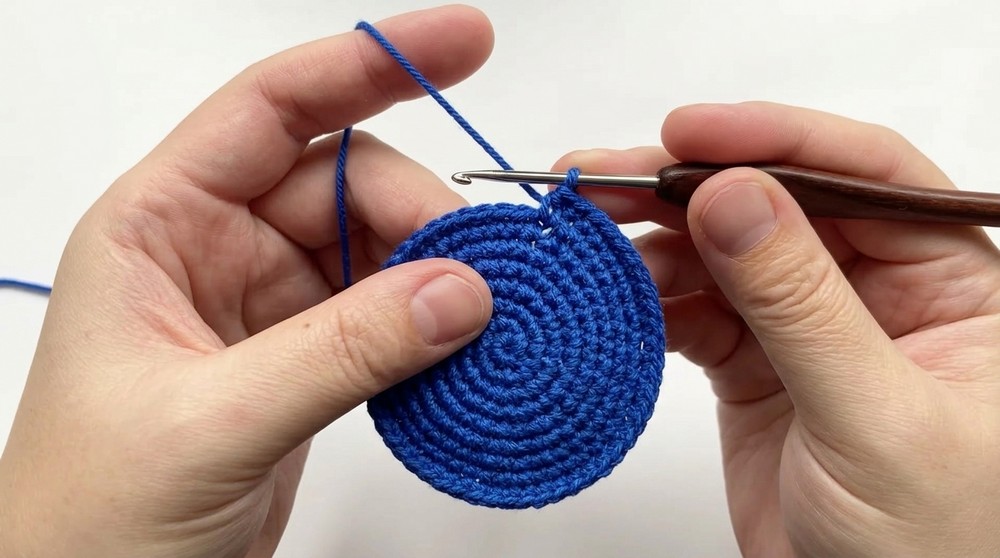
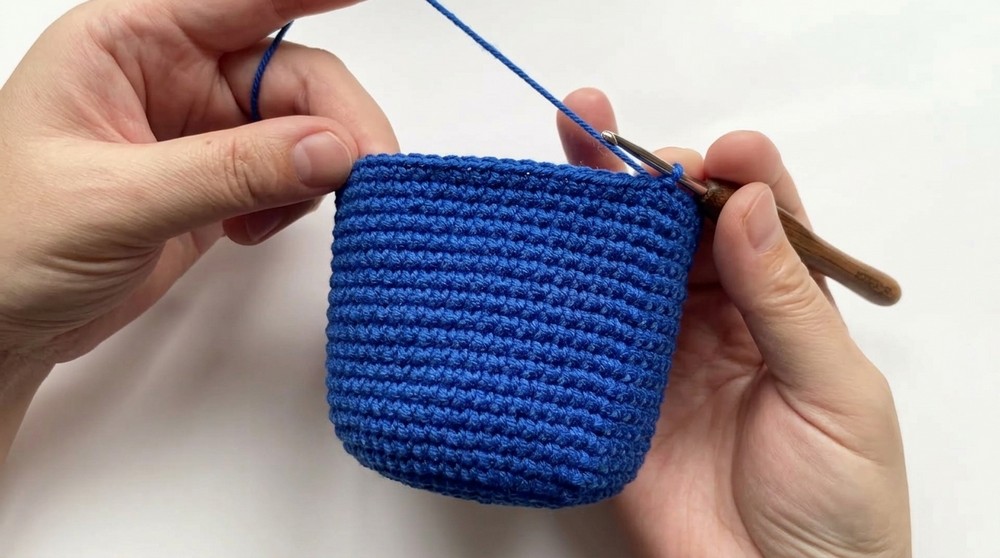
Body of the Pouch
- Rounds 11–26:
- Work 1 sc in each stitch around (60 sc per round).
- Begin each round with ch 1, and end each round with slst to the first stitch.
Creating the Drawstring Holes
Round 27:
- Repeat (3 sc, ch 2, skip 2 sts) × 10 around.
This creates 10 evenly spaced chain gaps for the drawstring. - Slst to the first stitch.
Round 28:
- Work 1 single crochet into the top of each stitch or chain around (60 sc total).
- Slst to the first stitch, and ch 1.
Finish:
- Cut the yarn, leaving a tail, and fasten off securely.
Drawstring
- Create the Cord:
- Chain approximately 12 inches (or your desired length) for the pouch drawstring.
- Slip stitch along the entire chain length to reinforce it.
- Weave the Cord:
- Thread the drawstring through the chain spaces in Round 27, weaving in and out evenly around the entire pouch.
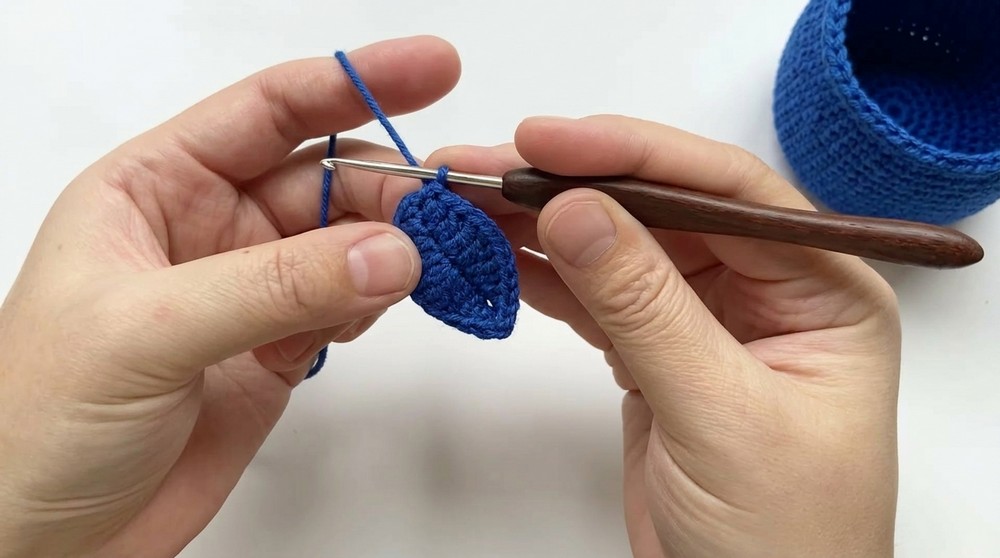
- Optional Leaf Embellishment:
- To create the leaf:
- Chain 12 or your desired length.
- Slip stitch back along the chain into the first stitch, then single crochet around the entire length of the chain to give it a thicker appearance.
- Slip stitch to join, and leave a long tail to sew the leaf to the end of the drawstring or bag.
- To create the leaf:
Finishing
- Weaving in Ends:
- Use a tapestry needle to weave all loose ends into the project neatly.
- Trim any excess yarn, taking care not to unravel your work.
- Block the Pouch (Optional):
- Lightly dampen the pouch and shape it to ensure it holds its design firmly. Let it air dry.
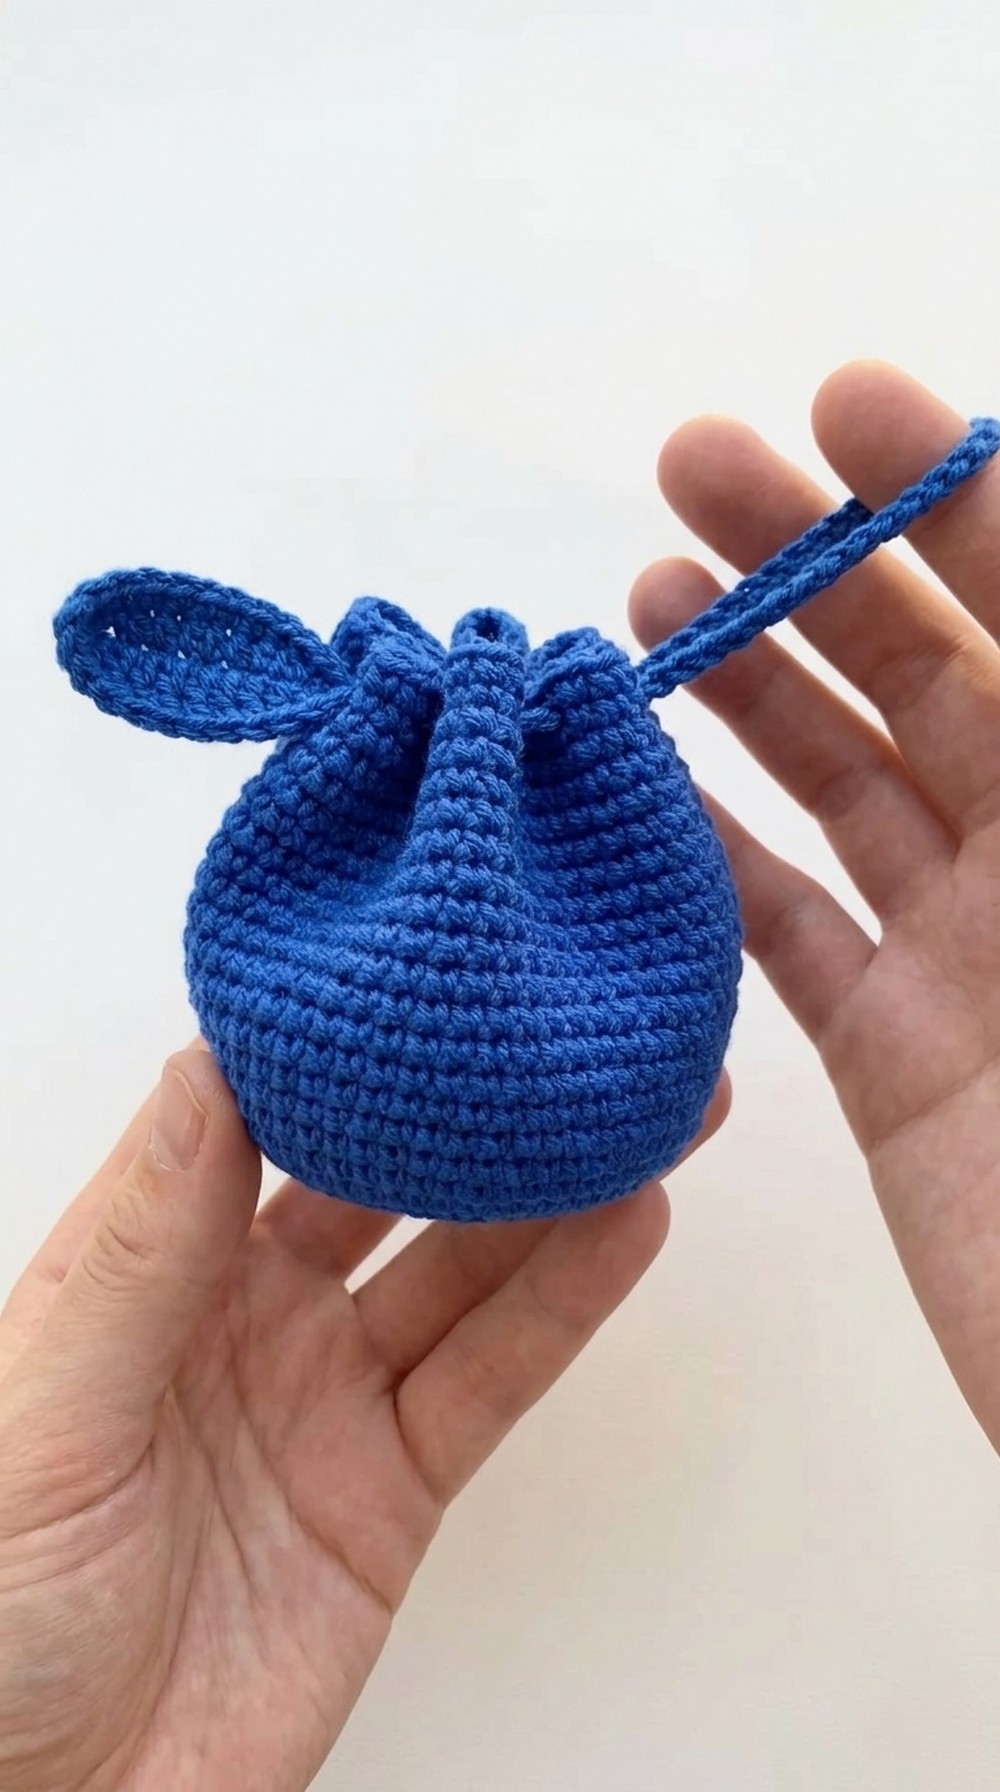
Conclusion
Your Crochet Drawstring Pouch is now complete! This functional and beautiful project is perfect for storing small items such as makeup, jewelry, or even as a gift bag. The blend of tight and open crochet stitches creates a sturdy yet decorative look.
Pattern Corrections
- Be cautious with stitch counts during the increase rounds to ensure your pouch maintains a circular base and proper shape. Use a stitch marker as needed.
Additional Tips
- For a custom size, increase or decrease the base's stitch count and adjust the body height accordingly.
- Add embellishments like buttons, beads, tassels, or embroidery for a unique touch.
- Use different yarn weights and hook sizes for variations in the pouch's size and texture (e.g., sport-weight yarn for a smaller bag).
- If adding weight to the bag, insert a fabric lining by sewing it inside the pouch for added strength.


Leave a Reply