

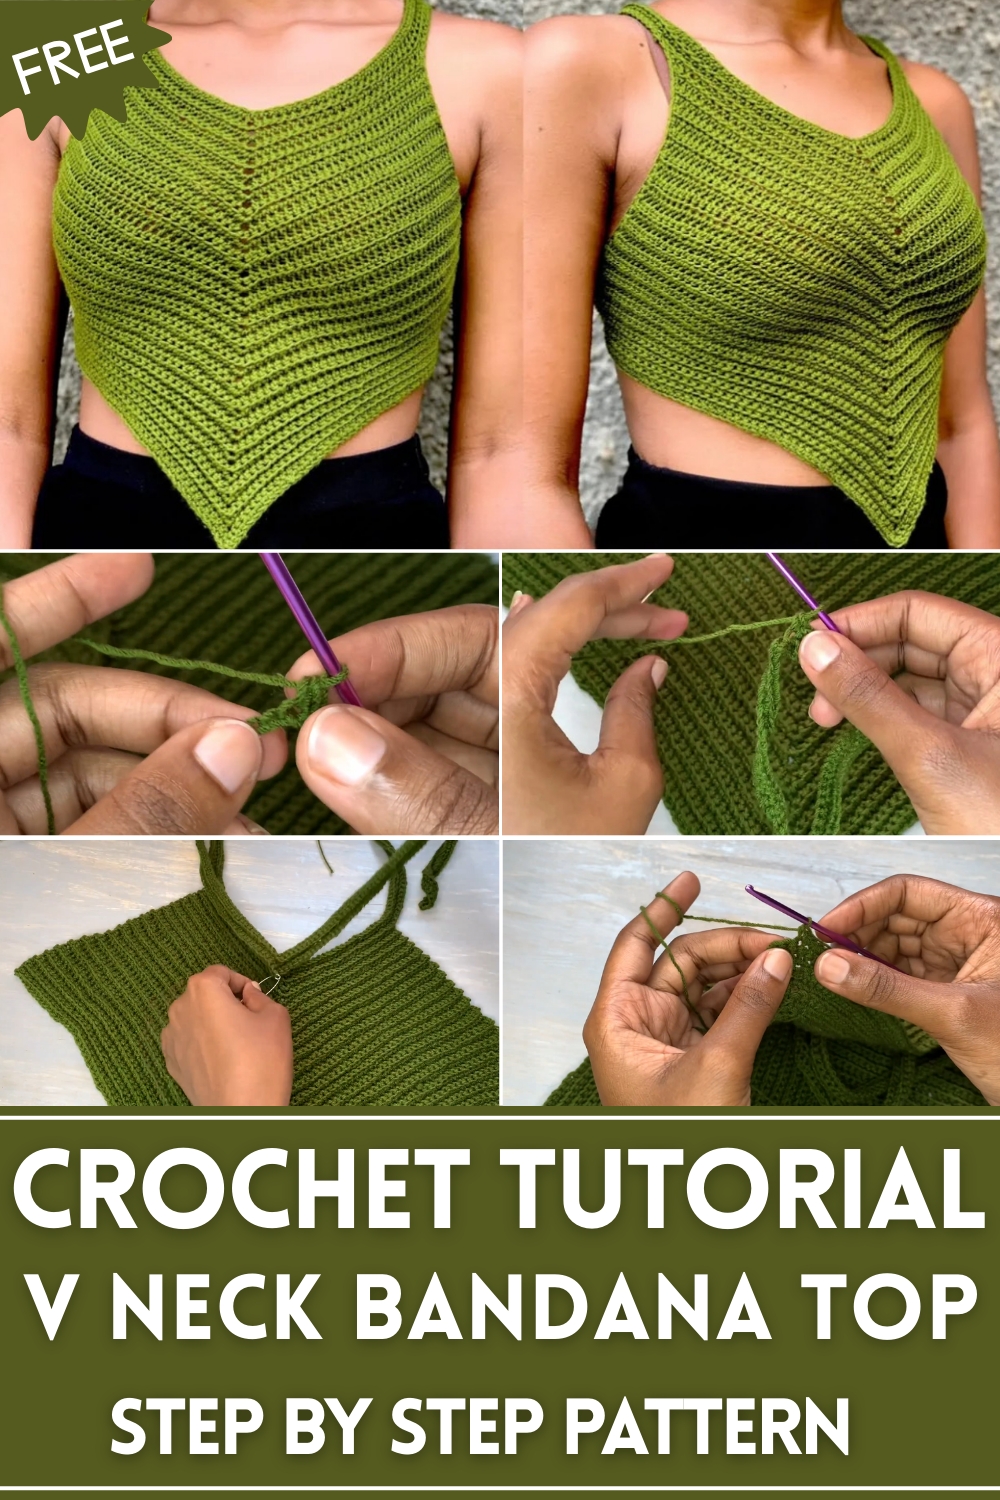
Turn heads this summer with the Free Crochet V Neck Bandana Top Pattern featuring airy texture, flattering fit, and stylish handmade appeal
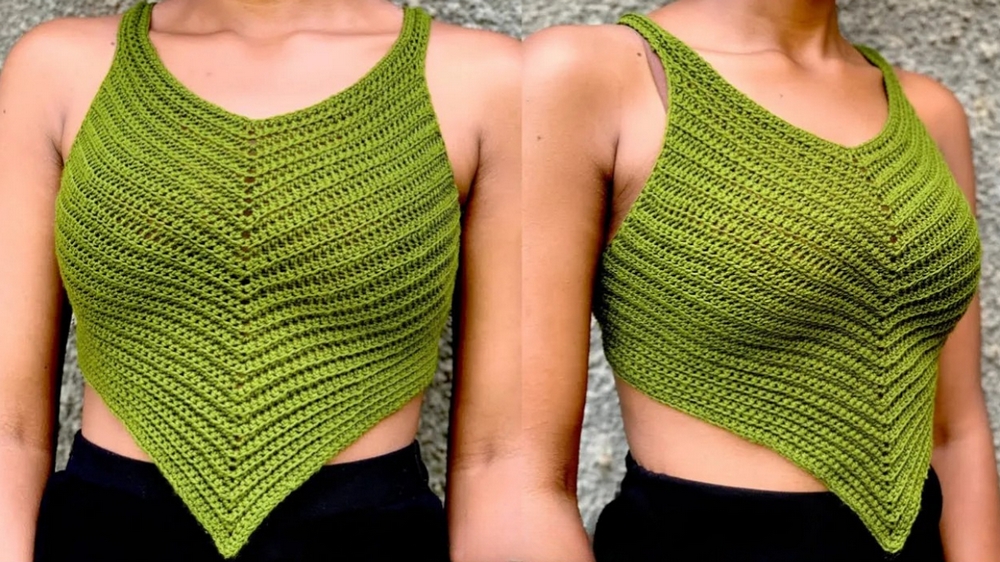
On warm sunny days, a light, breathable top can make all the difference for comfort and style. The Free Crochet V Neck Bandana Top Pattern offers a chic, airy garment that balances casual ease with trendy appeal. Its deep V-neckline provides a flattering silhouette, while the bandana-style shape adds a touch of playful elegance, making it perfect for pairing with high-waisted shorts, skirts, or layered over a camisole. The open crochet stitch allows airflow, keeping the wearer cool during summer festivals, beach trips, or casual outdoor gatherings.
Crochet V Neck Bandana Top Pattern That Turns Heads
Beyond its aesthetic charm, this top delivers versatile functionality. Its lightweight, soft construction ensures comfort and freedom of movement, while the flexible crochet fabric accommodates a variety of body shapes. The simple yet stylish structure can be customized with different yarn colors or subtle embellishments, making each piece uniquely personal. It also serves as a thoughtful handmade gift for friends who enjoy wearable, handcrafted fashion.
The Free Crochet V Neck Bandana Top Pattern merges style, comfort, and practicality into a wearable piece. Its airy texture, flattering V-neckline, and playful bandana silhouette make it an essential summer garment, perfect for layering, casual wear, or adding a handmade, creative touch to any wardrobe.
Materials
- Yarn: 3-ply 100% acrylic yarn (brand used in tutorial: Robinhood).
- Crochet Hook: 3.0 mm.
- Stitch Marker: To mark central increases and edges.
- Crafting Scissors: For trimming yarn.
- Yarn Threading Needle: To weave in loose ends.
Special Features
- Customizable Fit: Easily adjustable strap lengths and stitch counts for different body sizes.
- Textured Ribbing: Created using single crochet stitches worked into back loops only, giving it a stretchy, ribbed effect.
- Functional Straps: Features strap openings for a tied back design, ensuring a secure and adjustable fit.
- Minimalist Design: Perfect for casual summer wear or layering over bralettes and tank tops.
Level of Difficulty
- Difficulty Level: Beginner to Intermediate.
- The project heavily relies on single crochet stitches and basic construction techniques, making it beginner-friendly.
- However, attention to detail is required for creating even increases and maintaining symmetry, which intermediate crocheters may find easier.
Step-by-Step Instructions
Step 1: Create the Foundation Straps
- Begin by making a slip knot and chain 220 chains for a size small.
- Adjust for broader shoulders by adding 50–100 extra chains as required.
- Skip the first chain and attach a stitch marker at the 110th chain (i.e., the midpoint of your strap or custom midpoint for larger sizes).
Step 2: Single Crochet Along the Chain
- Work single crochets along the chain until you reach the stitch marker.
- Once you reach the marked chain, remove the stitch marker and place three single crochets into the same chain to create an increase.
- Replace the stitch marker into the second of these three single crochets to mark the central point.
- Continue single crocheting to the end of the chain.
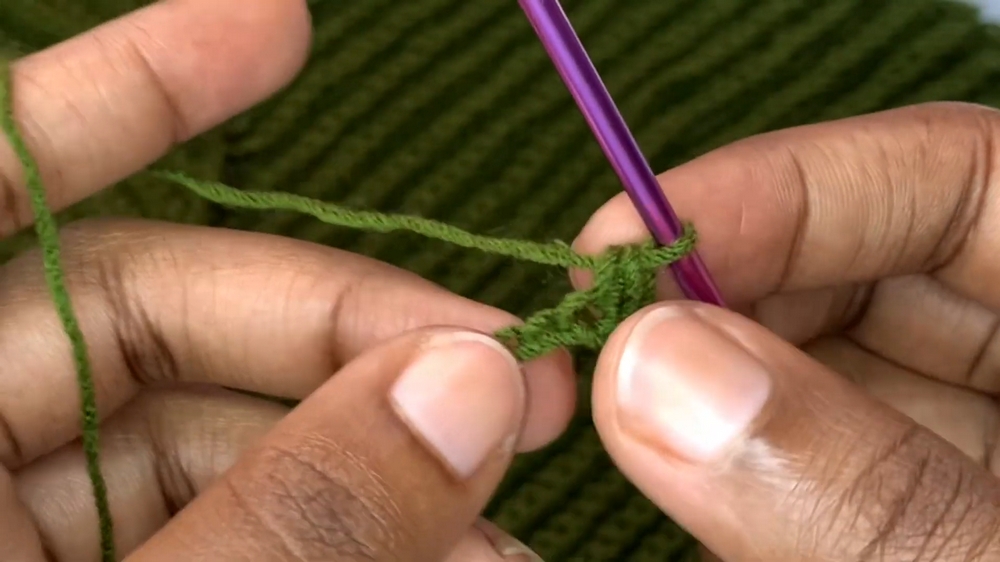
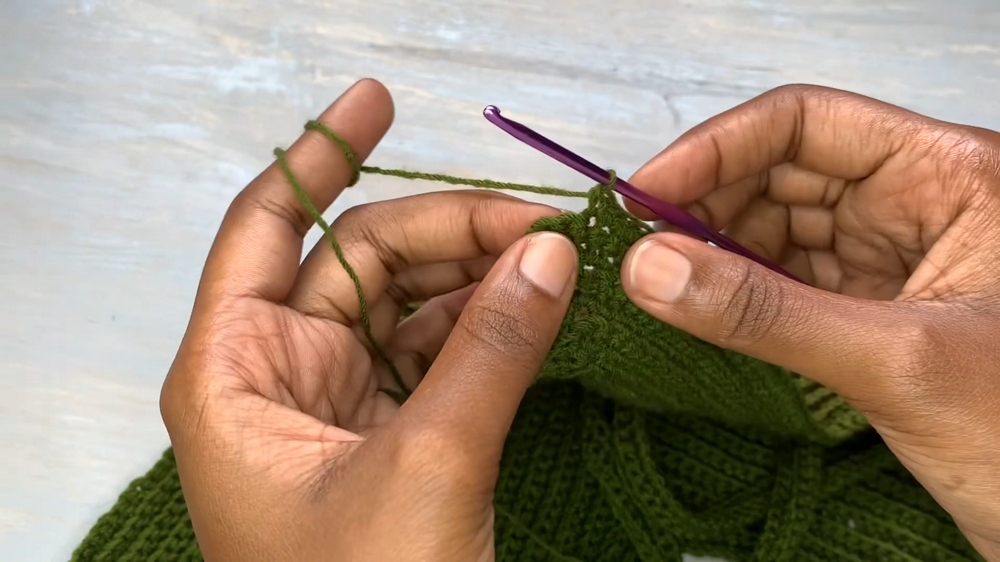
Step 3: Start Creating Ribbing
- Chain 1 and turn your work.
- For Row 2, work single crochets into the back loop only (BLO) all the way to the stitch marker.
- When you reach the stitch marked chain, remove the stitch marker, place three single crochets into the same stitch, and reinsert the stitch marker into the second of those three stitches.
- Single crochet (BLO) to the row's end.
Step 4: Repeat the Rows
- Rows 3 onward: Repeat Row 2.
- Always work back-loop-only single crochet stitches, and create increases at the stitch marker by adding three single crochets into the marked stitch.
- Continue this pattern until the ribbing reaches the desired width for one-half of the top (size small requires 42 rows).
- Trim the yarn when finished, creating a slip stitch to secure the end.
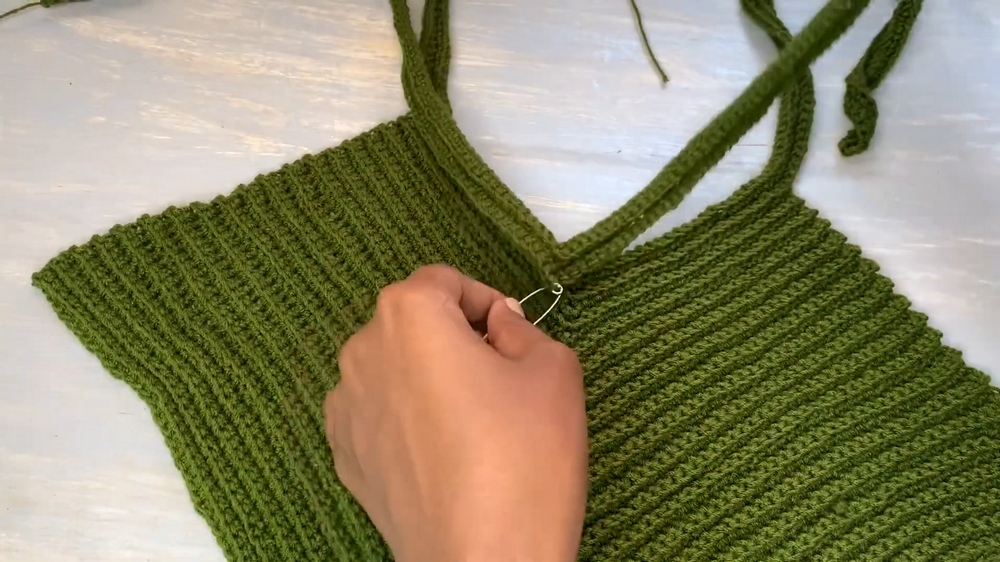
Step 5: Begin the Upper Body
- Identify the top center points of both ribbed halves of the top by counting 25 chains inward from each side for size small (adjust based on your measurements).
- If you are more busty, count 30–40 chains, depending on your desired fit.
- Reattach the yarn at these points and begin crocheting the upper body section.
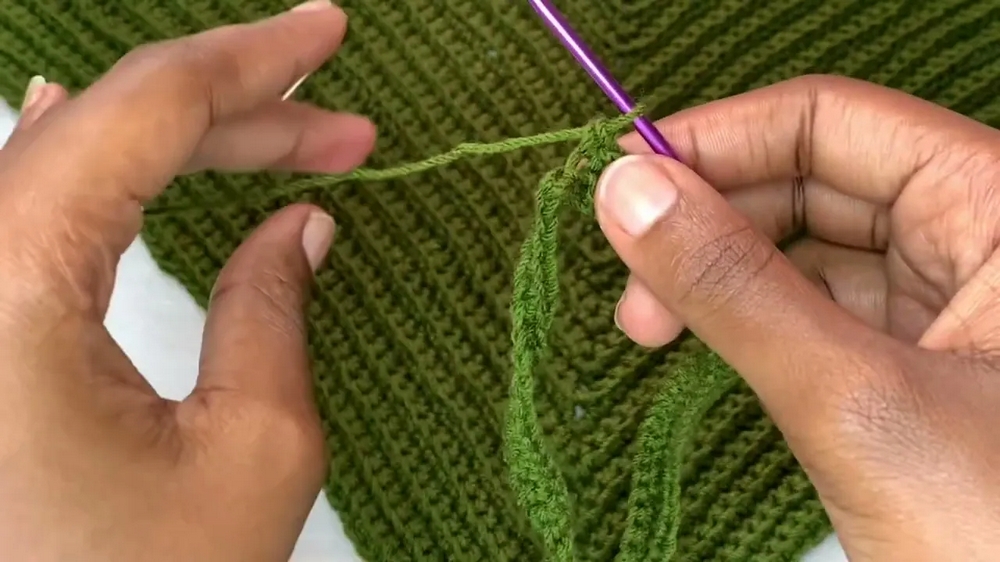
Step 6: Build the Upper Body and Straps
- Follow the same single crochet (BLO) technique to complete rows for the upper body, gradually adding straps.
- Create strap openings by chaining 3–4 stitches and skipping corresponding stitches to create loops for the straps to pass through. Adjust based on your fit preferences.
Step 7: Add Edging
- Work normal single crochet stitches (not BLO) around the entire top to create neat edges.
- When working around strap openings, ensure the loops are even and secure.
- At the bottom of the V-shaped neckline, place three single crochets in one stitch for a clean, pointed finish.
Step 8: Final Touches
- Use a yarn threading needle to weave in all loose ends, ensuring that no yarn is visible from the outside.
- Insert straps through the designated loops for an adjustable tied back design.
Tutor's Suggestions
- Chain Length Adjustments: If you have broader shoulders or a larger bust, increase the number of chains or rows accordingly to ensure a snug and comfortable fit.
- Maintain Consistent Tension: Keep your stitches even to create symmetry in the ribbing and overall top.
- Patience is Key: The project requires significant single crochet work, so work slowly to avoid mistakes.
Uses of the Crochet Ribbed Top
- Summer Top: Light and airy, perfect for hot days.
- Layered Looks: Wear over bralettes, bandeaus, or tank tops for a stylish layered outfit.
- Beachwear: Use as a cover-up for a bikini or swimsuit.
- Custom Outfits: Easily adjustable for different occasions by adding embellishments or extending length.
Conclusion
This crochet ribbed top is a simple but versatile design, ideal for crochet enthusiasts looking to create a stylish handmade garment. The ribbing adds visual appeal and stretchiness, while the tied back ensures a comfortable and customizable fit. With the step-by-step guidance in this tutorial, you can create your own chic ribbed top tailored to your size and preferences. Whether for casual outings, layering, or beachwear, this top is a fun and rewarding crochet project that you can wear with pride.
Final Tip
Ensure Proper Sizing: Always measure your body and adjust the number of chains and rows as needed before starting the project. This will save time and ensure the finished top fits perfectly.


Leave a Reply