

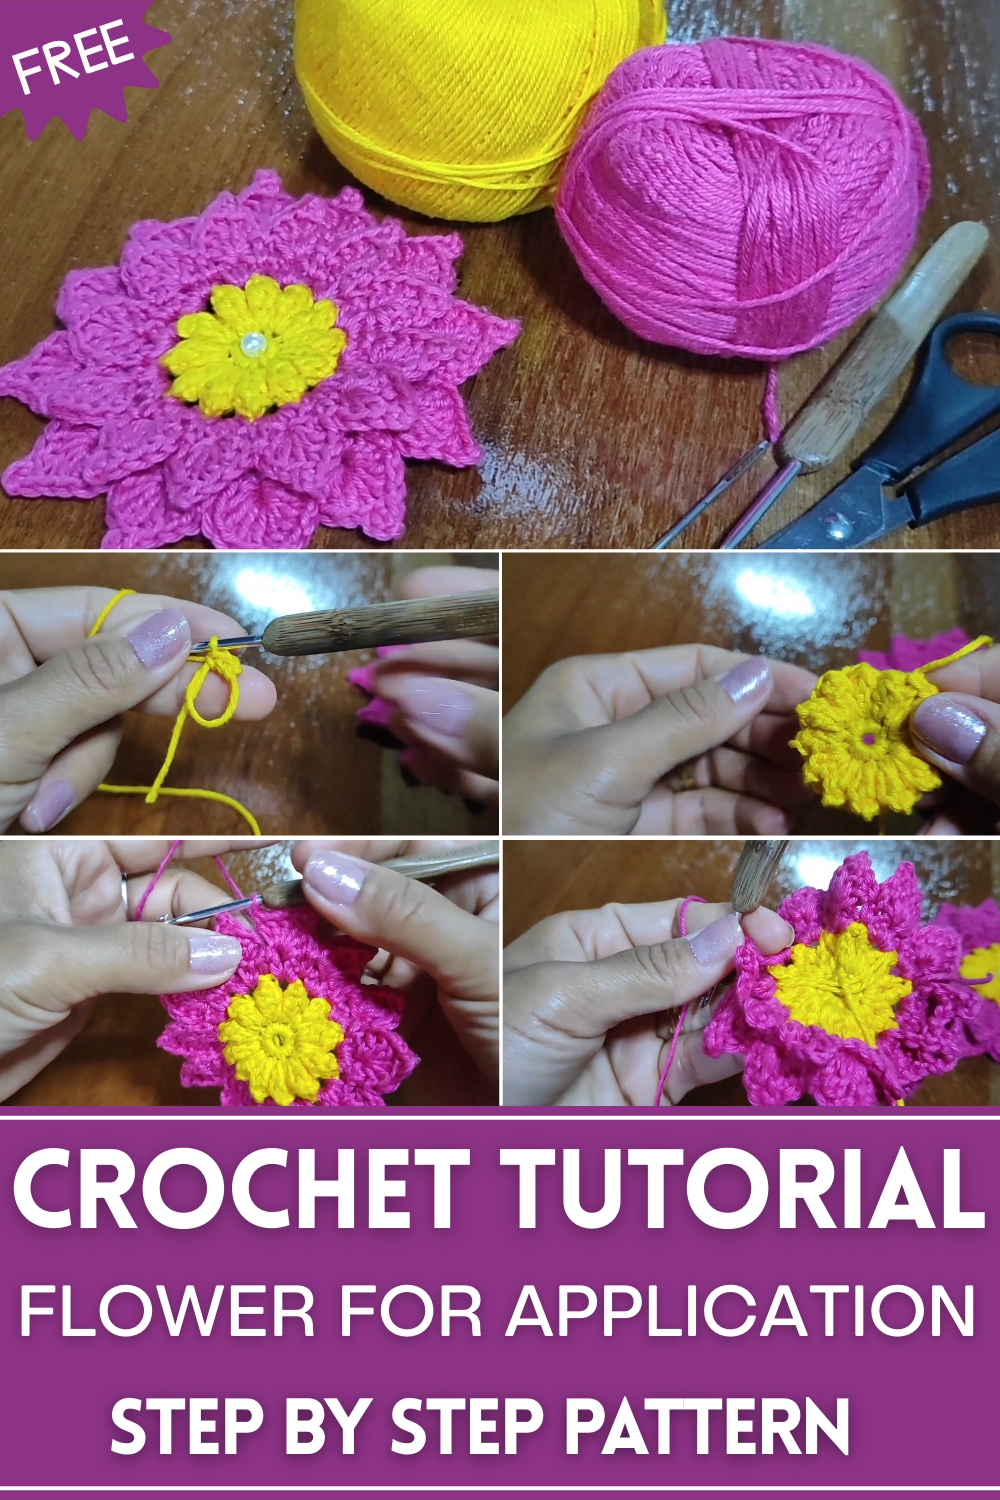
Delight your projects with a crochet flower for application pattern that adds beauty, charm, and versatility to accessories and decor.
Flowers became more than seasonal beauty they evolved into symbols of love, connection, and creativity. The crochet flower takes this sentiment a step further, offering not only timeless charm but also endless possibilities for application. These delicate floral creations can transform ordinary items into cherished, personalized pieces. Whether sewn onto a summer tote, added to a scarf, or used to embellish gifts, their versatility is matched only by their visual appeal. They bring whimsy to every corner, warm hearts with their handmade touch, and linger long after real blooms have faded.
Pretty Crochet Flower for Application to Brighten Simple Items
This flower transcends mere decoration; it becomes part of your creative expression. Affix it to a blanket for a pop of charm, or let it brighten a hat, jacket, or even a piece of jewelry. Its beauty lies not just in its applicability but also in its ability to make meaningful items even more personal. While simple to follow, this pattern may require intermediate skills in stitch placement, making it an inspiring challenge for beginners seeking to improve their technique.
Handmade floral applications capture the spirit of individuality and beauty, offering a delightful way to share artistry with the world. Whether displayed as a standalone embellishment or combined into larger pieces, this crochet flower enhances every project it graces, making it a treasured addition to any handmaker’s repertoire.
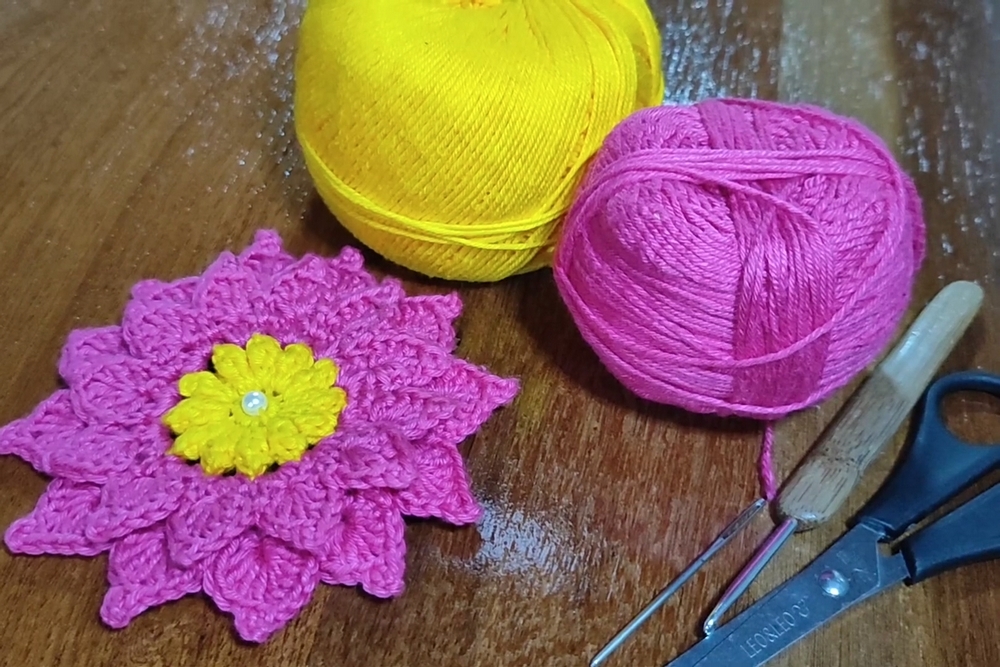
Materials Needed
List all necessary tools and materials required for the project:
- Yarn type (e.g., cotton, acrylic).
- Crochet hook size (e.g., 4.0 mm, 5.5 mm).
- Additional tools (e.g., scissors, stitch markers, measuring tape).
- Optional embellishments (e.g., buttons, beads).
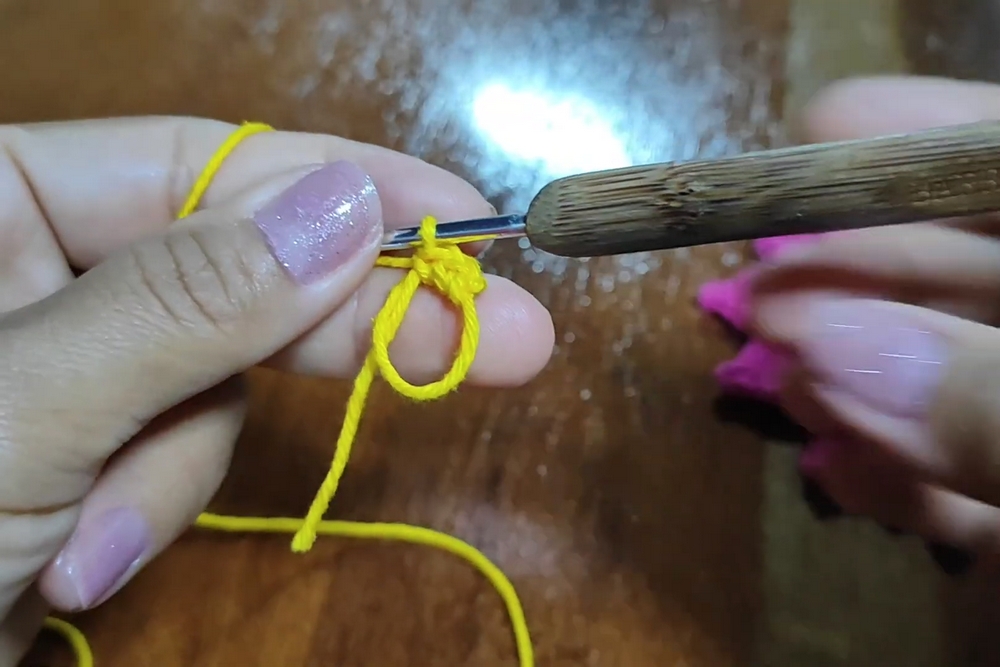
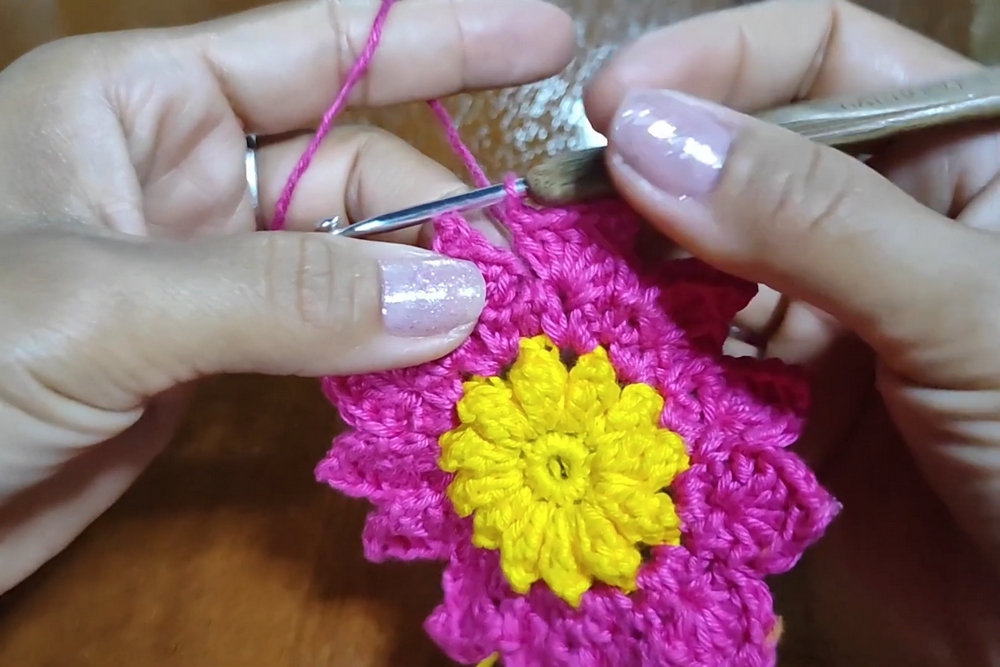
This particular crochet flower for application begins with a simple foundation of chain stitches that form its base. The initial round grows into graceful petals through carefully crocheted single and double crochet stitches.
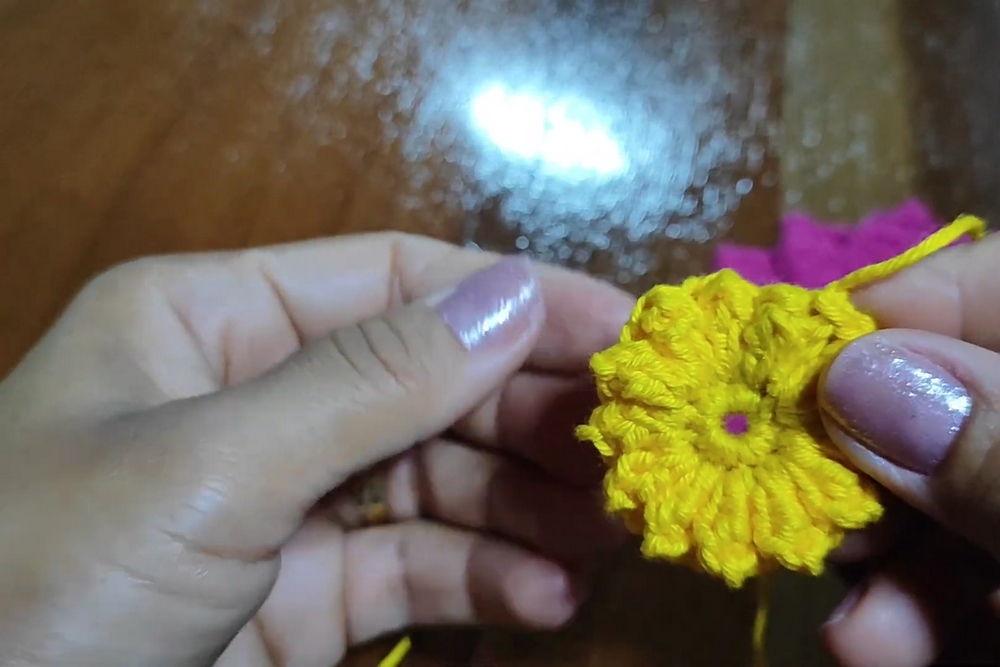
As the pattern unfolds, new layers are added to strengthen the flower’s depth, each petal gently elongating and forming natural curves.
Midway, subtle details like scalloped edges or unique stitch combinations take center stage, lending the flower a sense of realism and elegance.
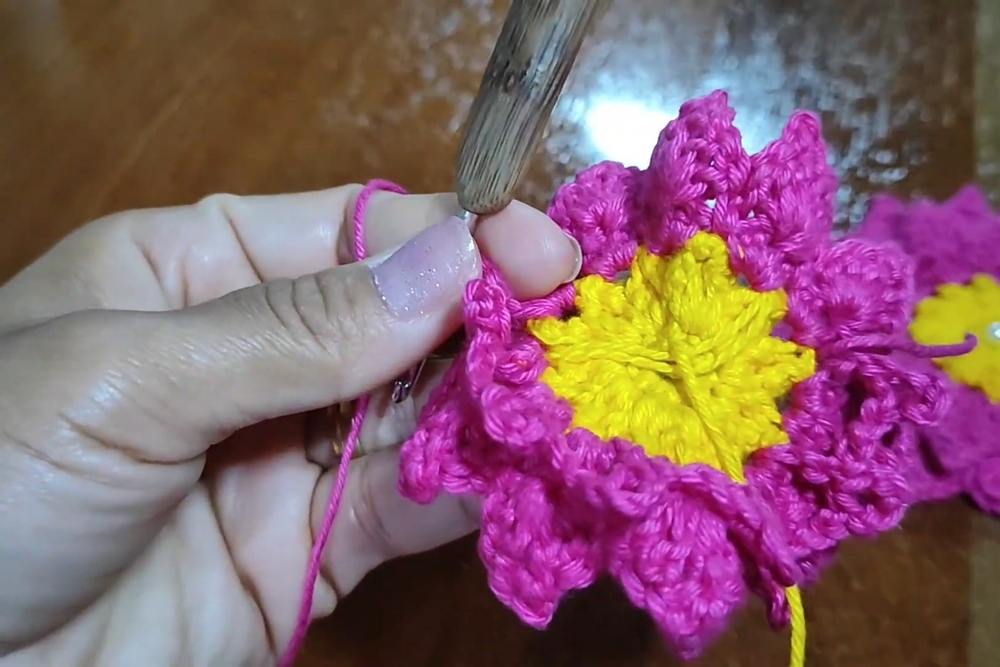
The final touches, often optional, allow personalization—changing colors to match a theme or adding a bead or button at its center for sparkle. Ending gracefully with a few knots and woven ends, the completed crochet flower is stable and ready for practically any application imaginable.
Special Features
- Unique design details shown in the video, like texture, color changes, or innovative methods.
- Customization options for size, patterns, or personalization.
- Practical tips for creating a professional-looking result.
Level of Difficulty
Discuss the project's difficulty level as indicated in the video:
- Is it beginner-friendly with simple stitches?
- Does it require intermediate or expert knowledge for advanced stitching methods, such as intricate lacework?
Tutor's Suggestions
Share notable tips provided by the tutor to improve results, such as:
- Maintaining consistent tension.
- Choosing the right materials to enhance durability or design.
- Avoiding common mistakes (e.g., skipped stitches or uneven edges).
Uses
Illustrate the versatility of the finished product:
- Functional uses (e.g., clothing, accessories, home décor).
- Decorative purposes (e.g., holiday ornaments, gifts).
Additional Tip
Provide a helpful crochet tip:
- "Always block your finished work to give it a neat shape."
- "Use stitch markers to keep track of rows and patterns."
Step by Step Guide
It seems the video information couldn't be extracted due to an error in transcription. However, I am happy to provide a hypothetical structure for how you can format the response. If you provide additional details about the video's content or topic, I will incorporate them to create a complete and detailed response. Here's the structure:
Conclusion
Summarize the value of the video and project:
- Highlight how the tutorial fosters creativity and practicality.
- Explain how following the tutorial adds a unique, handmade item to the viewer’s collection.
- End on an encouraging note for viewers to try out the project.


Leave a Reply