

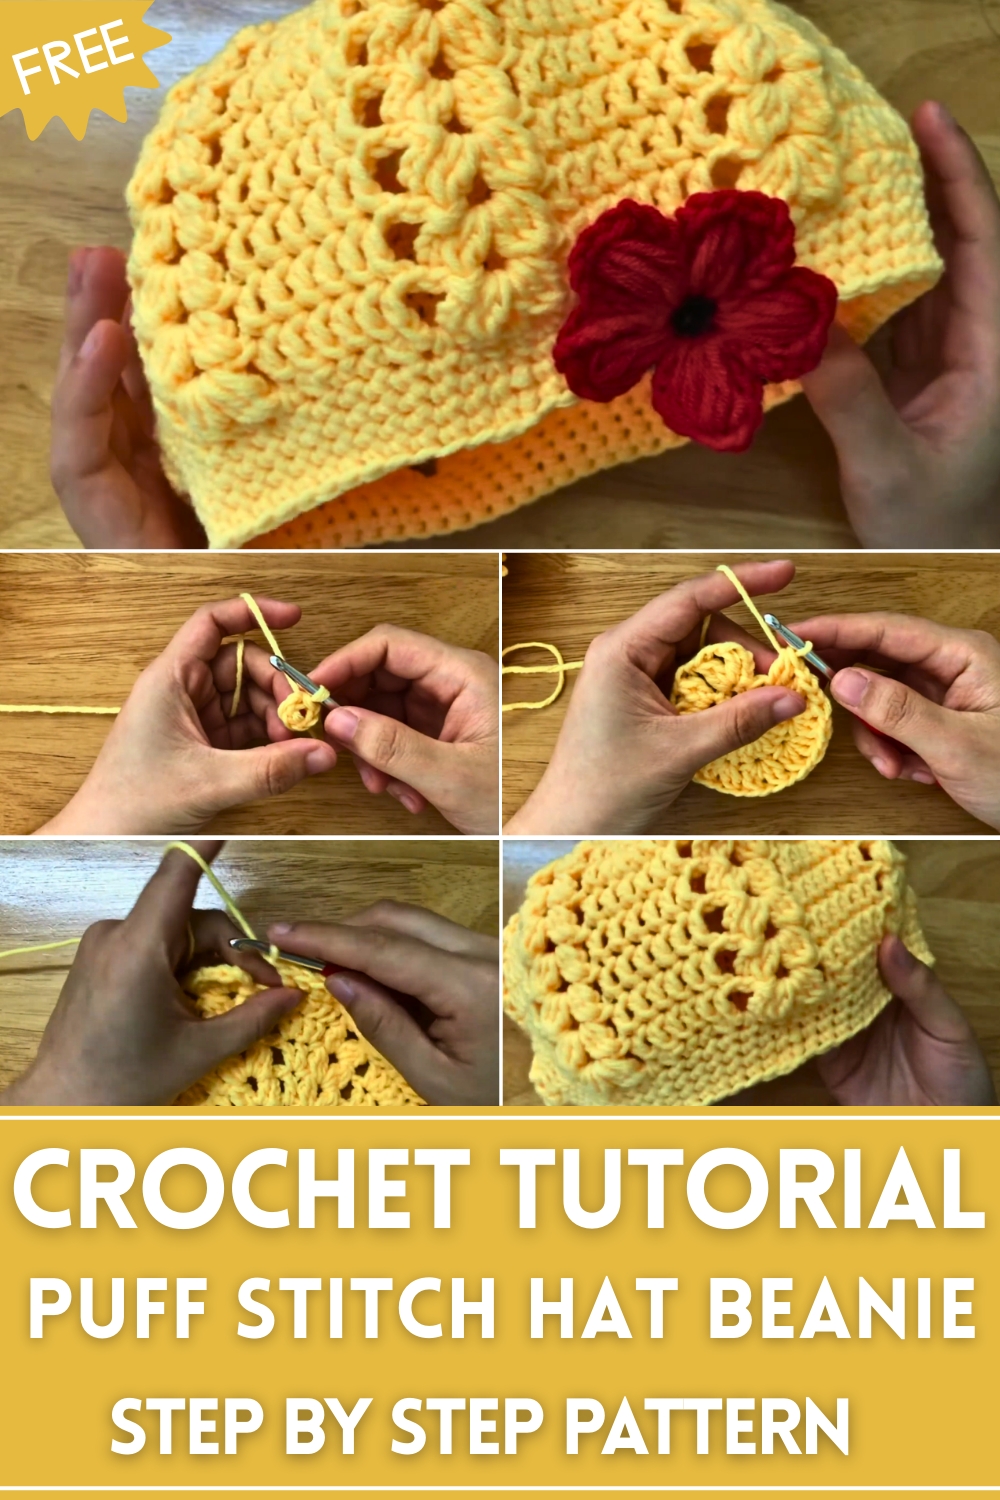
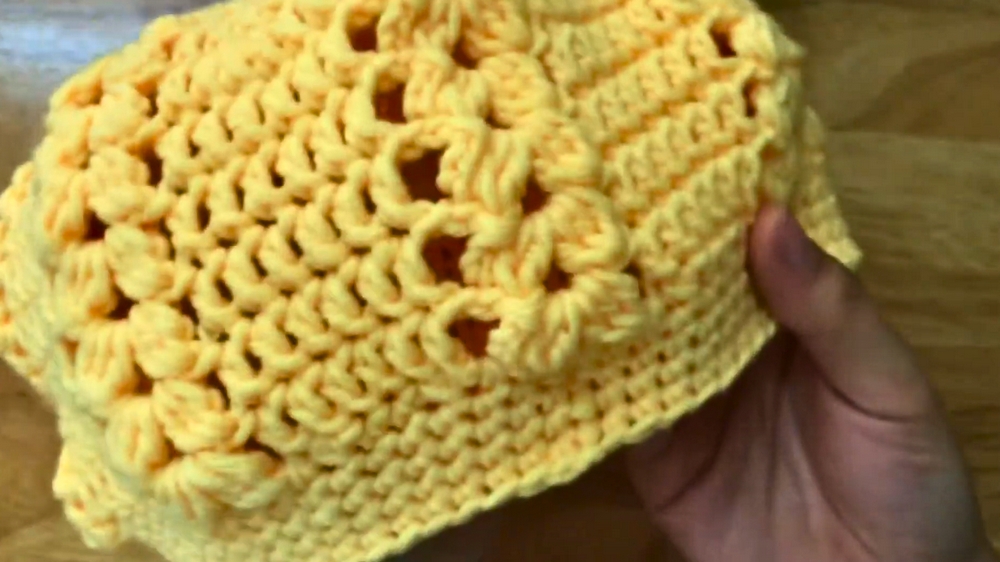
Stay cozy in style with this Crochet Puff Stitch Beanie providing soft texture, warm comfort, and a trendy handmade accessory for winter days
On brisk mornings, the chill in the air calls for accessories that provide both warmth and style. The Free Crochet Puff Stitch Beanie Pattern offers a cozy solution, delivering a soft, textured hat that keeps the head and ears comfortably insulated. Its unique puff stitch adds depth and visual interest, making it a standout piece while remaining practical for everyday wear. Lightweight yet snug, this beanie layers effortlessly under jackets or over hoods, making it ideal for commuting, casual outings, or winter adventures.
Free Crochet Puff Stitch Beanie Pattern with Simple Instructions
Comfort and versatility define its appeal. The stretchy construction ensures a flattering fit for various head sizes, while the breathable yarn allows for warmth without overheating. Its textured stitch pattern not only creates a charming, tactile surface but also strengthens the fabric, providing durability for repeated wear. Color choices and subtle variations in puff size give crocheters the freedom to personalize each beanie, resulting in a unique accessory for every wardrobe.
The Free Crochet Puff Stitch Beanie Pattern combines functionality with aesthetic charm, offering a rewarding project for both beginners and experienced crocheters. Practical, stylish, and customizable, it serves as a thoughtful handmade gift or a versatile staple for winter wardrobes, making cold days more comfortable and visually appealing.
Materials Needed
- Yarn: 2mm yarn (soft and lightweight for the hat base).
- Crochet Hook: 5mm hook.
- Scissors: To trim yarn edges.
- Darning Needle: To weave in loose ends.
- Optional: Yarn for the decorative red flower.
Special Features
- Puff Stitches for Texture: The puff stitches used throughout the hat provide a uniquely soft and bumpy texture that stands out.
- Customizable Border: The single crochet border allows for a clean and well-defined finish.
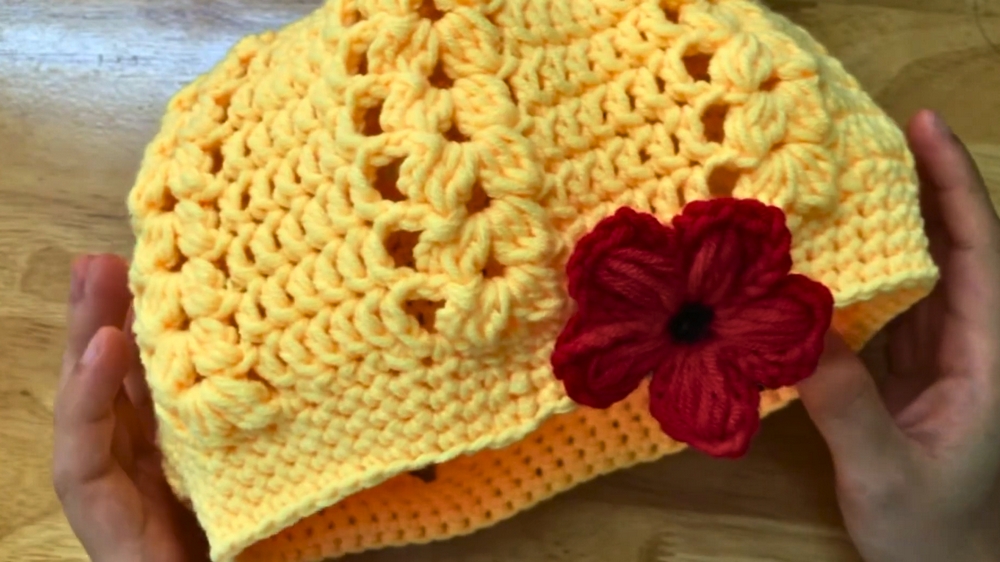
- Red Flower Decoration: Customize the hat with an elegant red flower for a polished and stylish look.
- Perfect Fit: The step-by-step increasing and decreasing ensure the hat fits comfortably.
- All-in-One Design: The hat transitions seamlessly from the crown to the brim in a single project.
Level of Difficulty
- Intermediate Level:
- While this project involves basic techniques (chains, slip stitches, double crochets, and single crochets), it requires attention to detail for puff stitches and proper increases.
- Time Commitment:
- Completing the full hat may take a couple of hours, depending on your skill level.
Step-by-Step Instructions
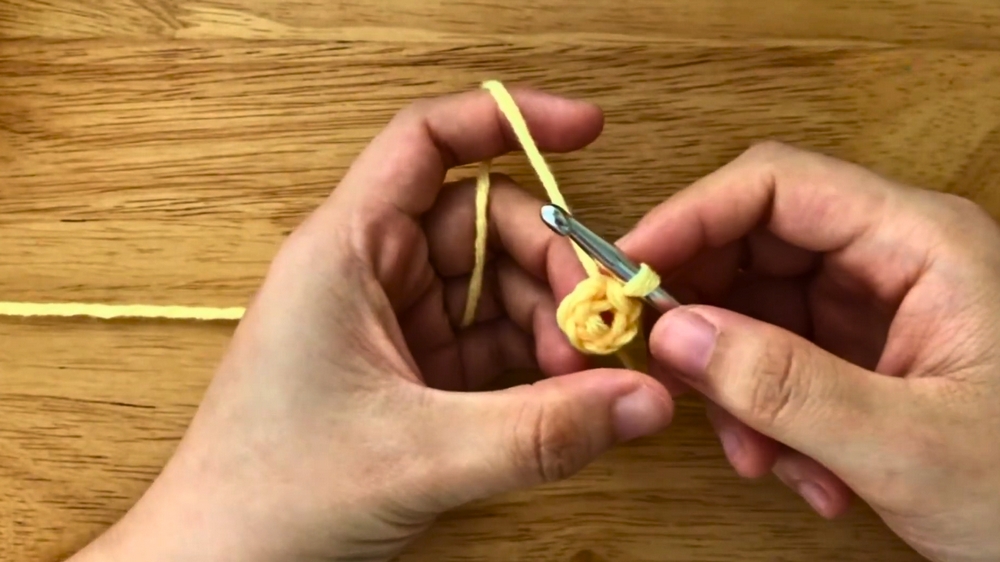
Round 1: Create the Base Circle
- Start with a slipknot and chain 5.
- Connect the chain into a circle with a slip stitch.
- Chain 3 (this counts as a double crochet).
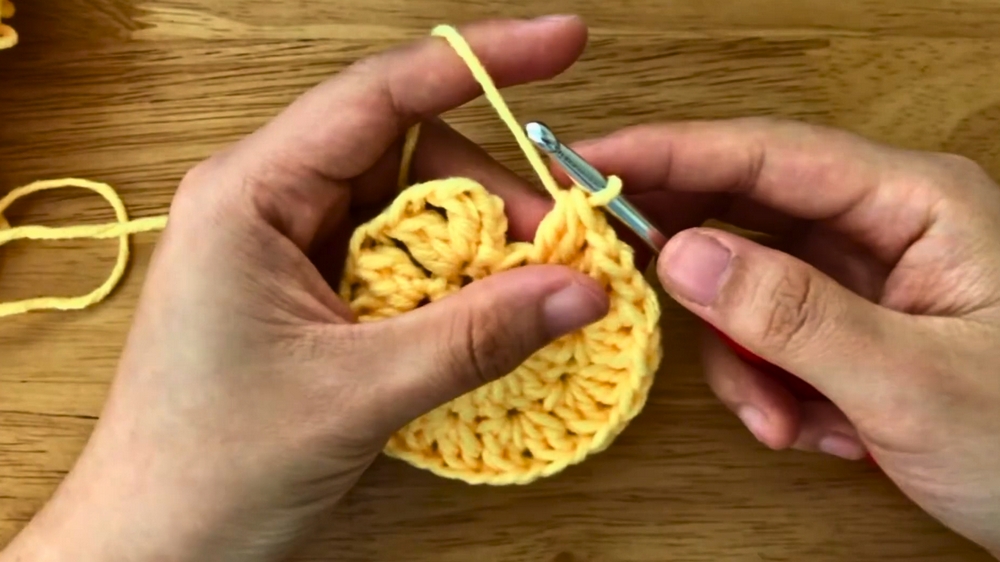
- Work 16 double crochets (DC) into the circle.
- Complete the round with a slip stitch to the first stitch.
Round 2: Add First Thin Puff Stitches
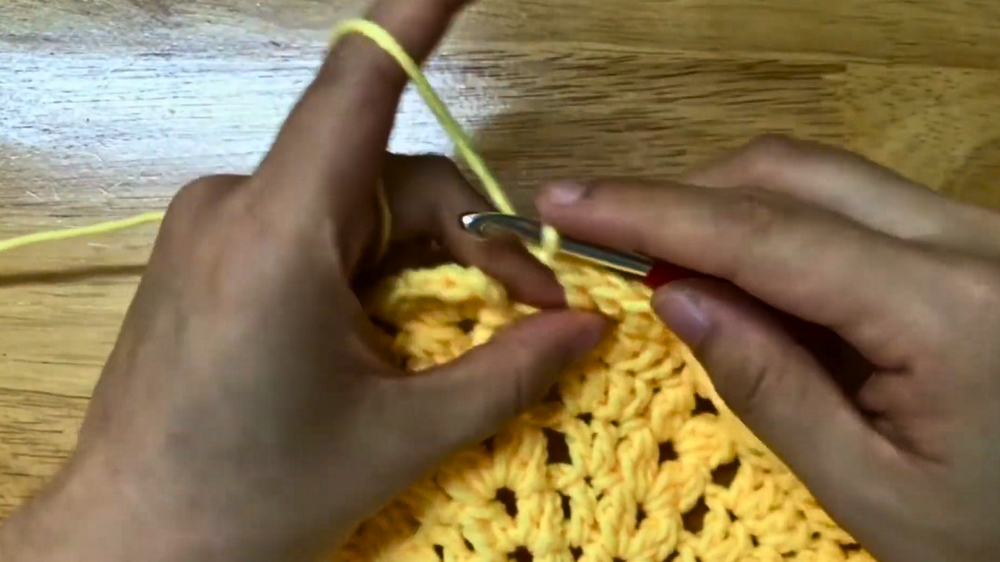
- Chain 3 and yarn over to start a puff stitch:
- Yarn over, insert the hook into the stitch, pull through two loops twice.
- Complete the puff by pulling through all loops and chaining one.
- Continue creating thin puff stitches with 1 chain between them across the round.
- End with a slip stitch.
Round 3: Transition to Double Crochet Puffs
- Work double crochet puffs in the next round:
- Insert your hook into the required stitch, yarn over, and repeat the puff-building mechanism as before.
- Chain 1, then make a double crochet into the next hole.
- Alternate between puffs and double crochets, chaining 1 between each stitch.
- Finish this round with slip stitches.
Round 4: Increase for Shape
- Chain 3 and begin making thicker puffs with 3 yarn overs.
- Chain 2 between puffs.
- Create 2 double crochets at designated spots to increase and shape the crown of the hat.
Round 5–6: Continue Increasing
- Work on creating larger puffs with 3 yarn overs and chain 2 between them.
- Add more double crochets in the designated spaces to gradually increase the crown size.
Rounds 7–12: Transition to Stable Shape
- From round 8, stop increasing and maintain the puff and double crochet pattern consistently across the rows.
- Work 6 double crochets for each section to maintain the circumference.
Round 13: Begin the Border
- Transition to single crochets around the edge:
- Single crochet in each hole and at the top of each puff.
- Add decreases at specific points to taper the edge for a snug fit.
Rounds 14–17: Finalize the Border
- Continue with single crochet rows.
- In round 14, remove any decreases and work consistently in single crochet for the next 4 rows.
- End round 17 with a slip stitch, chain 1, then cut the yarn.
Weave in Ends
- Use a darning needle to weave in the loose ends at the crown and brim. Trim excess yarn for a tidy finish.
Optional: Add the Red Flower
To finish the puff hat with a decorative touch, the creator recommends adding a small red flower:
- Crochet a small puff or petal pattern with red yarn.
- Sew the flower securely to the preferred side of the hat using a darning needle.
Tutor’s Suggestions
- Focus on Consistency: Make sure your puff stitches and chains have an even tension for a polished look.
- Use a Stitch Marker: This is especially helpful for tracking the start of each round when working consistently in circles.
- Color Customization: Experiment with color combinations for the flower and hat body to suit personal preferences.
- Take Your Time with Puff Stitches: Ensure you pull through all loops correctly to avoid uneven stitches.
Uses of the Puff Hat
- Stylish Accessory: A perfect addition to winter outfits for a cozy and trendy look.
- Gifting: Handmade hats make wonderful, thoughtful gifts for friends and family.
- Beginner to Intermediate Practice: The puff stitches provide a great challenge for improving your crochet skills.
- Functionality: Keep warm during cold weather while looking chic.
Conclusion
This puff hat with a red flower is an excellent project for anyone interested in creating a functional and fashionable crochet piece. The combination of puff stitches and careful shaping results in a unique design that’s perfect as a gift or personal accessory.
Final Tip
Practice Puff Stitches First: If you're new to puff stitches, practice on scrap yarn to get comfortable with the technique before starting the actual hat. This will make the process much smoother and prevent mistakes.


Leave a Reply