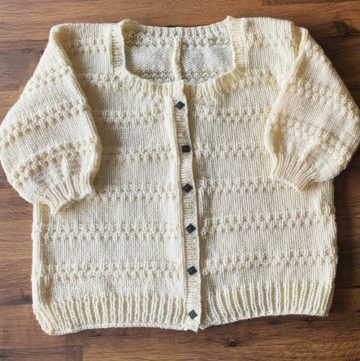
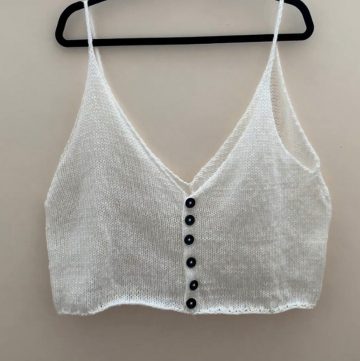
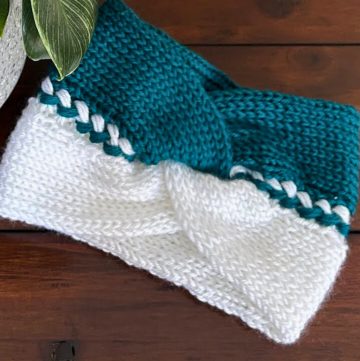
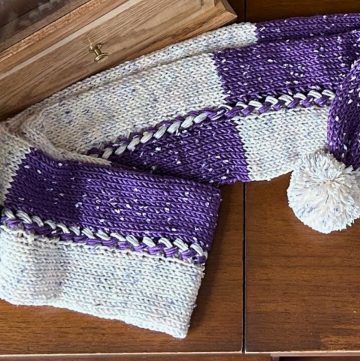
The "Knitting Decorative Edge" is nothing short of charming! This delightful pattern adds a beautiful, intricate touch to any knitting project, transforming simple creations into something truly special. With its graceful twists and turns, each stitch brings a dash of elegance that is sure to catch the eye. Whether you're new to knitting or a seasoned expert, incorporating this adorable edging is a splendid way to elevate your work and infuse it with a dash of sophistication.
Knitting Decorative Edge

Materials Needed:
- Knitting yarn
- Knitting needles appropriate for your yarn weight
Pattern Repeat:
- The pattern repeat is over 8 stitches, so cast on any multiple of 8, plus 1 additional edge stitch.
Instructions:

Row 1: (Right Side)
- Slip the first edge stitch purlwise with yarn in front (wyif) to create a neat edge.
- Knit 7 stitches.
- Slip 1 stitch purlwise with yarn in back (wyib).
- Repeat from * to * to the last stitch, end with a slip 1 stitch purlwise with yarn in back.
- Knit the last edge stitch.
For Row 2:

- Slip the first edge stitch purlwise with yarn in front.
- In the next 7 stitches, knit each stitch while wrapping the yarn twice around the needle before pulling through (creating a double yarn over) — referred to as a "twist."
- Slip 1 stitch purlwise with yarn in back.
- Repeat from * to * to the last stitch.
- Knit the last edge stitch.
Row 3: (Wrong Side)
- Slip the first edge stitch purlwise with yarn in front.
- Knit the first of the 7 twisted stitches dropping one wrap to elongate the stitch. Repeat for all 7 twisted stitches in a row.
- Move the elongated stitches to the right needle without knitting them and then drop the wraps to create elongated loops.
- Place the elongated loops back on the left needle.
- Knit the 7 elongated stitches together with one yarn over to make a decrease, thus returning to the original 7 stitches count.
- Now, from the single loop left on the needle from the previous decrease, increase by knitting into that loop 4 times.
- Turn your work.
- Purl the single stitch that you just worked the increases from.
- Turn your work again.
- From the same loop, knit 3 more stitches.
- Turn your work again.
- You should have 4 loops from the increases.
- Knit these 4 stitches.
- Turn your work and repeat the pattern for the rest of the row.
- Knit the last loop with a purl stitch.

After the decorative edge is complete, continue with stockinette stitch or any other pattern as desired for your project.
Repeat:

- Continue to repeat Row 1 to Row 3 for the length of the decorative edging required for your project, finishing with Row 3.
Finishing:
- Cast off as you would in your chosen stitch pattern, maintaining the decorative edge.


Leave a Reply