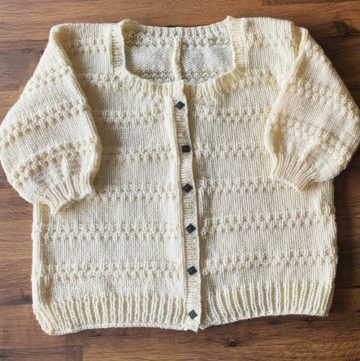
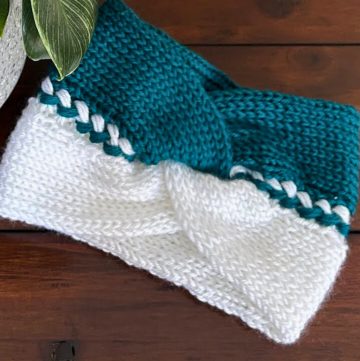
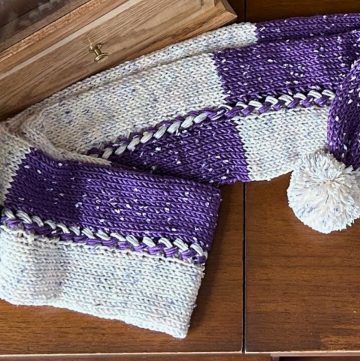
The knitted raglan line is a very neat and effective way to add shape to your sleeves! It only uses a small number of stitches which makes it perfect for beginners. The increases are done in a clever way that creates a smooth and professional look to your garment.
Knitted Raglan Line

Materials
- Yarn of your choice
- Knitting needles suitable for your yarn
- Stitch markers
Pattern Overview
Each Raglan line is constructed using 6 stitches. Given that typically a garment would have two sleeves and a front and back, you will need to account for 4 Raglin lines, totaling 24 stitches specifically for these lines.
Stitch Marker Placement
- Place stitch markers to denote the Raglan line. Position them so that each Raglan line has 3 stitches on either side of the marker.
Increasing on the Right Side of the Marker

- Knit until only three stitches remain before the stitch marker.
- Work an increase by knitting the 3 stitches together as a single knit stitch (
лицевой), but do not drop these stitches off the needle just yet. - Create a yarn over (YO).
- Knit into the same 3 stitches again, then drop them from the needle. You'll notice that you now have 5 stitches where there previously were 3.
Increasing on the Left Side of the Marker

- Knit the 3 stitches immediately after the stitch marker in the same fashion as the previous increases.
- Continue knitting until the end of the row.
Wrong Side Rows

- Purl each wrong side row to maintain a smooth right side fabric.
Repeat Pattern
- Continue this pattern of knitting four rows and then purling one row.
- Within this five-row pattern, perform the increase (as detailed above) on every right-side row before and after each stitch marker.

Tips and Tricks
- It's essential to maintain even tension as you increase to prevent holes or lopsided stitches.
- Use stitch markers that can open or clip on and off easily, allowing you to move them as needed.
- For a symmetrical increase, ensure that your increases on either side of the markers mirror each mine other consistently throughout the project.
Final Notes
- Keep repeating the increments of knit and purl rows, along with the Raglan increases, until the Raglan lines reach the desired length.
- Remember to purl every wrong side row throughout the pattern.
- Count your stitches periodically to ensure accuracy in your increases and overall stitch count.
By following these structured steps, you should create a defined and elegant Raglan line in your knitting project. Happy knitting!


Leave a Reply