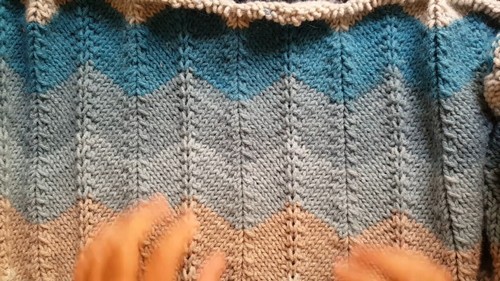
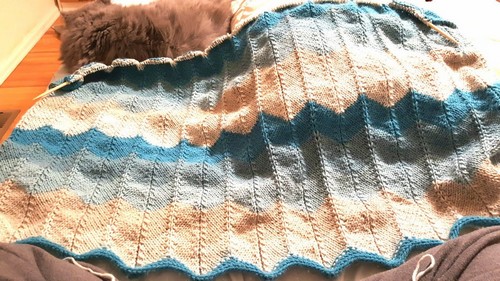
Step into the cozy comfort of a Knit Stripped Chevron Blanket, a beautiful and warm addition to any room. With its rhythmic peaks and valleys, the chevron pattern weaves a visual melody that's both classic and stylish. As you knit each stripe, the self-striping yarn works its magic, painting a cascade of colors that unfold effortlessly from your needles. This blanket isn't just a delightful project for knitters; it's a snuggly treasure that will wrap you in warmth and charm for years to come.
Knit Stripped Chevron Blanket Pattern
Materials Needed:
- Yarn: Caron Big Cakes (or any self-striping yarn; the example uses shade "Blue Macaron")
- Needles: Size 9 (5.5 mm) circular needles, 36 inches long
- Additional: 3 balls of yarn (each 300 grams/10.5 ounces)
Pattern Instructions:
Setup:
- Cast On: Cast on 178 stitches using the longtail cast-on method or any method you prefer. This is a variation that the presenter adjusted by reducing the number of stitches.
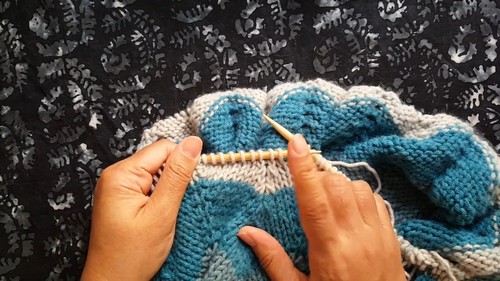
- Border: Knit about 5 rows in garter stitch for the border just to set up the base of the blanket.
Main Pattern:
The main pattern is formed by a two-row repeat:
Row 1 (Pattern Row):
Slip 1st stitch: Start the row by slipping the first stitch purlwise.
Pattern Repeat: Follow the repeat sequence across the row:
- Knit Front Back (kfb): Knit into the front and the back of the next stitch to increase.
- Knit 5: Knit the next five stitches.
- Decrease (SSK and K2tog):
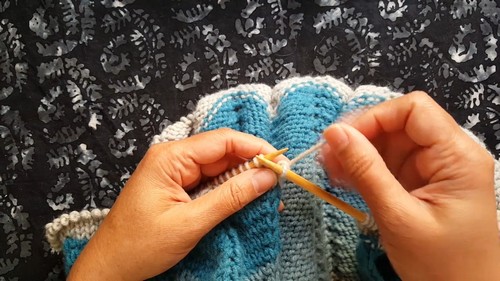
- SSK (Slip, Slip, Knit): Slip two stitches knitwise one by one, then knit these two slipped stitches together through the back loop.
- Knit 2 Together (K2tog): Knit two stitches together normally to decrease.
- Knit 5 again.
- Increase Twice (Two kfb): Do a knit front back twice in the next two stitches respectively.
- Knit 5 again.
Continue with Pattern Repeat until the last few stitches.
- Last Few Stitches: Perform another decrease (SSK and K2tog), knit 5, do a kfb, and knit the last stitch.
Row 2 (Purl Row):
- Slip 1st stitch: Slip the first stitch as if to purl, with yarn in front.
- Purl all stitches: Purl all remaining stitches to the end of the row.
Repeat:
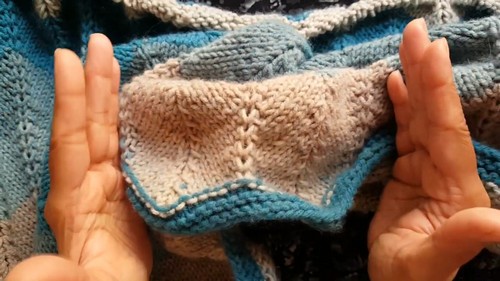
- Continue repeating these two rows to form the pattern. The pattern row creates the chevron design with increases and decreases, while the purl row provides a smooth backside and helps emphasize the texture on the front.
Finishing:
- Once the blanket reaches the desired length, bind off all stitches and weave in loose ends.
Notes:
- This pattern is highly customizable; feel free to adjust the number of stitches by keeping the multiple of 16 stitches plus 18 for the width.
- Consider watching the video for visual guidance and additional tips related to handling the yarn and specific techniques.


Leave a Reply