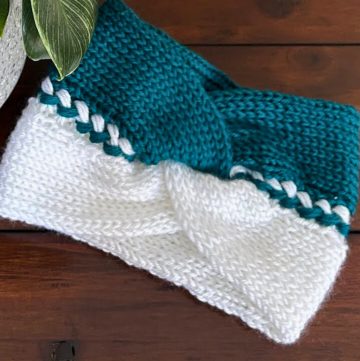
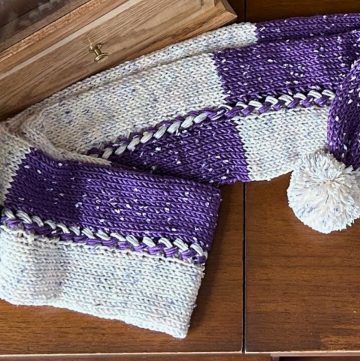
This knit poncho pattern is absolutely marvelous! It's a wonderful project that brings warmth and style together in a cozy package. The instructions are clear and easy to follow, making it a joy for knitters of all levels. Whether you're new to knitting or have years of experience, you'll find crafting this poncho both satisfying and fun.
Knit Poncho In Color Block Style Free Pattern

The flexibility to choose different collars and the option to add colors make it super customizable. It's truly a splendid pattern that results in a poncho you'll be proud to wear or give as a thoughtful, handmade gift.
Materials:
- Premier Serenity Chunky Yarns (Size 5 weight)
- Needles: Size 11 US (9mm) circular needles with cables in various lengths (24”, 33”, 47”)
- Stitch markers
- Yarn needle for weaving in ends
- Crochet hook (6mm or size J) for border (optional)
Sizes:
The pattern is adaptable for different sizes. The instructions as written are for approximately a US size 8. For larger sizes, adjust by increasing the cast-on count in multiples of four.
Instructions:
Collar Options:
- Turtleneck
- Two-inch collar
- One-inch collar (rib knit)
Starting the Poncho:
Cast On:
- For the turtleneck and two-inch collar, start with a 63cm/24.5” cable.
- Cast on 56 stitches using the long-tail method for the base size. Adjust the number of stitches in multiples of four for different sizes.
Rib Pattern for Collar (Choose your collar option):
- For a turtleneck/1-inch collar: Knit 2, Purl 2 rib pattern around.
- For a no-collar option: Knit 1, Purl 1 rib pattern around.

Joining in Round:
- Place a stitch marker to mark the beginning of the round. Make sure your cast-on edge is not twisted.
- Join to work in the round, being careful to knit the first stitch with both the tail and working yarn to avoid a gap.
Work the Collar:
- Continue in rib pattern until the collar reaches your desired length before transitioning to the main body. For a no-collar, this might just be a few rows to create an edge.
Main Body:

First Increase Row:
- Switch to a longer cable as needed.
- Knit in the front and back (KFB) of the first stitch to increase, knit two, then KFB into the next stitch.
- Repeat this pattern around. Place a marker halfway through the round to assist with later shaping.
Work even in Knit:
- Knit all stitches for two rounds.
Continue Pattern for Main Body:
- Alternate between knit rounds and increase rounds to shape the poncho. Increase rows involve a KFB at the beginning and end of each section marked by your stitch markers.
Switching Cables:
- As the poncho grows, switch to longer cables to accommodate the increasing number of stitches.
- Check the cable connections regularly to ensure they haven’t loosened.
Adding Colour and Finishing Edges:

Colour Changes:
- If adding different colors or blocks of color, remember to carry the yarn up the inside to avoid loose ends.
Binding Off:
- Use a needle of a similar size for the bind off to ensure it isn't too tight. Knit two stitches, then knit these two stitches together through the back loop and continue in this fashion around.
Border (Optional):
- For a clean finish, work a single crochet border around the edge, choosing to add as many rounds as you prefer.
Blocking:
- Block your finished poncho by lightly steaming it with an iron over a cloth to avoid direct contact. This step helps to set the shape and even out the stitches.
Enjoy your beautiful, hand-knitted poncho. Perfect for the fall season, this versatile piece makes a wonderful gift or a cozy addition to your wardrobe. With the options for different collars and sizes, it's customized to be uniquely yours. Happy knitting!


Leave a Reply