

This Knit Little Pig pattern is absolutely adorable! Crafting these cute pigs brings so much joy, and they turn out so cuddly and delightful. Each pig, with its cheerful features and soft texture, is perfect for little hands to hug and love. Whether you're making one for a gift or for a little one in your life, these knitted pigs are sure to bring smiles and a touch of whimsy to anyone who sees them. Simple to make and irresistibly sweet, they're a wonderful addition to any crafting collection.
Knit Little Pig Pattern
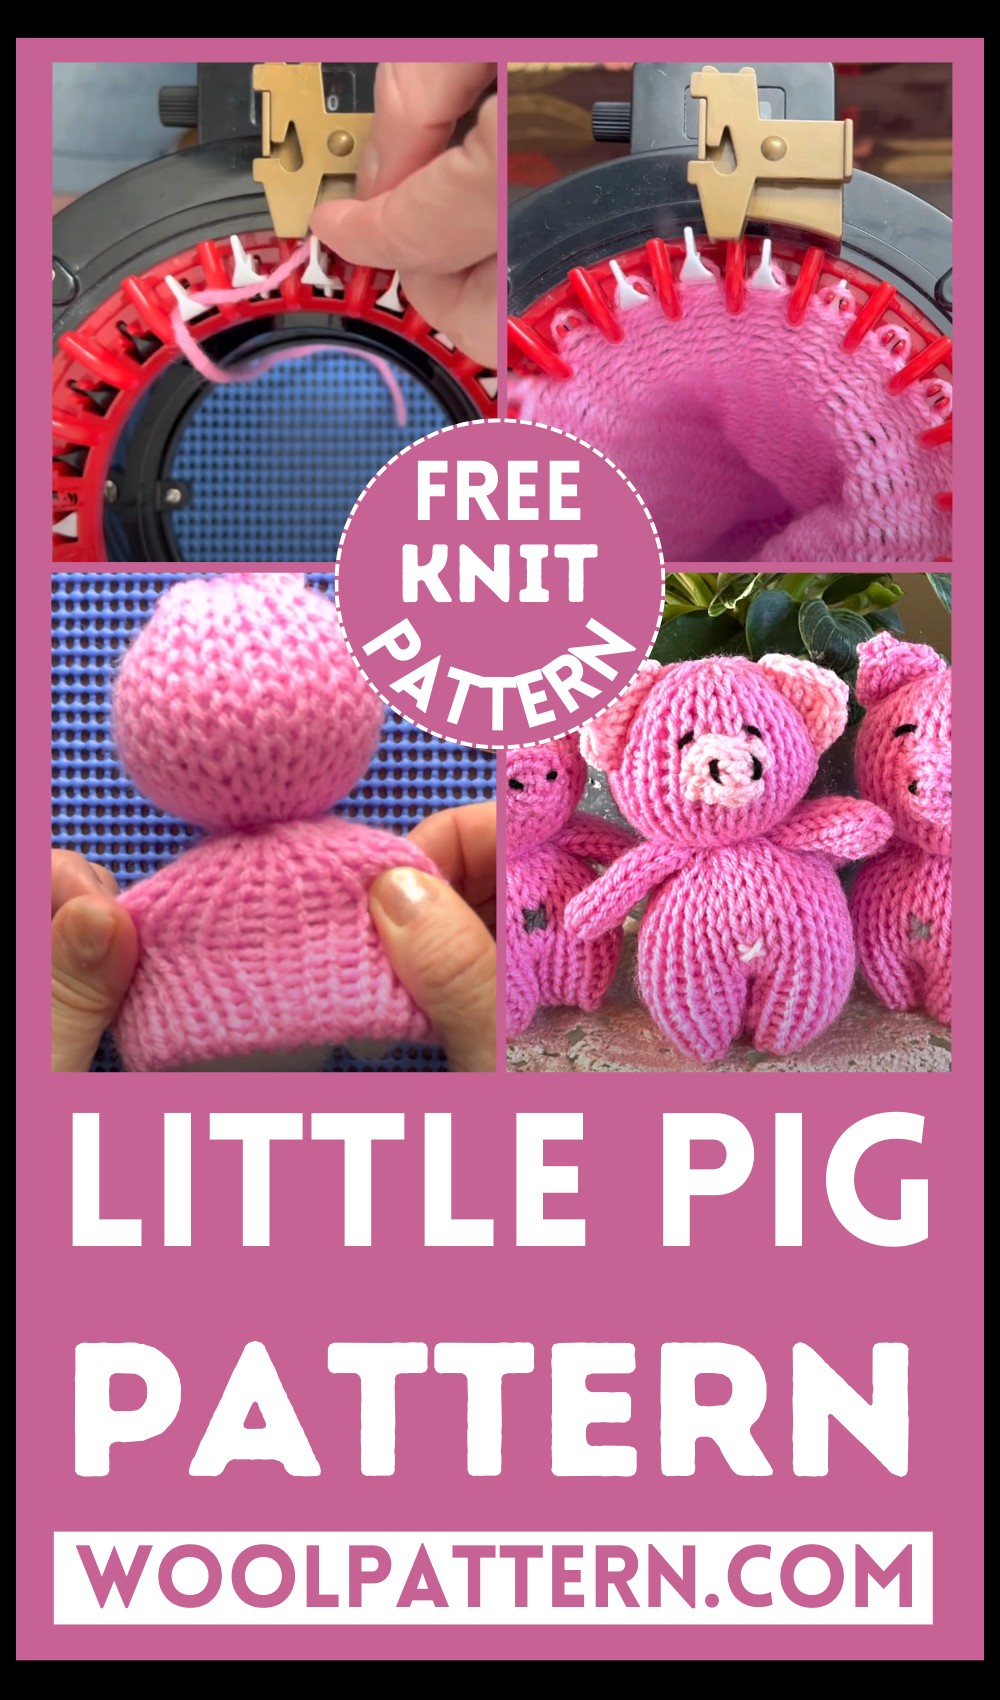
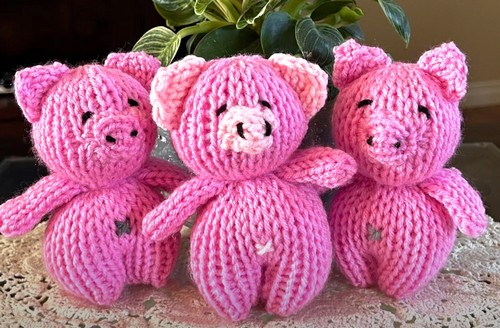
Create a cuddly trio of pigs using this delightful knitting pattern, perfect for little hands to hold and love. These pigs can be customized in color and embellishments, so you can truly make them your own!
Materials Needed
- Bernat Premium Yarn in Weight Pink Macaroon (for the main body) and a lighter pink for the middle pig's details (ears, snout, tail, belly button).
- A 22 needle Addi Knitting Machine.
- Yarn needle for assembly.
- Fiberfill for stuffing.
- Black yarn for the eyes and nostrils.
- Grey yarn for the belly button (optional).
Knitting the Body and Parts
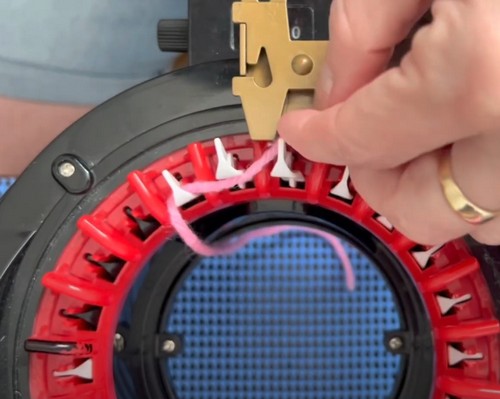
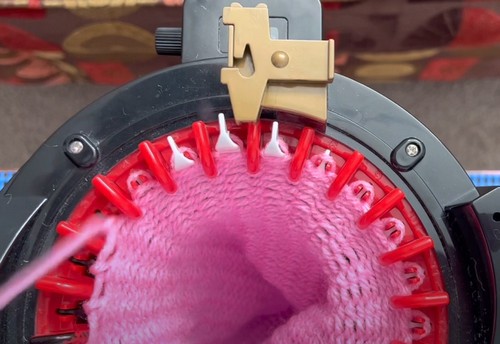
Body: Using the Addi 22 needle machine, cast on and work in a circular pattern for 55 rows with the Weight Pink Macaroon yarn or your chosen main color. Cast off.
Arms (Make 2): Using the same machine, create a flat panel by working over 9 needles for 12 rows. Remove from the machine, stretch gently, sew the long side together, and stuff lightly if desired.
Ears (Make 2): Switch to the lighter pink yarn (or your chosen color for detailing). Work a flat panel over 5 needles for 8 rows. Finish off, remove, and then shape into ears by stitching the bottom closed in a triangular shape.
Tail: With the detailing yarn color, work a flat panel over 3 needles for 14 rows. Cast off and roll into a tight spiral or pigtail shape.
Snout: Using the detailing color, create a flat panel over 5 needles for 8 rows for the snout. Don’t stuff the snout; keep it flat for sewing onto the face.
Assembly and Finishing Touches
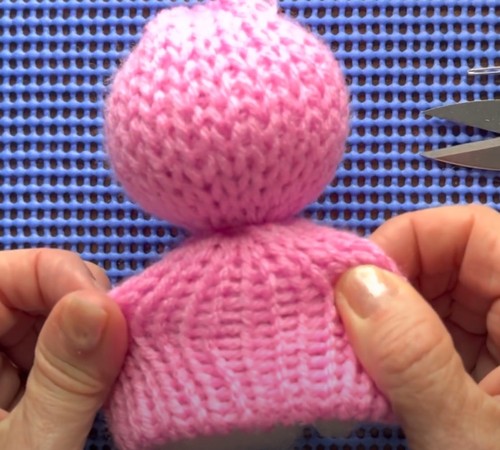
Body and Head Forming: Stuff the body portion firmly with fiberfill. To form the head, cinch a section of the body about ⅓ from the cast-off edge, tightly tying yarn around it to separate the head from the body. Adjust the stuffing as necessary to shape.
Adding the Features:
- Sew the arms on either side of the body.
- Attach the ears at the top of the head, making sure they point upwards.
- Sew the snout centrally below the head cinch line.
- To make a curly tail, stitch the tail piece at the back of the body, curling it around.
- Use black yarn to embroider two simple eyes and a small nostril on each side of the snout.
- Optionally, add a small grey yarn stitched ‘x’ for the belly button.
Final Touches
After assembly, check all parts are securely attached. You can lightly stretch and adjust the limbs and ears to give your pig the perfect shape.
Enjoy creating this charming set of pigs, perfect as a gift, a storybook companion, or a delightful addition to your knit collection.


Leave a Reply