

Adorable Crochet Baby Ghost Pattern for Halloween Decorations
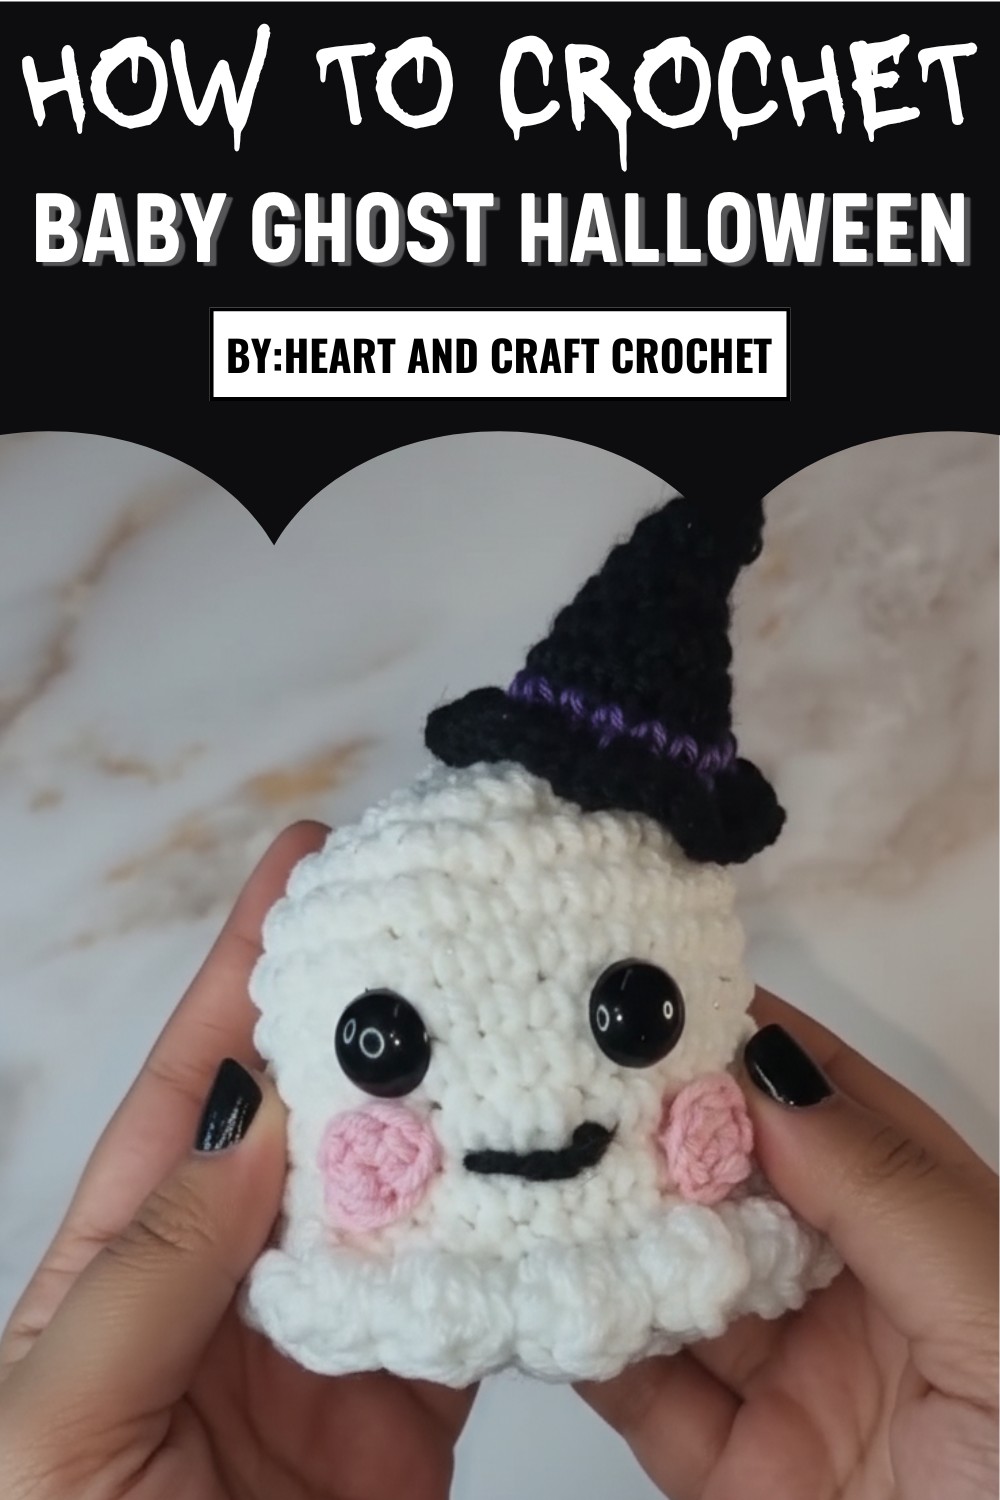
Special Features
- Quick Halloween Crochet Project: Perfect for last-minute decorations or gifts.
- Customizable: Add blush cheeks, smiles, or other accessories like hats or scarves.
- Multi-Use: Ideal as home décor, keychains, or small gifts for Halloween parties.
- Beginner-Friendly: Uses simple stitches like single crochet, half-double crochet, slip stitch, and increases.
Difficulty Level
- Beginner to Intermediate
This pattern is ideal for beginners who are familiar with foundational stitches.
Step-by-Step Crochet Pattern
Materials Required
- Yarn:
- White (for the ghost body).
- Black and purple (for the witch hat).
- Crochet Hook: 3.25mm hook (or as per your yarn weight).
- Stuffing: For the ghost body and the witch hat.
- Pair of Safety Eyes: For the ghost’s face.
- Scissors and Yarn Needle: For finishing and sewing.
- Stitch Marker: To keep track of rows/stitches.
Making the Ghost
-
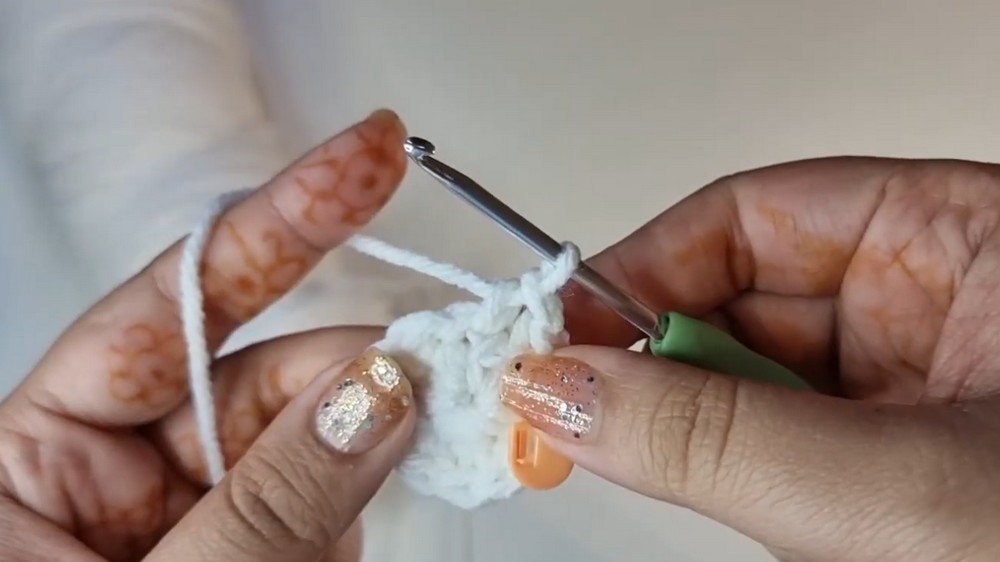
Start with a Magic Ring
- Wrap the white yarn around 2 fingers to form an X.
- Insert the hook under the bottom loop, grab the top loop, and twist to pull up a loop.
- Chain 1 to secure the ring.
- Row 1:
- Work 6 Single Crochets (SC) into the Magic Ring:
- Insert the hook into the ring, yarn over, pull up a loop, yarn over again, and pull through both loops.
- Pull the tail to close the ring.
(You should have 6 stitches at the end.)
- Work 6 Single Crochets (SC) into the Magic Ring:
- Row 2 (Increase Round):
- In each stitch, make 2 Single Crochets (SC increases).
- Repeat this for all 6 stitches to have 12 stitches total.
- Row 3:
- Work (1 SC in the first stitch, 2 SC in the next stitch). Repeat around for a total of 18 stitches.
- Row 4:
- Work (1 SC in each of the next 2 stitches, 2 SC in the following stitch). Repeat around for 24 stitches.
- Row 5:
- Work (1 SC in the next 3 stitches, 2 SC in the following stitch). Repeat around for 30 stitches.
- Rows 6-12 (Build Height):
- Place 1 SC in each stitch (no increases) for a total of 30 stitches per row.
- Complete 7 rows and set aside once done.
- Row 13:
- Work only in the back loops.
- Work (3 SC, decrease):
- For the decrease, insert the hook into the next stitch, pull up a loop, insert into the next stitch, pull up another loop, yarn over, and pull through all three loops on the hook.
- Repeat 6 times around for 24 stitches.
-
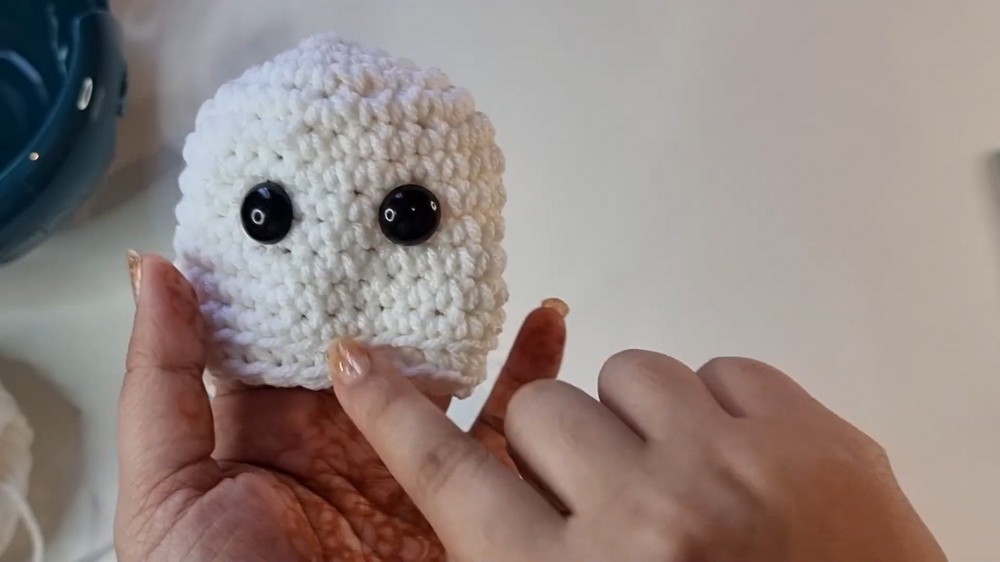
Add the Safety Eyes & Smile
- Place the safety eyes between rows 6 and 7, leaving 4 stitches between them.
- Once satisfied with the placement, secure with the eye backings.
- Add a small yarn-stitched smile below the eyes using your yarn needle and some black yarn.
- Row 14:
- Work (2 SC, decrease). Repeat 6 times around to leave 18 stitches.
- Add stuffing to the ghost's body to give it shape.
-
Row 15:
- Work (1 SC, decrease). Repeat 6 times around to have 12 stitches left.
-
Row 16 (Final Round):
- Work 6 decreases. At the end, you’ll have 6 stitches left.
- Leave a long tail and fasten off by threading the yarn tail through the final 6 stitches with the yarn needle. Pull tight to close the bottom.
-
Add a Frill to the Ghost's Base:
- Join the white yarn to any stitch at the bottom.
- Chain 2, in the same stitch, place 2 half double crochets (HDC).
- For HDC: Yarn over, insert the hook, pull up a loop (3 loops on the hook), yarn over, and pull through all three loops.
- Slip stitch into the next stitch.
- Repeat (3 HDC in one stitch, slip stitch in the next stitch) all around to form a frill.
- Once done, fasten off and weave in loose ends.
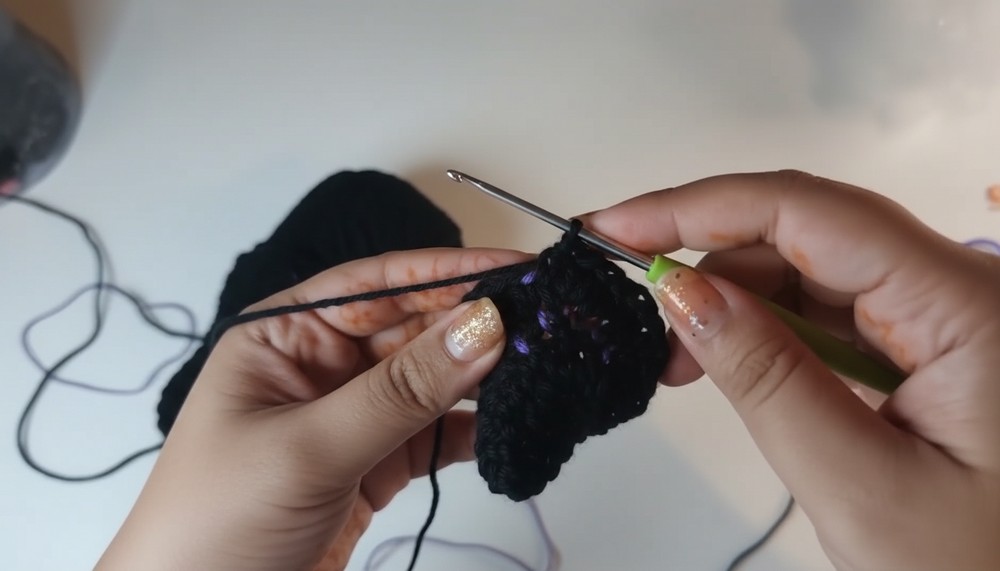
Making the Witch Hat
-
Start with a Magic Ring (Black Yarn)
- Create the ring and place 4 SC into it, then pull the tail to tighten the ring (4 stitches).
- Row 2:
- Work (1 SC, increase) around to make 6 stitches in total.
- Row 3 - 8 (Increase Rounds):
- Gradually increase the size of the hat by adding one SC between increases with each new round:
- Row 3: 2 SC, increase → 8 stitches.
- Row 4: 3 SC, increase → 10 stitches.
- Row 5: 4 SC, increase → 12 stitches.
- Row 6: 5 SC, increase → 14 stitches.
- Row 7: 6 SC, increase → 16 stitches.
- Gradually increase the size of the hat by adding one SC between increases with each new round:
-
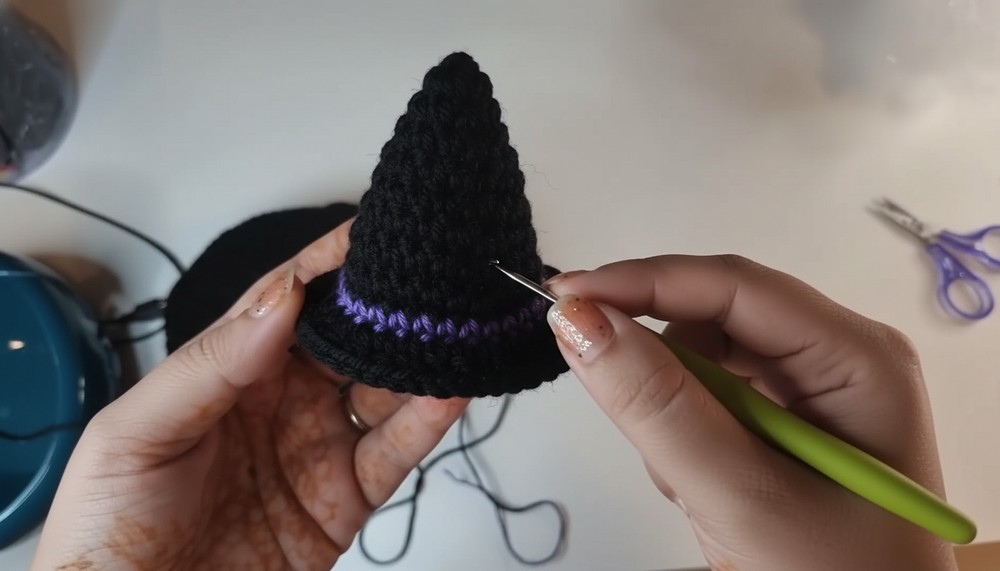
Add Purple Hat Rim (Color Change)
- Change to purple yarn and work 1 SC into each stitch for 16 stitches. Trim purple yarn and tuck inside.
-
Form the Hat Brim
- Switch back to black yarn.
- Work 2 HDC into each stitch around to form the brim.
- Slip stitch into the first stitch to finish the round.
-
Finish and Attach
- Leave a long tail, sew the hat onto the ghost’s head, and add a little stuffing to help the hat maintain its shape.
Tutor’s Suggestions
- Use softer yarn for a squishy and cuddly effect.
- For a smaller ghost, try adjusting the number of rows or using a smaller hook and lighter yarn.
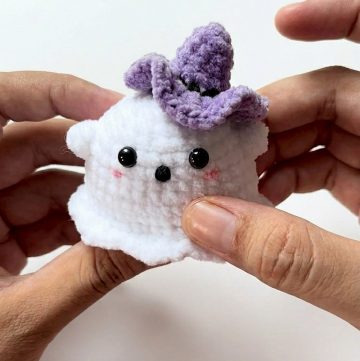
- Add different colors, beads, or embroidery to give each ghost a unique personality.
Tip for a Great Finish
When sewing the hat or attaching small details, use a tapestry needle with a large eye and a sharp point for a secure and seamless finish. This will ensure there are no gaps in your stitches, giving your project a polished look.
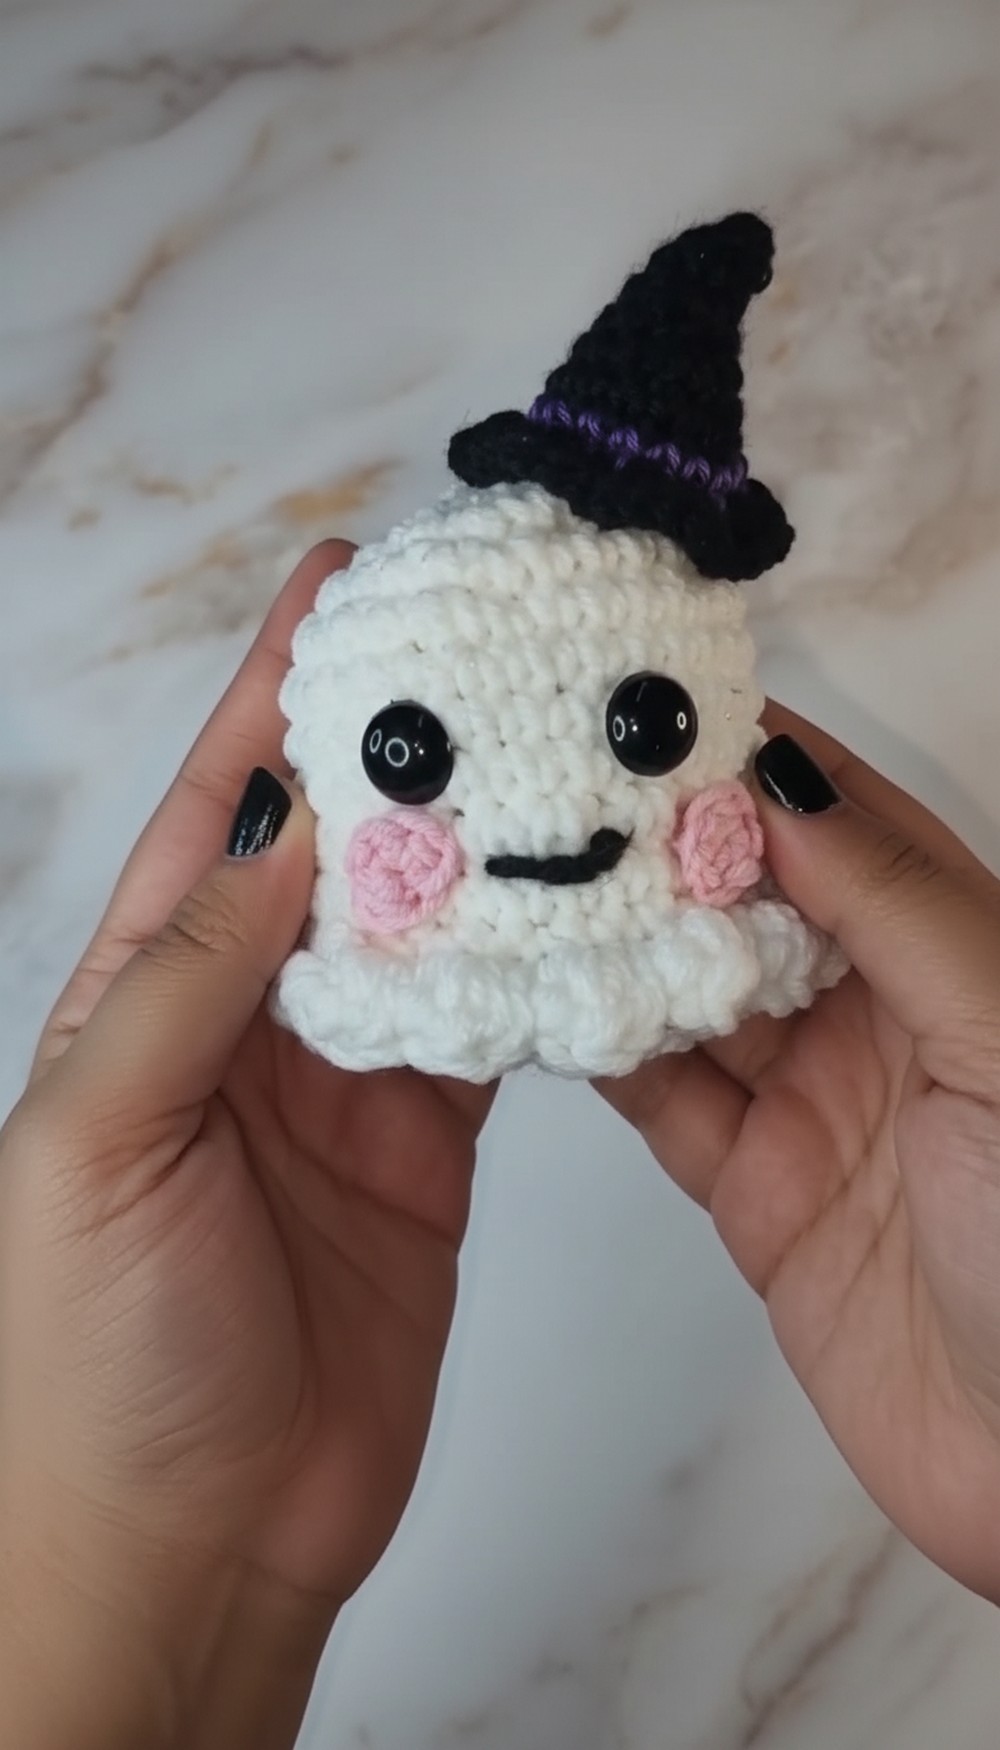
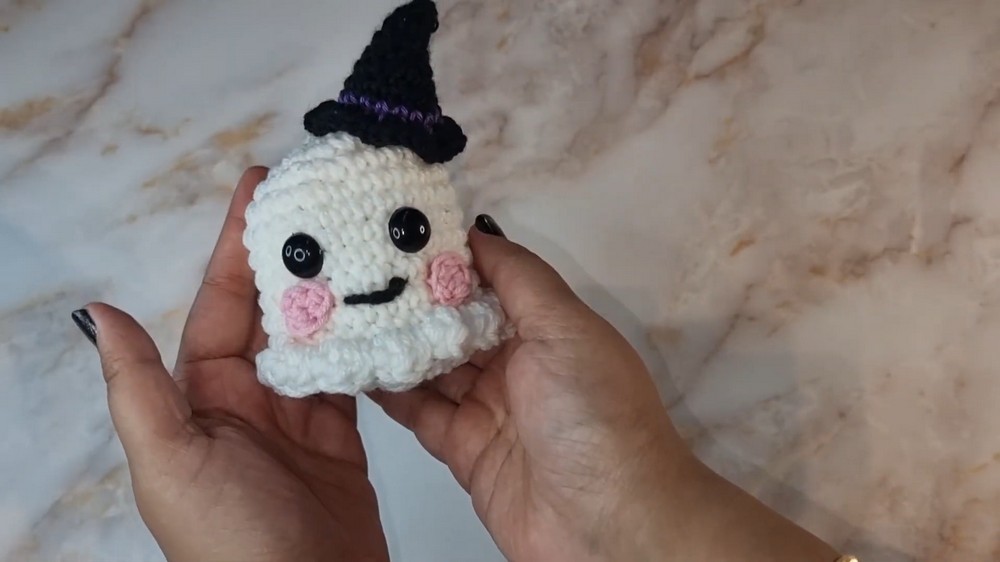
Conclusion
Your crochet baby ghost with a witch hat is now complete! This little pattern is perfect for Halloween decorations, keychains, or even kids' gifts. Its quick and easy steps make it fun for all skill levels, and you can customize it in endless ways.


Leave a Reply