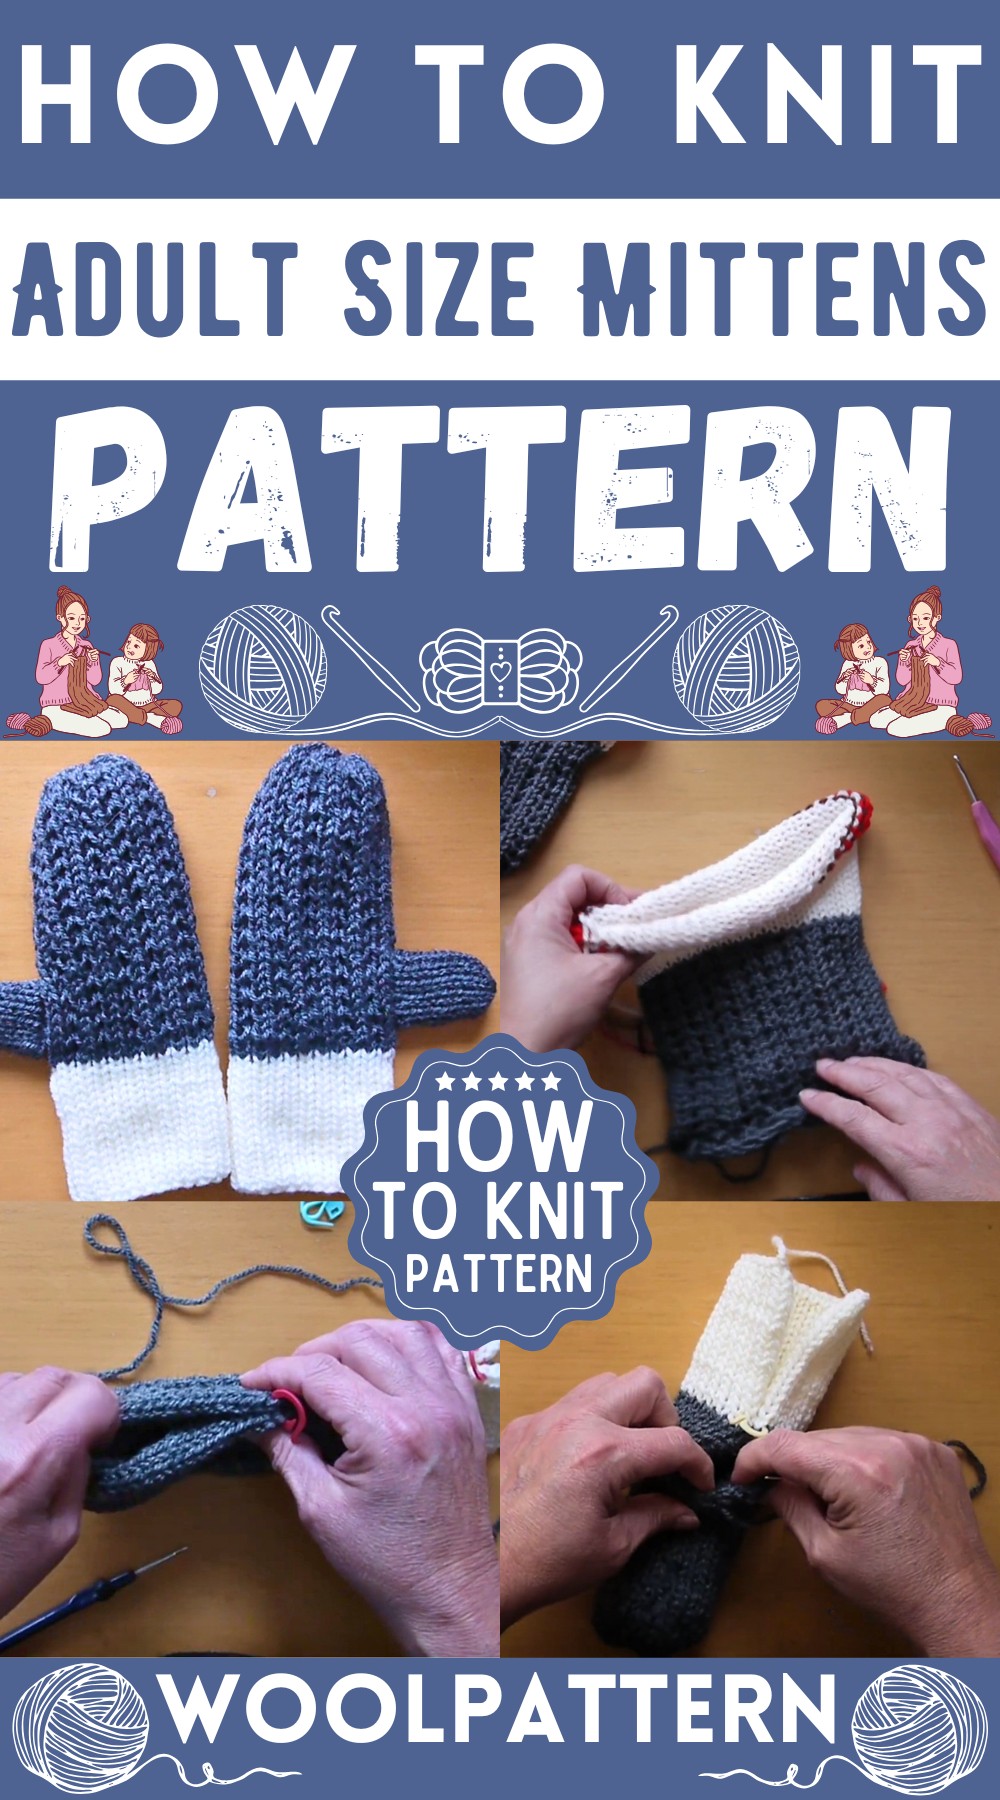
Is there anything cozier than slipping your hands into a pair of handmade knit mittens? Picture this: You're wrapping your fingers in the warmth and comfort of yarn, each stitch lovingly knitted to fit perfectly. Making adult-size mittens is not just about keeping warm; it's about adding a touch of personal style to your winter gear.
Knit Adult Size Mittens
Materials Needed:
- Signet Aran yarn in gray and cream
- Knitting machine with a bed
- Waste yarn
- Scissors
- Darning needle
- Stitch markers
Cuff:
- Using waste yarn, cast on and knit 5-6 rows to start your project.
- Snip off the waste yarn.
- Start the cuff by using a contrasting yarn for the main body.
- With cream yarn (or your chosen contrasting color), knit 18 rows for the wrist.
Main Mitten Body:
- Change to your main color yarn (gray in this case).
- Knit two rows with the main color yarn.
- Begin the trailing ivy pattern starting with needle three:
- Knit needles one and two.
- Wrap two, knit two - repeat this sequence four times, ending on a wrap two.
- Knit one full row in plain knitting back to needle one.
- Repeat this two-row pattern (steps mentioned in point 3) for a total of 28 rows, which should take you to row 48 on your machine counter if you did not zero after the cuff. If you zeroed after the cuff, you'll be at row 30.
- For rows 49 and 50, knit two rows in plain knitting to finish off the hand part of your mitten.
Casting Off:
- Snip your yarn and cast off from the machine as you normally would.
Assembly:
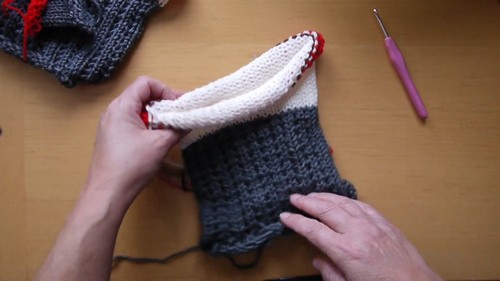
- Seal off one end of the knitted tube.
- Gather one side of your work, as you would when making a beanie.
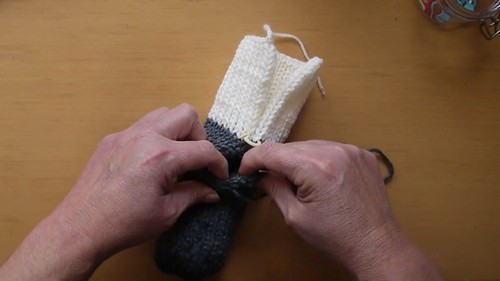
- Fold the work in half and match up any pattern lines using stitch markers.
- Using a darning needle and tail yarn, mattress stitch down toward where the thumb will be, leaving about a 10-stitch gap for the thumb insertion.
- Continue the mattress stitch to seal off the thumb side, making sure lines are straight.
- Prepare the thumb piece by knitting 15 rows on your 22-pin machine, cast off with waste yarn, gather one end, and mattress stitch the seam, ensuring it is the same for both thumbs.
- Attach the thumb to the main body, carefully aligning the position.
- Mattress or slip stitch the thumb in place, ensuring you don’t pull too tight to allow some stretch for comfort.
Finishing Touches:
- Weave in any loose ends and remove any waste yarn.
- Turn the mitten right side out and check for any missed stitches or areas that need tidying up.
- Repeat all steps for the second mitten to make a pair.




Leave a Reply