

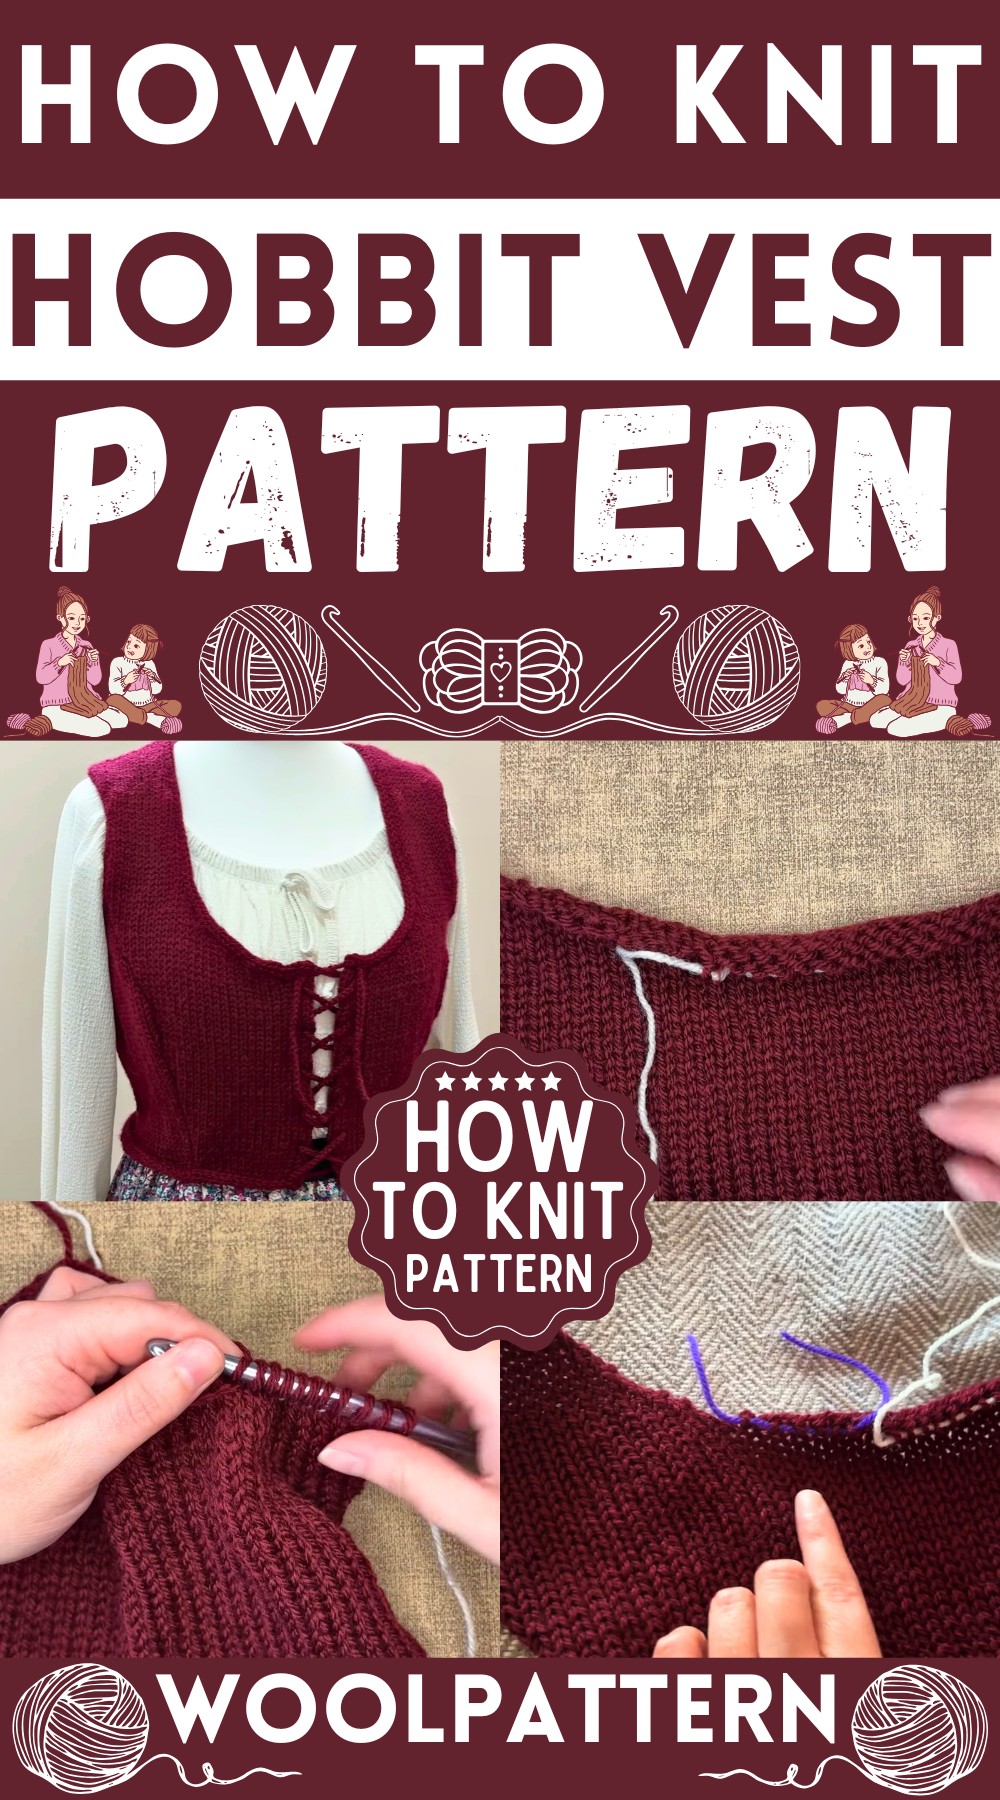
Imagine wrapping yourself in the warmth and comfort of a knit cozy hobbit vest, perfect for adventures in your own backyard or curling up with a good book. This delightful vest brings a touch of magic to every day, inviting you to snuggle into its soft, woven embrace.
Knit Hobbit Vest
Materials and Setup:
- Yarn (Choice as per user, though the yarn mentioned in the video is not recommended)
- Needles appropriate for the yarn
- Crochet hook
- Ravelry pattern (for size variations)

Knitting Instructions:
Cast On and Initial Rows:
- Cast on from needle 38.
- Knit 20 rows.
Increasing:
- Increase one stitch at the beginning of the next row.
- Knit this row.
- Repeat the above two steps, knitting five more rows, and then repeat the increase followed by five rows once more.
- Knit six rows without increasing.
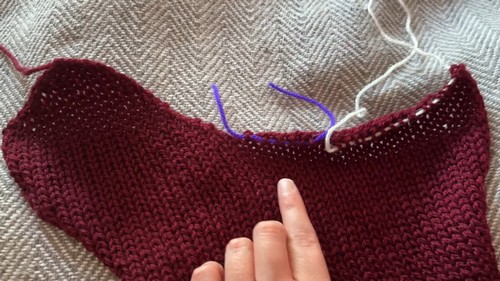
Decreasing:
- Start the decrease by lifting the needle halfway through and transferring a stitch from one needle onto another to create two stitches onto one pin.
- Knit these two stitches together.
- Continue with the pattern provided for decreases.
- Knit 20 stitches after finishing all decreases, then cast off the remaining stitches.

Binding Off:
- Bind off four stitches by raising and lowering four needles, placing them onto scrap yarn.
- Using a crochet hook, pull yarn through the loops as described to secure the stitches.
- Continue the row, then slip one stitch (without knitting it) and bind off with the next stitches.
Additional Structure:
- Change angles for easier visualization if necessary.
- Perform bind offs and decreasing as needed, as described, placing stitches onto waste yarn when required.
- Continue with the pattern until all stitches on one side are bound off.

Final Steps:
- Ensure all loose stitches are securely bound or placed on waste yarn.
- Complete the piece by knitting the remaining rows, introducing any last decreases or bind offs needed.
- Cast off the last stitch, cut the yarn, and pull through to secure.
Finishing Touches:
- Secure all loose ends.
- If knitting additional panels or sections, repeat the steps as needed and assemble the final product by crocheting or sewing the pieces together.
- Adjust the neckline by folding and securing with crochet based on preference.


Leave a Reply