

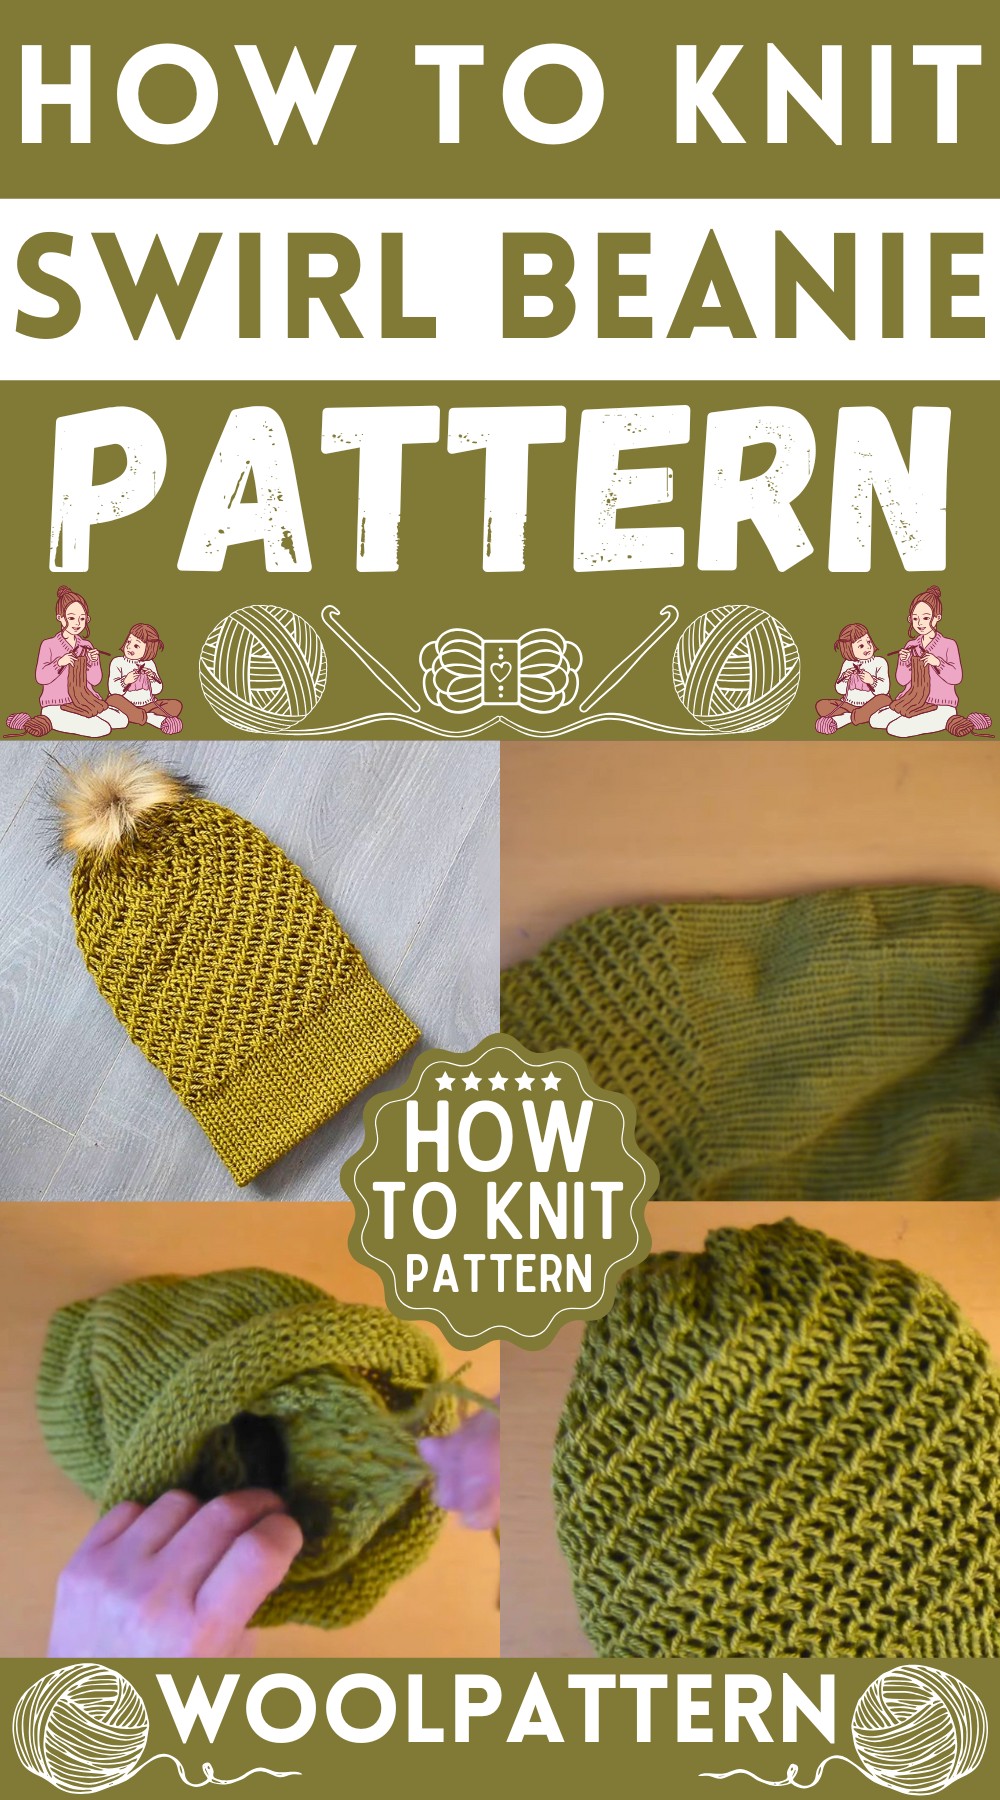
Knitting a swirl beanie is a delightful way to spend your time and add a pop of color to your outfits. The swirling design of the hat is a real eye-catcher, and using a 48-needle knitting machine makes it surprisingly simple to whip up. You'll enjoy seeing your progress row by row as you turn soft yarn into a cozy accessory.
Knit Swirl Beanie
Materials Needed:
- Yarn: Aran weight yarn (Example color: Apple). The tutorial mentions using Aldi So Crafty yarn, but any Aran weight yarn should work.
- Tools: 48-needle knitting machine, yarn feeder, darning needle, notebook for tracking, heavy marble cutting board (optional for stability), scissors.

Setup:
Prepare the Machine:
- Ensure your 48-needle knitting machine is clean and smoothly operational.
Casting On:
- Start by threading the tail through the center tension hole.
- Cast on by weaving the yarn over and under the needles all around the machine.
Creating the Swirl Pattern:
Initial Rows:
- Knit four rows regularly to start off the base of the beanie.
Swirl Stitch Routine (36 Rows):
- This routine comprises wrapping and knitting in a specific pattern as follows:
- Wrap two, knit one - repeat six times.
- Wrap two, knit two.
- Repeat the wrap two, knit one sequence seven times before ending on a wrap two, knit two.
- Ensure tension is controlled; the yarn should not be too tight or too loose around the needles.
- Repeat this stitch pattern for a total of 36 rows, tracking each row in your notebook for accuracy.

Creating the Brim and Liner:
Prepare for Plain Knitting:
- After completing the patterned section (36 rows), set up your machine for plain knitting.
Knit 80 Rows:
- This section forms the brim and liner. Knit 80 rows regularly. Adjust the number according to your preference for the beanie's length.
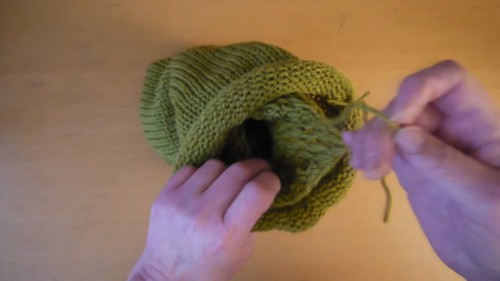
Casting Off:
Prepare to Cast Off:
- Cut 12-18 inches of yarn from the ball to leave a long tail for stitching. Remove yarn from the feeder.
Casting Off:
- Use a darning needle to thread through each loop on the machine, ensuring every stitch is captured before removing the project from the machine.
Finishing Touches:
Close the Top:
- Gather both ends of the beanie and stitch them together to seal the top.
Sewing and Weaving in Ends:
- Use the remaining yarn tails to sew the top securely and weave in any loose ends.
Stretch and Shape:
- Lightly stretch your beanie to even out stitches and shape the final product.

Embellishing (Optional):
Adding a Pom Pom:
- Attach a pom pom to the top of the beanie for an extra touch.


Leave a Reply