This How to Loom Knit a Snake pattern is absolutely fantastic! It's clear, easy to follow, and makes knitting a fun snake friend seem like a breeze. Whether you're new to loom knitting or have been at it for a while, this guide lays out each step in an understandable way, ensuring your crafting journey is enjoyable from start to finish.
How To Loom Knit A Snake

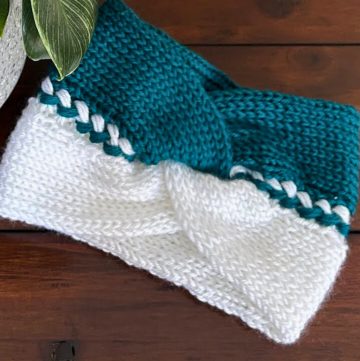
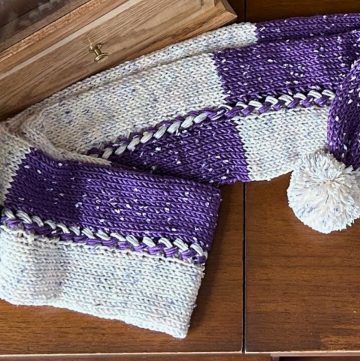
The clever use of different colored yarns to create the snake's body is a creative touch, and the finished product is sure to be a hit with both kids and adults. What a great way to add a handmade charm to your collection or give a special gift to someone you care about.
Materials Needed:
- A 24-peg loom (3/16" gauge)
- Loom knitting hook
- Yarn in two colors (Color A for the belly, Color B for the back)
- Scissors
- Yarn needle
- Optional: stuffing material (like polyfill or rice filled into a stocking for weight and flexibility)
Head:

Drawstring Cast On: Use Color A to cast on all 24 pegs.
Knit for Two Rows: Create two rows of knit stitches.
Wrap and Turn Series:
- Knit 23 pegs, wrap and turn peg 24.
- Continue to knit one less peg and wrap and turn the next peg each row until there are 10 stitches between wraps and turns.
Adding Wraps and Turns Back:

Row 11: Knit 10, knit two together (to incorporate the wrap and turn stitch).
Progress with Increases: Knit the next peg and knit two together again.
- Continue this pattern, each row knitting one more stitch before the knit two together, until the wrapped stitches are worked back into the fabric.
Shaping the Head:
Decrease Series:
- Knit two together five times across a row.
- Continue to decrease as needed for shaping the head.
Knitting the Nose / Rostral Scale:
- Knit 6-7 rows flat, or as many rows as desired to make the nose longer or shorter.
Basic Bind Off: Bind off all stitches to close the head.
Body:

Drawstring Cast On: Using Color B, cast on all 24 pegs, knit for two rows.
Color Changing (Color Chunking):
- Knit 12 with Color A, turn your work, knit 12 with Color B.
- Continue this color chunking for the desired length of the snake, repeating rows 3 through 6 for 14 inches or more based on the desired length of your snake.
Tail:
- Splitting Loom in Half: Work on each side separately, mirroring the process.
- Decreasing: Knit two together at each end of your working yarn color, then knit a few rows flat.
- Repeat: Decrease and knit flat until you reach a single stitch, then cut the yarn and thread through the last loop to secure.

Final Assembly:
- Closing Tail: Sew the two tail tips together to form a pointed tail.
- Stuffing the Body: If desired, insert a stocking filled with rice for weight and flexibility throughout the body.
- Attaching the Head: Drawstring the open edge of the head and sew it onto the body.
- Adding Features: Sew on or glue eyes and other facial features as desired.
Note: Be creative with the eyes and details to give personality to your snake. Enjoy your loom-knit snake!


Leave a Reply