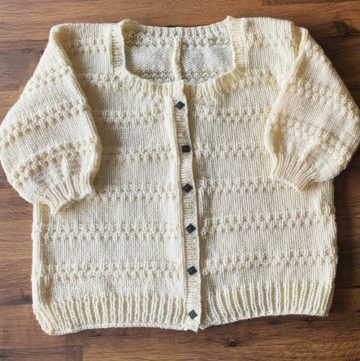
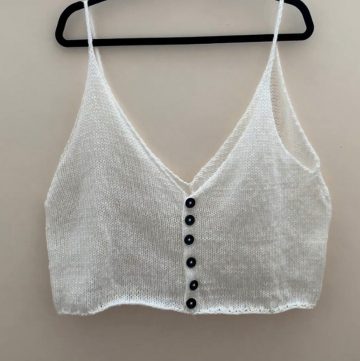
Slip into the cozy comfort of a knit pullover sweater and feel the instant warmth it brings to your day. This classic piece of clothing is not just about staying warm; it's a style statement that pairs perfectly with anything in your closet. From casual outings to more formal events, a knit sweater adds a touch of simple elegance and a cozy vibe to your look. So, whether you're lounging at home or out with friends, a knit pullover sweater is your go-to for unbeatable comfort and effortless style.
Knit Pullover Sweater

Materials Needed:
- Yarn: Ken yarn (noted for its soft quality)
- Knitting Needles: 8 mm knitting sticks and 7.5 mm circular knitting needles
- Crochet Hook: 5 mm for joining panels
- Scissors
Pattern Instructions:

Setup:
Starting Loop:
- Create a loop and place it onto your knitting stick.
Cast On:
- Cast on 64 stitches. The creator notes using a larger needle size with smaller yarn than usual.
Initial Rows:

First Row:
- Knit all stitches.
Next 6 Rows:
- Alternate between knitting and purling each stitch, starting with a purl stitch but you can start with a knit if you prefer. This creates a ribbing pattern (knit 1, purl 1).
Main Body:
First Row of Body:
- Knit all stitches. On the next row, you would typically purl all stitches if following a stockinette stitch, but the creator decides to knit all rows instead for this section.
Joining the Panels:

Cast Off:
- To finish a panel, knit two stitches, then pass the first loop over the second to cast off. Continue until all stitches are secured.
Create Second Panel:
- Repeat all steps to create a second identical panel. These will serve as the front and back of your sweater.
Joining Panels:
- Using a 5 mm crochet hook, join the two panels together by weaving through both panels, wrapping yarn around the hook, pulling through to create a slip stitch. Repeat this process along the sides, leaving openings for the sleeves.
Sleeves:

Picking Up Stitches:
- With the 7.5 mm knitting needles, pick up stitches around the sleeve opening. The creator suggests eyeballing this process to ensure stitches are evenly spread but not too tight.
Knitting the Sleeve:
- Knit all rows in the round to the desired length of the sleeve, avoiding any purl stitches unless desired for texture or ribbing.
Sleeve Cuff:
- Towards the end of the sleeve, create a ribbing effect by knitting 1, purling 1 for six rows, similar to the sweater's waistband and neck.
Cast Off the Sleeve:
- Like the body panels, knit two stitches, then pass the first stitch over the second and continue until the sleeve is fully cast off. Repeat for the second sleeve.
Finishing Touches:

Neckline:
- Pick up stitches around the neckline with your knitting needle, similar to how the sleeves were started. Alternate knit and purl stitches for six rows to create a ribbing effect around the neck.
Final Cast Off:
- Secure the neckline stitches by casting off.
Weaving Ends:
- Use the yarn ends to tidy up and secure all parts of the sweater.


Leave a Reply