

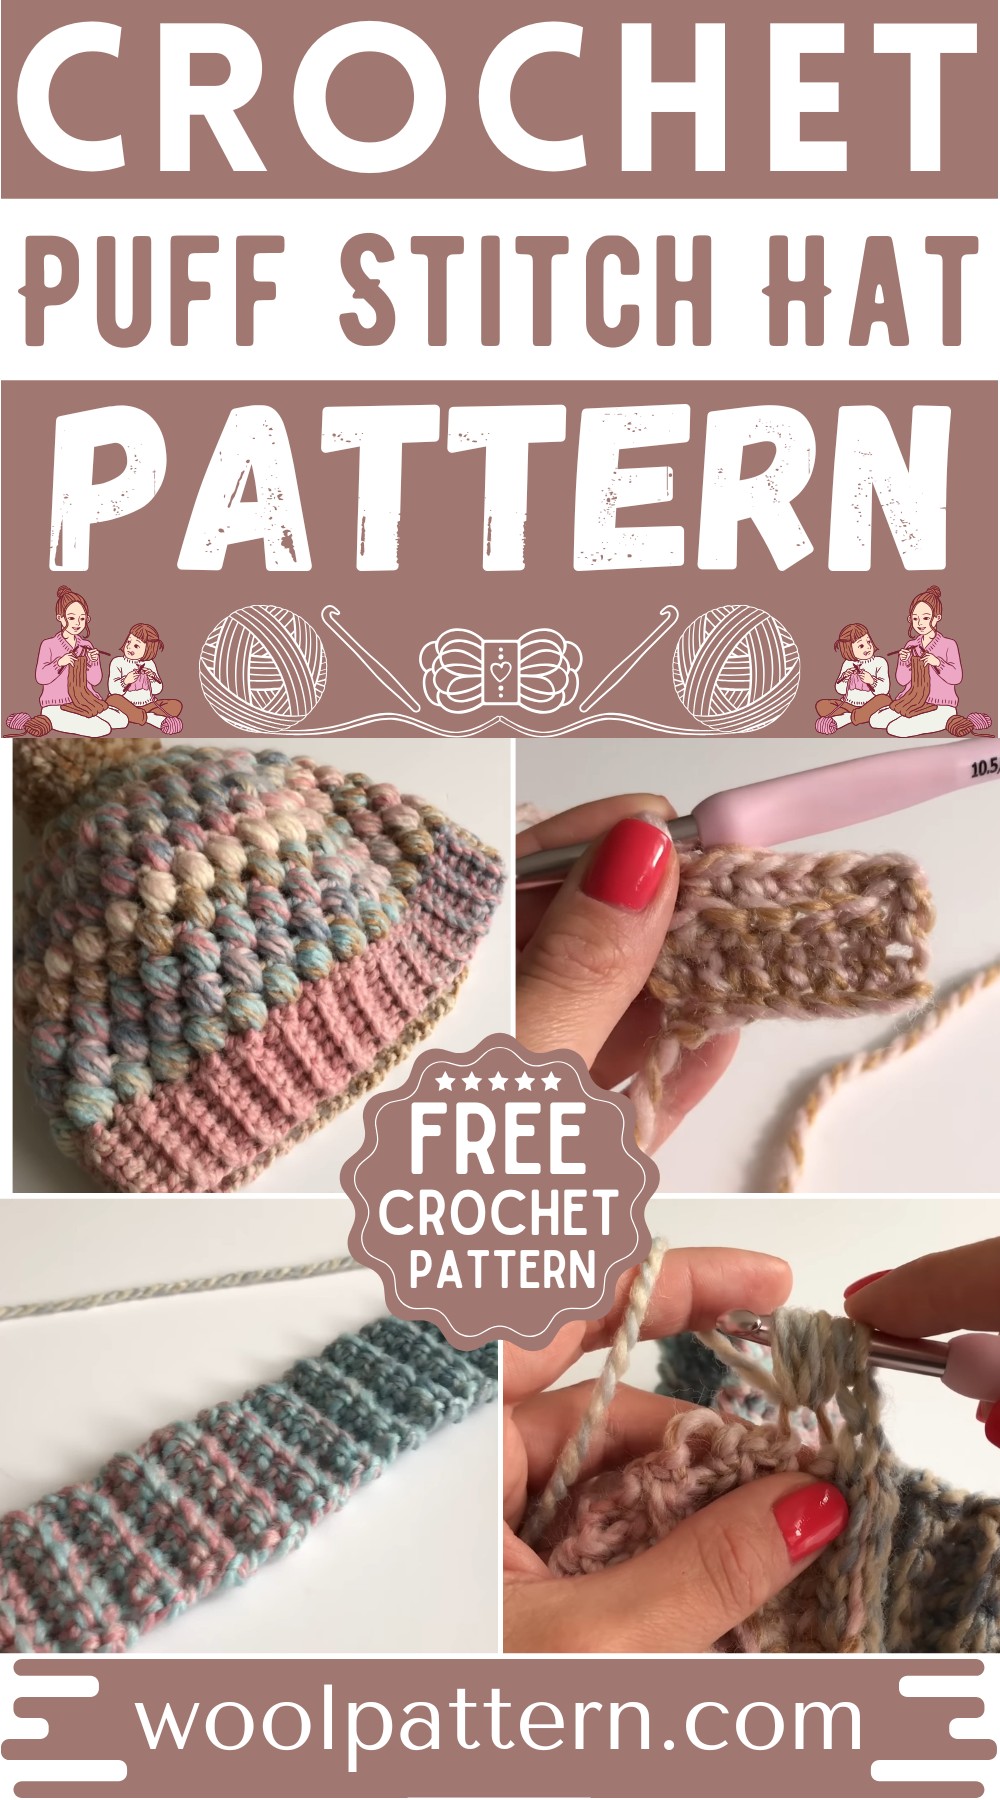
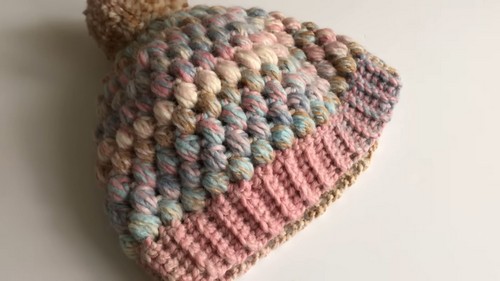
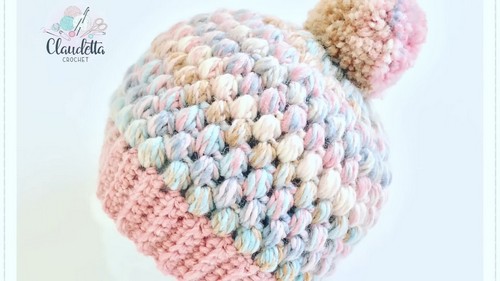
Cozy Crochet Easy Puff Stitch Hat! It's perfect for chilly days and is simpler than it looks. With just a hook and some yarn, you can whip up this trendy beanie that boasts a stretchy ribbed band and fluffy puff stitches all around.
Crochet Easy Puff Stitch Hat Pattern
Materials Needed:
- 6.5 mm crochet hook
- Pair of scissors
- Yarn needle
- Marker
- Pom-pom maker (optional)
- King Cole Cotswolds Chunky yarn (or similar chunky yarn) - color Campbell
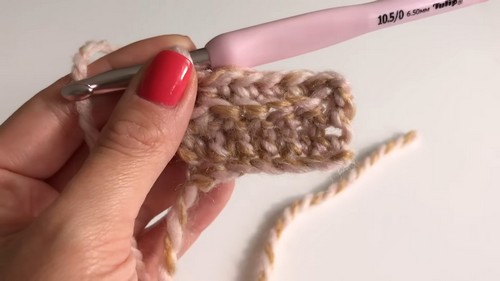
Band (Ribbing):
- Create a slipknot and chain 7.
- Work 1 single crochet in the second chain from the hook and in each chain across (6 single crochets in total).
- Chain 1 and turn.
- Work 1 single crochet in the back loops only across all 6 stitches.
- Repeat the back loop single crochet row until the band reaches about 20 inches or desired head size.
Joining the Band:

- Lay band flat, ensuring it isn’t twisted.
- Using slip stitches, join the two short ends of the band together working through both layers to form a circle.
Main Hat:
- Chain 2 (acts as the first puff stitch) and start working puff stitches around the edge of the band:
- Yarn over, insert the hook into the next stitch, yarn over, and pull up a loop (repeat this four times until you have 9 loops on your hook).
- Yarn over and pull through all 9 loops, then chain 1 to secure the puff stitch.
- Skip one stitch, then make a puff stitch in the next stitch. Repeat around.
- Continue working in rounds, adding more puff stitches between the puff stitches from the previous round.

Counting Rounds:
- To count rows easily, use a marker after every completed round.
Decreasing Rounds:
Once you have completed 7 rounds of puff stitches, start the 8th round by creating a decrease as follows:
- Crochet four puff stitches and then a puff stitch decrease (working a puff stitch without completing it and starting another puff stitch in the next space before pulling through all the loops).
- Continue this pattern around with three puff stitches and a decrease in the following round.
- Then work rounds with two puff stitches and a decrease, followed by one puff stitch and a decrease.
- On the last round, work decreases all the way around.
Finishing:
- Slip stitch to the first stitch of the last round.
- Cut the yarn, leaving a long tail, and pull through the last loop to tighten.
- Use the yarn needle to weave the tail through the last round of decreases and pull tight to close the hole.
- Sew in the end securely and weave in any other loose ends.
- If desired, make a pom-pom with your pom-pom maker and attach it to the top of the hat.
Leave a Reply