

The Knitting Vest Shawl Cardigan Pattern is truly a work of art that brings out the beauty of handcrafted fashion. This pattern is easy to follow, making it perfect for both beginners and experienced knitters looking for a relaxing project. The design itself is elegant and versatile, perfect for any season. It's fantastic how it combines simplicity with style, ensuring that anyone who wears it feels cozy and chic. Overall, it's a wonderful pattern that results in a beautiful and practical piece of clothing.
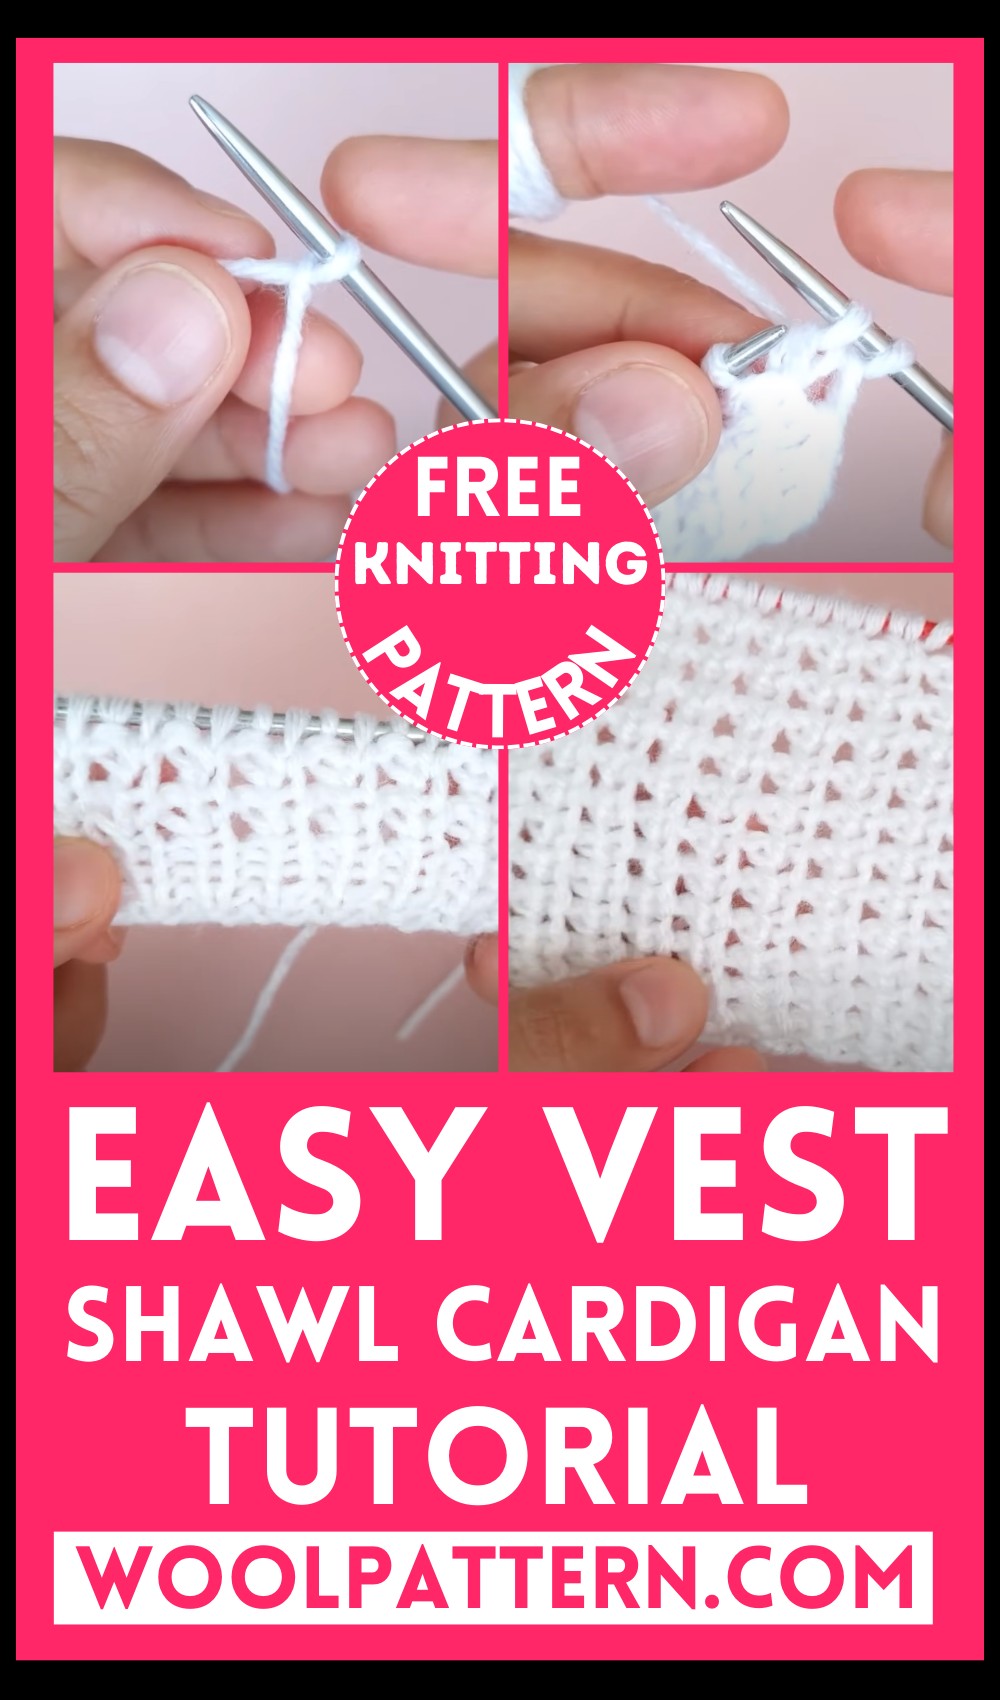
Easy Vest Shawl Cardigan Tutorial
Materials:
- Bulky weight yarn (skein size and yarn yardage vary based on garment size)
- Size 4.0 mm (US 6) knitting needles
- Stitch markers
- Tapestry needle for weaving in ends
Gauge:
- Check your specific yarn for gauge instructions, or
- 20 sts and 28 rows = 4 inches in stockinette stitch (for example)
Pattern Notes:
- The pattern is worked flat and then seamed together.
- It is recommended to use a loose cast-on method to ensure the cardigan drapes comfortably.
- The pattern is a two-row repeat and creates a textured fabric suitable for shawls and cardigans.
- The cardigan is constructed from the bottom up, and stitches are picked up for the armholes.
Instructions:
Ribbed Edge:
- CO an even number of stitches loosely (example: 80 sts for a medium-size cardigan).
- Work in a 1x1 rib pattern (k1, p1) for 2-3 inches or desired length of the ribbed edge.
- End with a WS row before starting the body pattern.
Body (two-row repeat pattern):
Row 1 (RS): Knit the first stitch, k1, leaving the stitch on the left needle, then knit the same stitch again along with the stitch right behind it (creating an increase). Repeat from * to * until you reach the last stitch, k1.

Row 2 (WS): Purl the first stitch, k2tog through the back loop (the increased stitch from the previous row and its neighbor), p1. Repeat from * to * until the last stitch, p1.

Repeat these two rows until you reach the desired length for the back of the cardigan.
Armholes:
- Place stitch markers for the armholes as desired and bind off stitches under the arms if necessary.
Front Panels:
- Work each front panel separately in the established pattern, creating openings for the armholes by binding off stitches at each edge nearest the armholes.
Assembly:
- Sew the shoulder seams together.
- Pick up and knit stitches around each armhole, working a few rounds in the 1x1 rib pattern.
- Pick up and knit stitches around the front edges and neck of the cardigan, working in the 1x1 rib pattern to create a border.
- Seam the sides of the card views to the armholes, leaving the front panels open.
- Weave in all loose ends.
This is a simplified version of what a knitting pattern for such a garment might look like. You will need to adjust the number of stitches and rows based on the actual size and fit you want to achieve, as well as the specific yarn and needles you are using. Please refer to the video for more detailed instructions and visual guidance.


Leave a Reply