

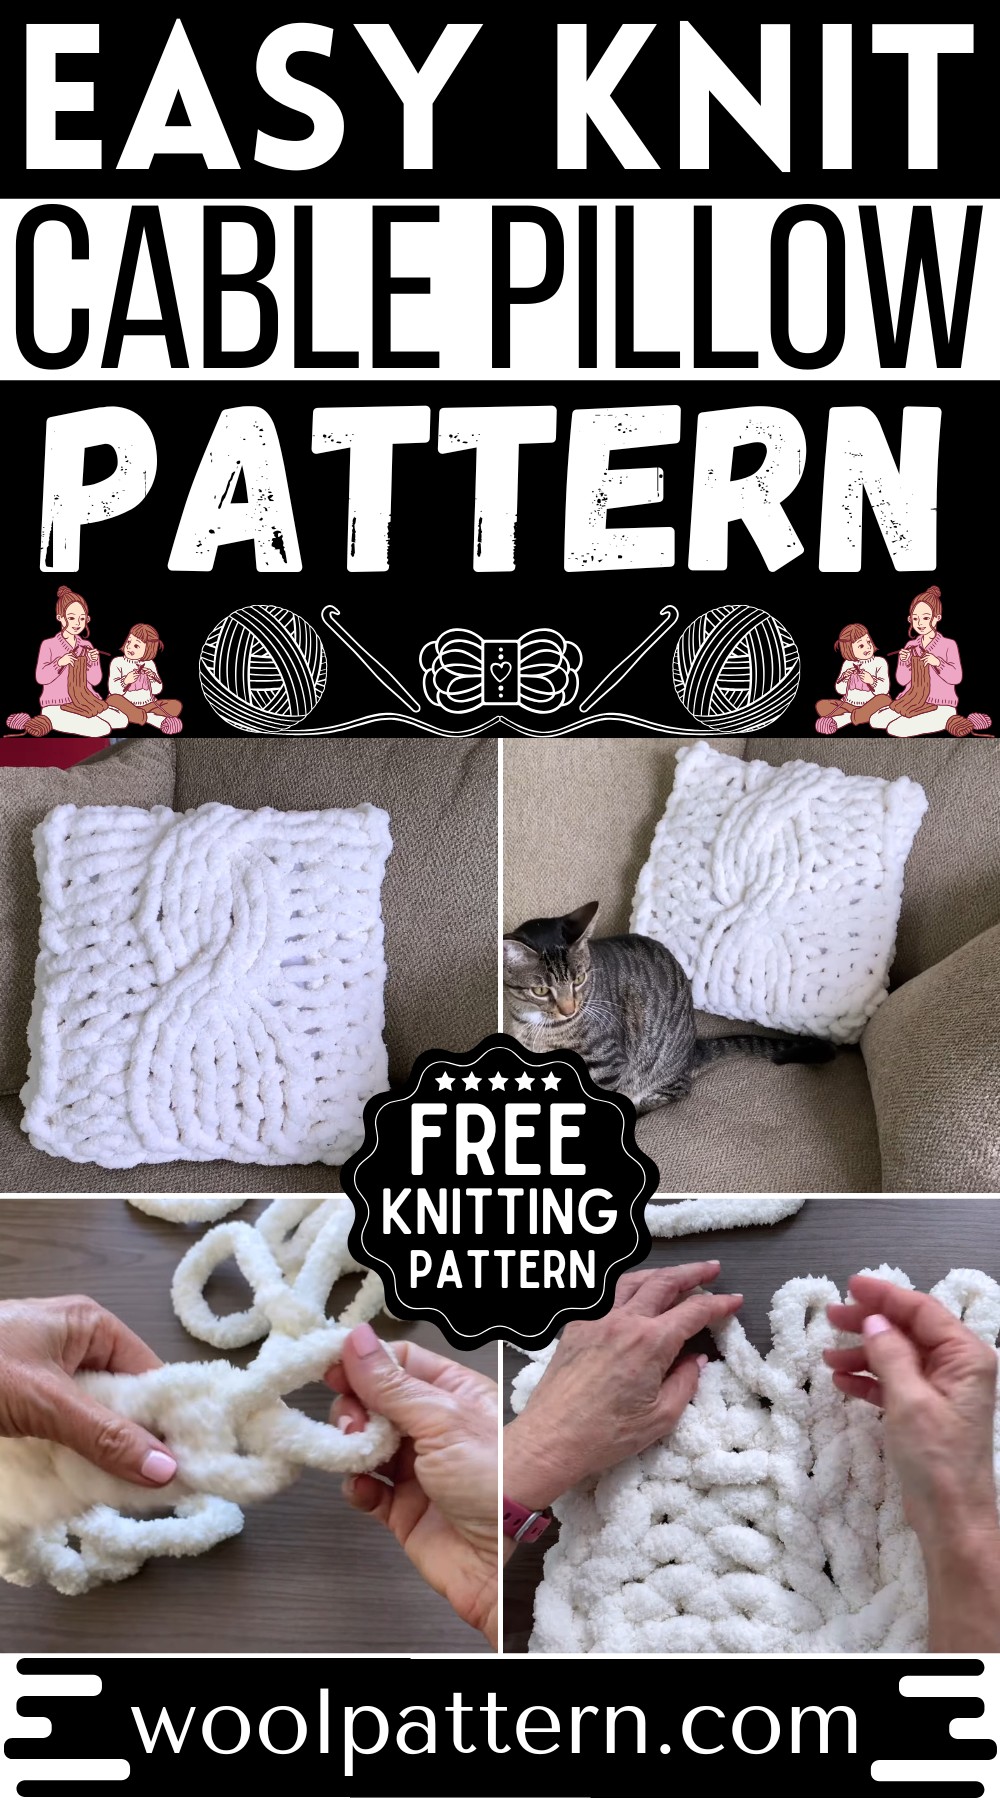
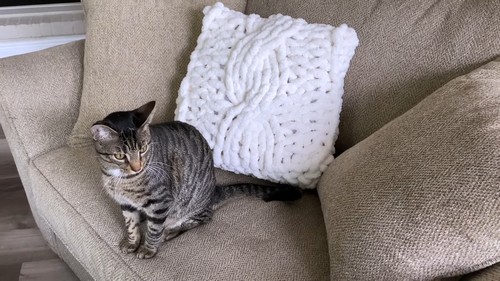
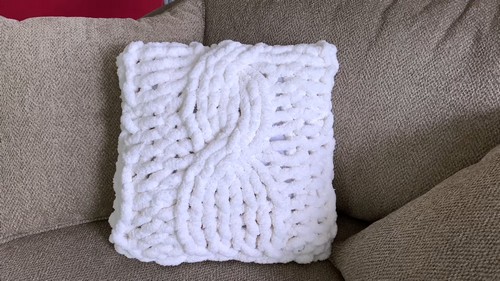
Snuggle up and add a cozy touch to your space with a handmade knit cable pillow pattern. This charming design weaves warmth into any room, letting you cozy up in style or impress guests with your knit touch.
Knit Cable Pillow Pattern
Material:
- 2 skeins of Bernat Blanket Big yarn or any Jumbo (7) yarn.
- A 16x16 inch pillow insert.
Getting Started:
Chain Creation:
- Create a slip knot and then make a chain of 10. Ensure the chain reaches 16 inches in length, adjusting loop size as necessary for correct length.
Pattern Repeat (Rows 1-5):
- The basic pattern involves a combination of knit stitches and purl stitches.
Knit Stitch:
- Pull the yarn through the back of a loop.
Purl Stitch:
- Push the yarn through the front of a loop.
Row 1:
Create one knit stitch in the first loop.
- Make two purl stitches in the next two loops.
- Follow with four knit stitches over the next four loops.
- Finish the row with two purl stitches and one last knit stitch in the final loops.
Rows 2-5:
- Repeat the Row 1 pattern for continuity.
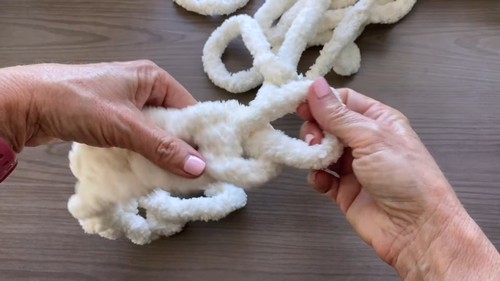
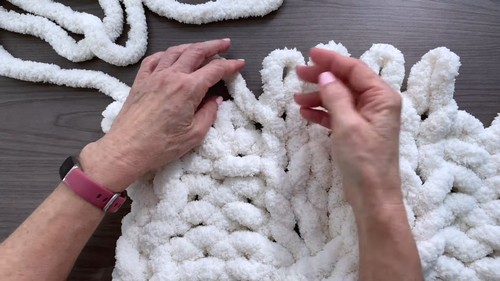
Creating the Cable (Row 6):
Start normally with a knit stitch, then two purl stitches.
- Ignore the first two knit stitches that follow, then knit the next two stitches.
- Cross the previously ignored stitches over the two you just knitted.
- Continue with two purl stitches and end with a knit stitch.
For Rows 7-11:
- Repeat the sequence from Rows 1-5.
Tips:
Keep loop sizes consistent, aiming for about 2 inches in height.
- After completing five rows of the pattern, then proceed with a cable row, adding a twist to form the cable effect.
- Repeat the normal sequence for another five rows and then create another cable row on the 12th row.
Finishing Row 30:
- Row 30 does not require another cable twist.
- Loops should be made wider/longer when casting off.
Seaming and Finishing:
- Cut two lengths of yarn for seaming.
- Seam sides from the inside for a clean finish.
- Feed the end of the working yarn through the loops to cast off securely.
Additional Tips for a Cable Knit Blanket:
- For a blanket, omit the last knit stitch at the end of each sequence.
- Follow the provided graph and number breakdown for creating a chain for a blanket.
- Adjust the sequence for longer cables if desired, sticking to multiples of two.


Leave a Reply