

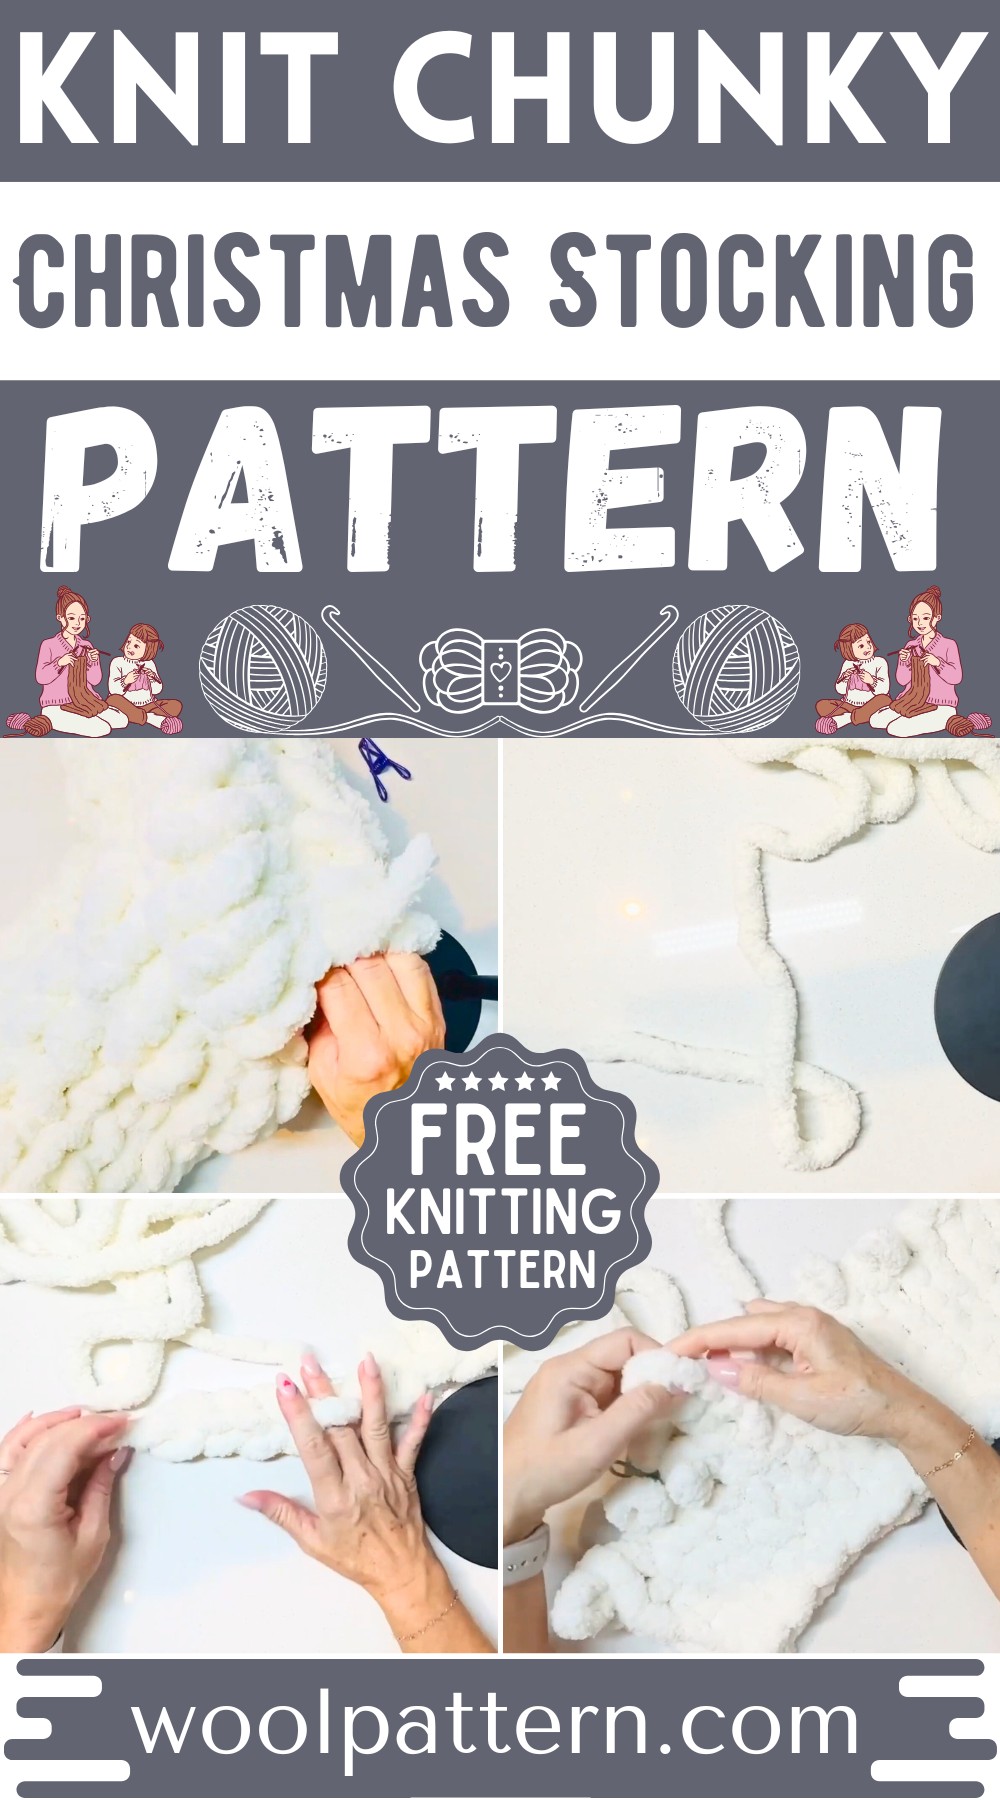
Make your holiday season cozier with a DIY knit chunky Christmas stocking! With just a skein of soft, thick yarn, you can knit a lovely stocking that adds a personal touch to your festive decorations. This project is perfect for beginners and seasoned knitters alike, making it a great activity for a winter day. Gather your materials and start knitting a charming stocking that could become a cherished part of your holiday traditions.
Knit Chunky Christmas Stocking
Materials Needed:
- One skein of Bernat Big Blanket Size 7 Chunky Yarn
- Stitch markers
Steps:

Step 1: Gathering Materials
- Select one skein of chunky yarn and stitch markers.
Step 2: Start with a Slip Knot
- Create a backwards L with the yarn, twist it towards yourself to create a loop.
- Pull the working yarn through the loop and simultaneously pull the tail to tighten.
For Step 3: Making the Starter Chain
- Aim for a stitch size about the width of three fingers.
- Consistency in stitch size is key.
- Create a chain of 16 stitches, maintaining consistent stitch size.

Step 4: First Row
- Flip your chain upside down to identify "dragon bumps" which form the middle part of each stitch.
- Work your first row into these bumps to form 16 loops, ensuring you achieve consistent stitch size.
Step 5: Build Additional Rows
- Continue to build up, focusing on maintaining consistent loop size.
- Knit four rows total before proceeding to shape creation.
For Step 6: Reducing Stitches
- Start shaping the stocking by reducing stitches.
- Use stitch markers to mark where stitches need to be combined.
- Reduce one stitch at both ends of the row, repeat this in subsequent rows as needed to shape the toe.
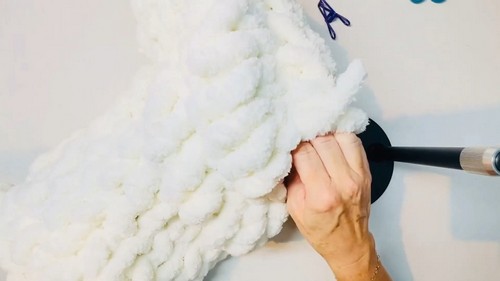
Step 7: Continue Knitting the Stocking Body
- After forming the toe, continue knitting straight until you're almost out of yarn, ensuring you leave enough yarn to stitch the side of the stocking.
Step 8: Closing the Stocking
- When you have decided on the length, start the final row and make your loops slightly bigger than usual.
- You will use these larger loops to close off the stocking securely.
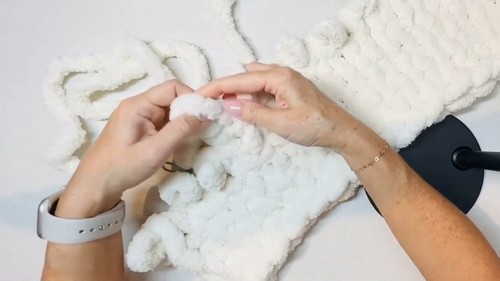
For Step 9: Whip Stitch and Finish
- Whip stitch the sides of the stocking together using the yarn tail.
- Ensure you match the outer loops on each side for a clean seam.
- Tuck in the tail to finish off neatly.
Additional Tips:
- Check and adjust stitch count frequently to avoid inadvertently increasing or decreasing the row count.
- Practice patience and adjust your handling as you learn the tension and feel of the yarn.


Leave a Reply