

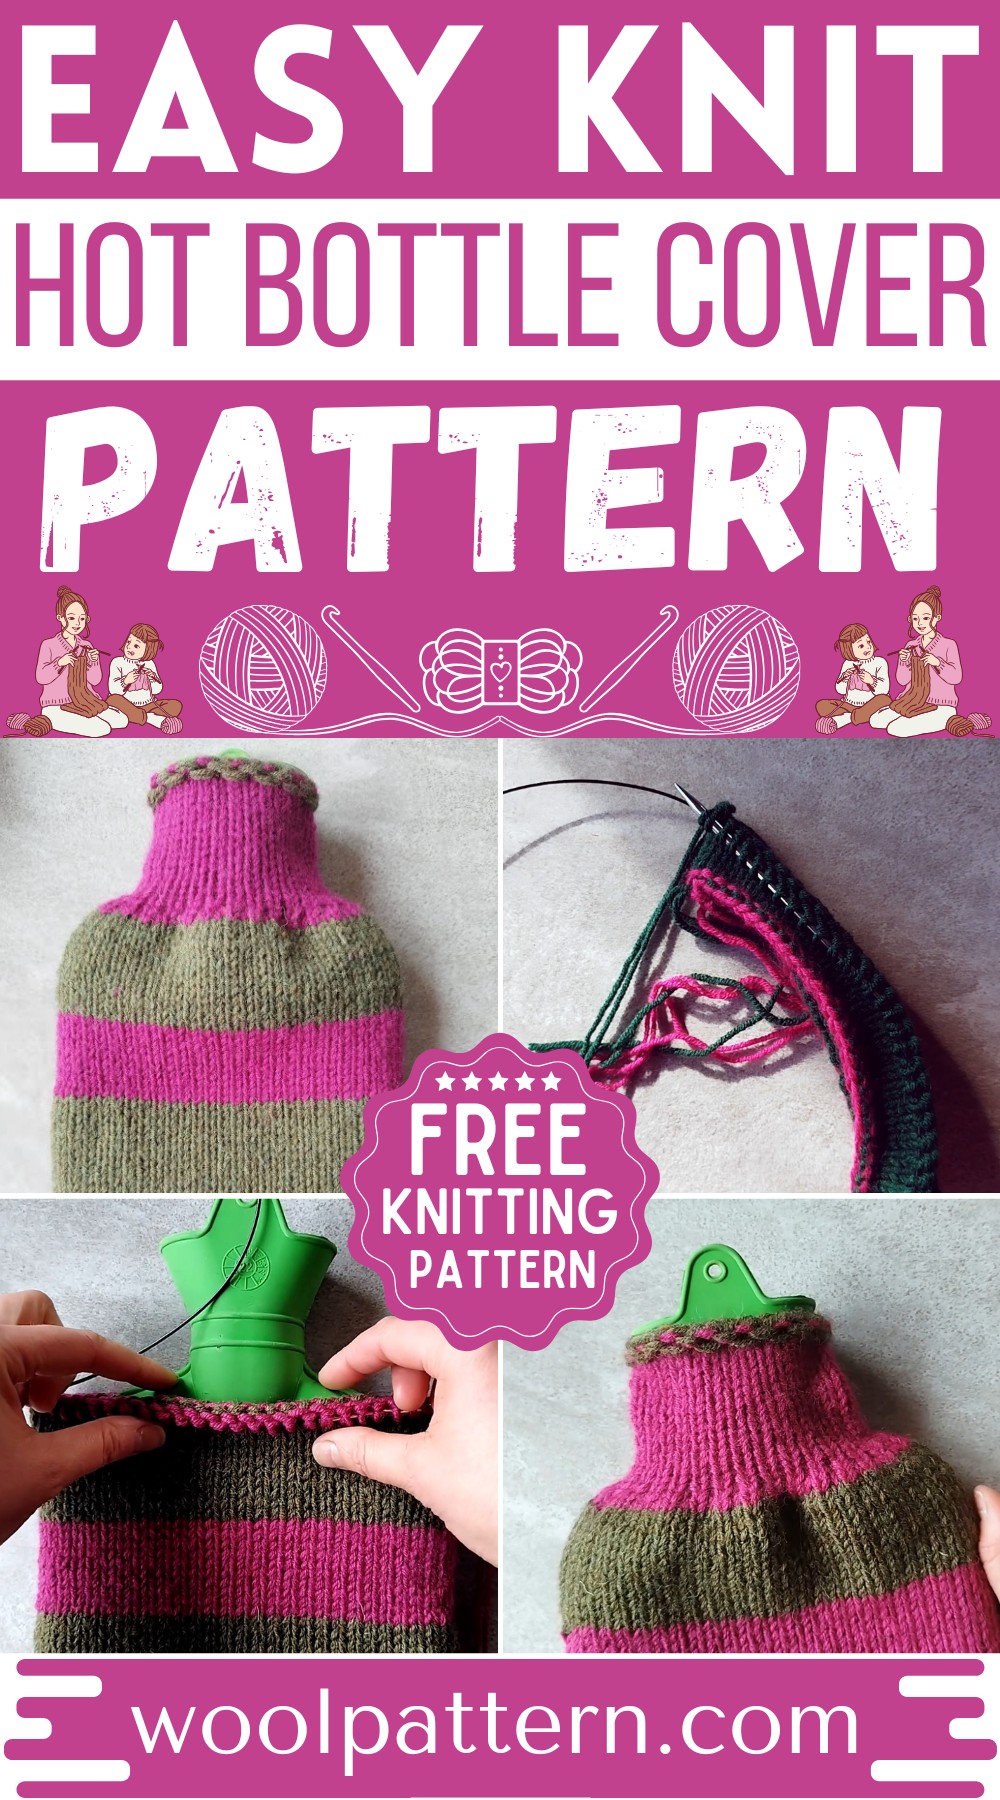
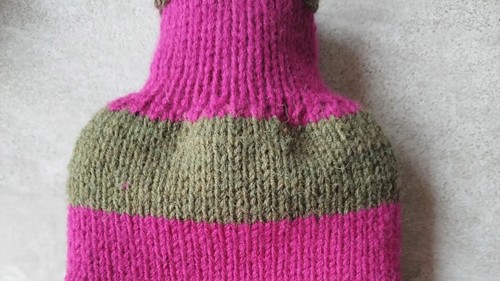
Knit a hot bottle cover can be a fun and cozy project, perfect for keeping you warm on chilly evenings. This pattern allows you to make a snug, homemade cover for your hot water bottle using just your knitting skills and some yarn.
Knit Hot Bottle Cover Pattern
Whether you're new to knitting or have been doing it for years, this guide is straightforward and simple, making it easy to follow. By the end, you'll have created a charming and practical cover, adding a personal touch to staying toasty. So, grab your needles, pick your favorite yarn colors, and let’s get started on this cozy knitting project.
Materials Needed
- Yarn (leftovers are okay, as used in the video)
- Circular knitting needles (or use a magic loop technique)
- Crochet hook (for cast on)
- Tapestry needle (for finishing seams and weaving in ends)
- Measuring tape
Gauge
- 20 stitches = approximately 13 centimeters
Measurements
- Circumference of the hot water bottle: 38 cm
Step-by-Step Knitting Pattern
Cast On
- Calculate the number of stitches needed. Based on the video, 58 stitches were cast on using a crochet hook for a circumference of 38 cm.
Begin Knitting
- Start knitting in the round using the magic loop technique. All stitches are knit stitches; this is called Stockinette stitch when worked in the round.
Continue Knitting
- Knit until you have reached the required length from the bottom of the bottle to just before the neck starts to curve.
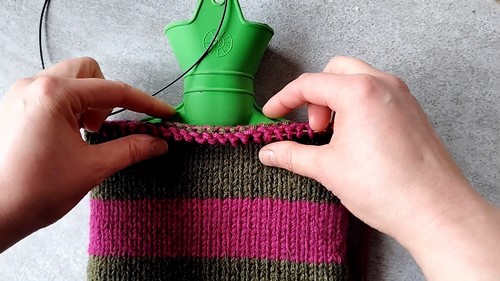
Decrease for Neck
- Start your decrease by knitting two stitches together around the row. This will halve the number of stitches.
- Continue with the decreased number of stitches to shape the neck of the cover.
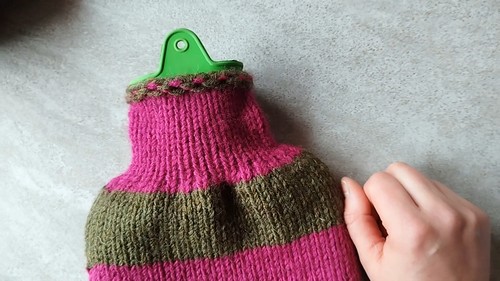
Finish the Body
- Once the neck section is high enough as per the bottle's dimensions, prepare to close the top.
- Bind off using a stretchy bind-off method to ensure the opening remains elastic. Optionally, use a double yarn bind-off for added thickness.
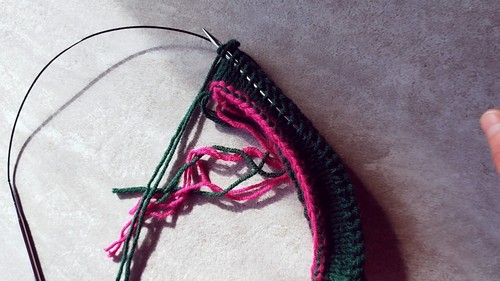
Final Closure Using Kitchener Stitch
- Prepare for the Kitchener stitch by placing stitches on two needles.
- Work the stitches as described in the video using the Kitchener Stitch to create a seamless join. This part of the work will simulate knit stitches on the outside.
Weave in Loose Ends
- Hide all the yarn strings inside the fabric to give your bottle cover a neat finish.

Optional Adjustments
- If the neck reduces too much, consider decreasing fewer stitches than half for a looser fit.


Leave a Reply