

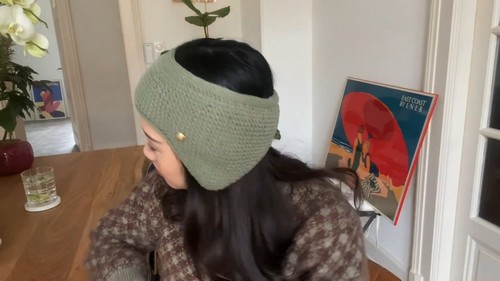
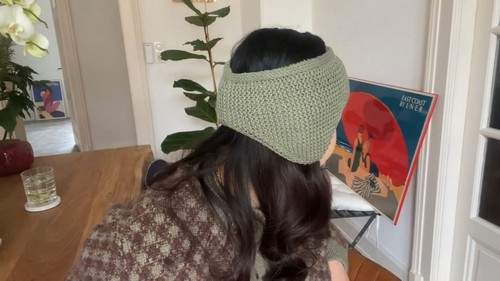
Knitting a cozy ear warmer or headband is a fun and easy project that even beginners can enjoy. This pattern lets you whip up a warm, stylish accessory that's perfect for chilly days. By following simple steps, you can create a unique piece that keeps your ears toasty while adding a touch of handmade charm to your winter outfits. Whether you're making one for yourself or as a thoughtful gift, this knit ear warmer or headband pattern is a delightful way to add a splash of warmth and style to any wardrobe.
Knit Ear Warmer / Headband
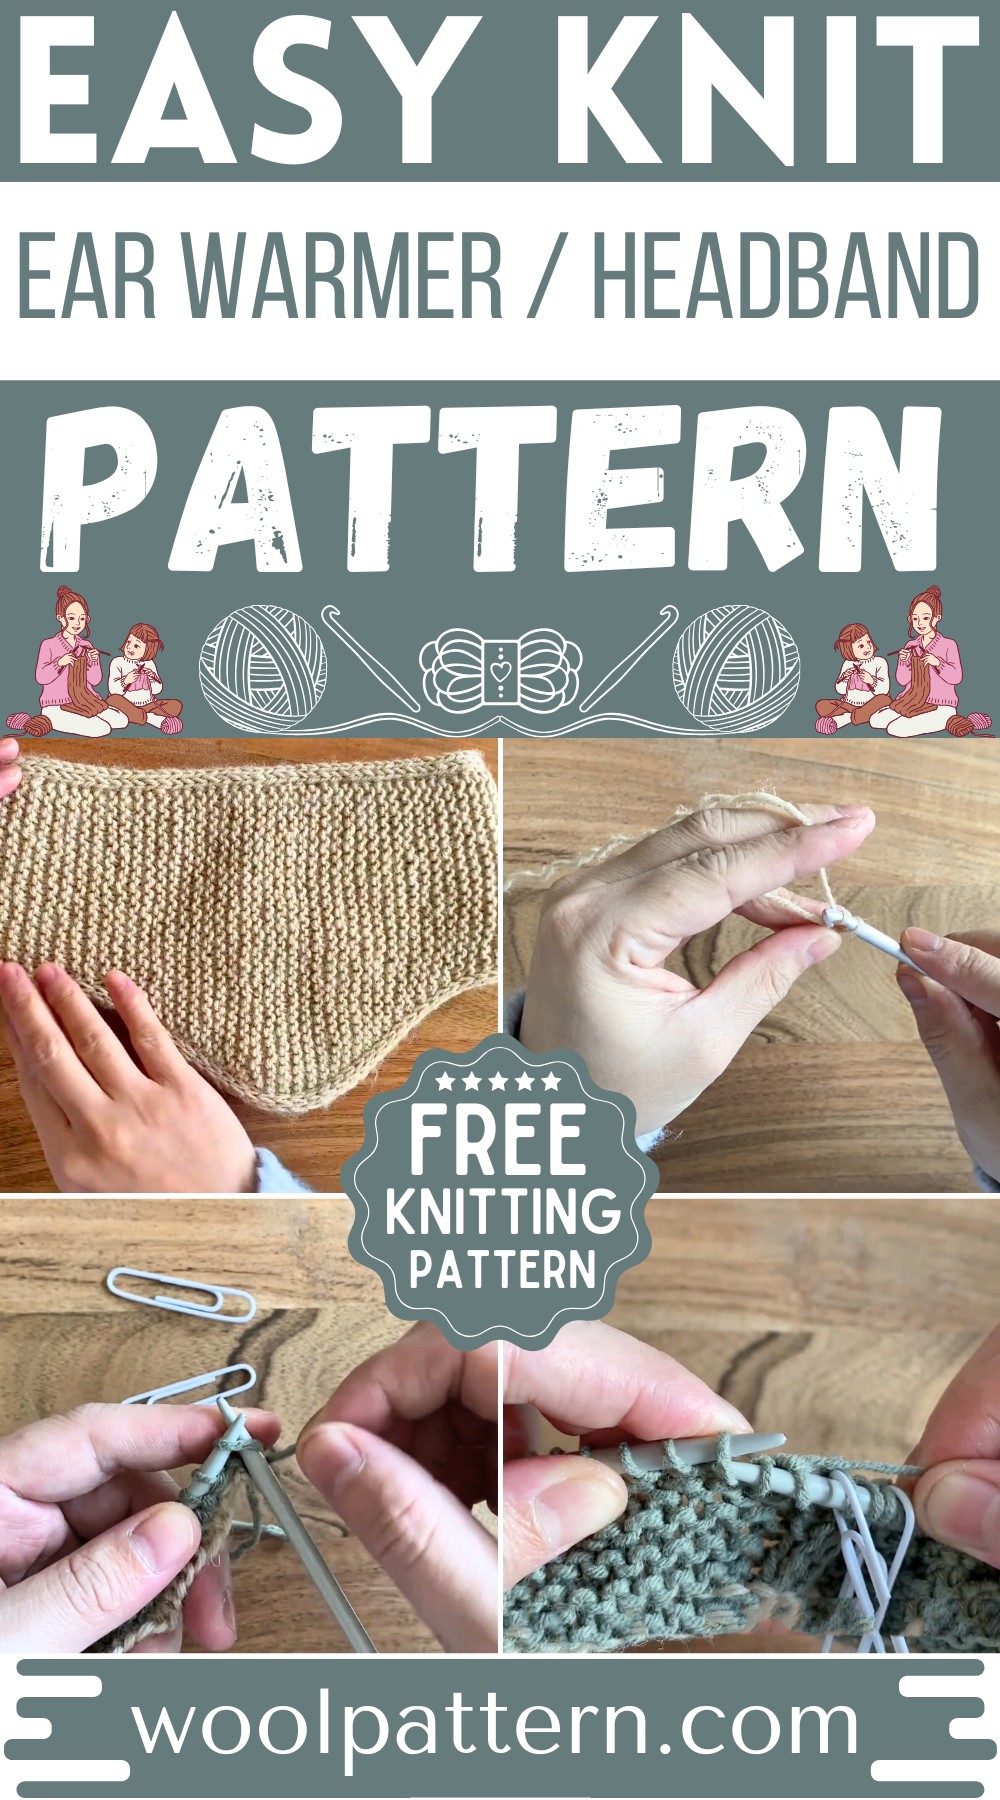
Materials Needed:
- Set of 5mm knitting needles
- 5mm crochet hook
- 2 markers or paper clips
- A pair of scissors
- Yarn (Number of balls depends on yarn thickness and length. May need two balls for the headband.)
- A gold button about 1 cm wide
- Sewing and tapestry needles
Step-by-Step Instructions:
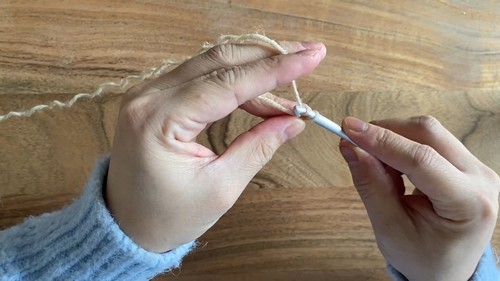
Starting Chain (Temporary):
- Using a crochet hook, chain 35 stitches with a different colored yarn (contrasting color recommended) to create a temporary holding row. This row will be removed at the end.
Cast On:
- With the knitting needles and the selected yarn for the headband, cast on 35 stitches onto the temporary (contrasting color) holding yarn.
Knitting the First Row:
- Knit all stitches for the first row. This row is considered the right-facing side of the headband.
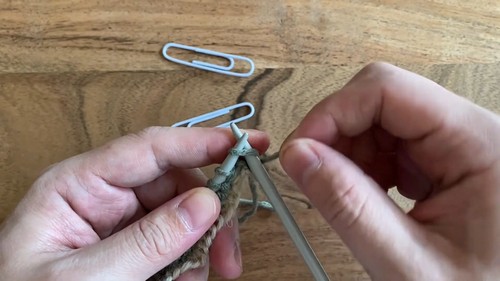
Second Row and Adding Markers:
- Add markers after stitch 16 and after stitch 19.
- Knit the first stitch, then bring the yarn to the front.
- Slip three stitches purlwise.
- Pull the yarn to the back and knit the next 12 stitches.
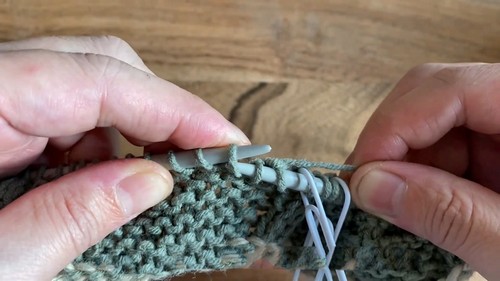
Creating the Ear Flaps:
- Continue the pattern of gradually increasing stitches for the ear flaps, rest, then gradually decrease the stitches. Ensure to maintain an equal stitch count on both sides of the center.
- Alternate between decreasing and the second row pattern until you return to a count of 35 stitches.
Forming the Band:
- The next 52 rows will be knitted flat without increasing or decreasing, alternately repeating the first and second row patterns. This creates the band across the forehead.
Finishing Touches:
- After completing the band, knit 10 flat rows to finish off the main part of the cap.
- Join the ends together by turning the work inside out.
- Remove the temporary holding yarn and replace it with the main knitting yarn.
- Use the crochet hook to single crochet all 35 stitches together, securing the ends.
Closing:
- The tutorial ends with a prompt to join the stitches and complete the swimming cap. It's suggested to turn the work inside out for joining, indicating an invisible seam may be desired for finishing.

Additional Notes:
- The cap will enhance with a decorative gold button, but details of attaching the button are not mention.
- Finishing techniques, such as weaving in ends or blocking the knit cap, are common final steps in knitting projects.


Leave a Reply